How to Use Groq with AI Renamer (Fast & Free AI API for File Renaming - Step-by-Step Guide)
Who This Guide Is For
This guide is for you if your computer is:
- Old or slow
- Not powerful enough to run local AI models
- Overheating or crashing when processing large files
You do not need a better machine.
By connecting Groq to AI Renamer, you can rename files using fast, free-tier cloud AI models via API, without running any models locally.
This guide shows you exactly how to set everything up, step by step.
If you are new to AI Renamer, start here:
Why Use Groq with AI Renamer?
Benefits
✅ Works on low-end computers
✅ No local AI model installation required
✅ Access to fast, free-tier AI models
✅ Upgrade option with higher limits when needed
✅ Supports PDFs, images and text documents
Perfect for
- Accountants and auditors
- Lawyers
- HR teams
- Students
- Indie hackers
- Web designers
- Notion, Obsidian, and PKM users
Groq offers a free API tier with no credit card required, so you can generate a Groq API key and start using hosted AI models immediately. The free tier includes rate limits on requests and tokens that are suitable for most AI Renamer workflows, and if you need higher usage limits later, Groq also offers a paid Developer tier with increased capacity.
What You Will Need Before Starting
- AI Renamer installed on macOS or Windows
- A Groq account
- An internet connection
- About 3 minutes
Need help installing AI Renamer?
How to Install AI Renamer on macOS
How to Install AI Renamer on Windows
Step by Step: How to Set Up Groq with AI Renamer
Step 1:
 Go to the Groq website and click Start Building.
Step 2:
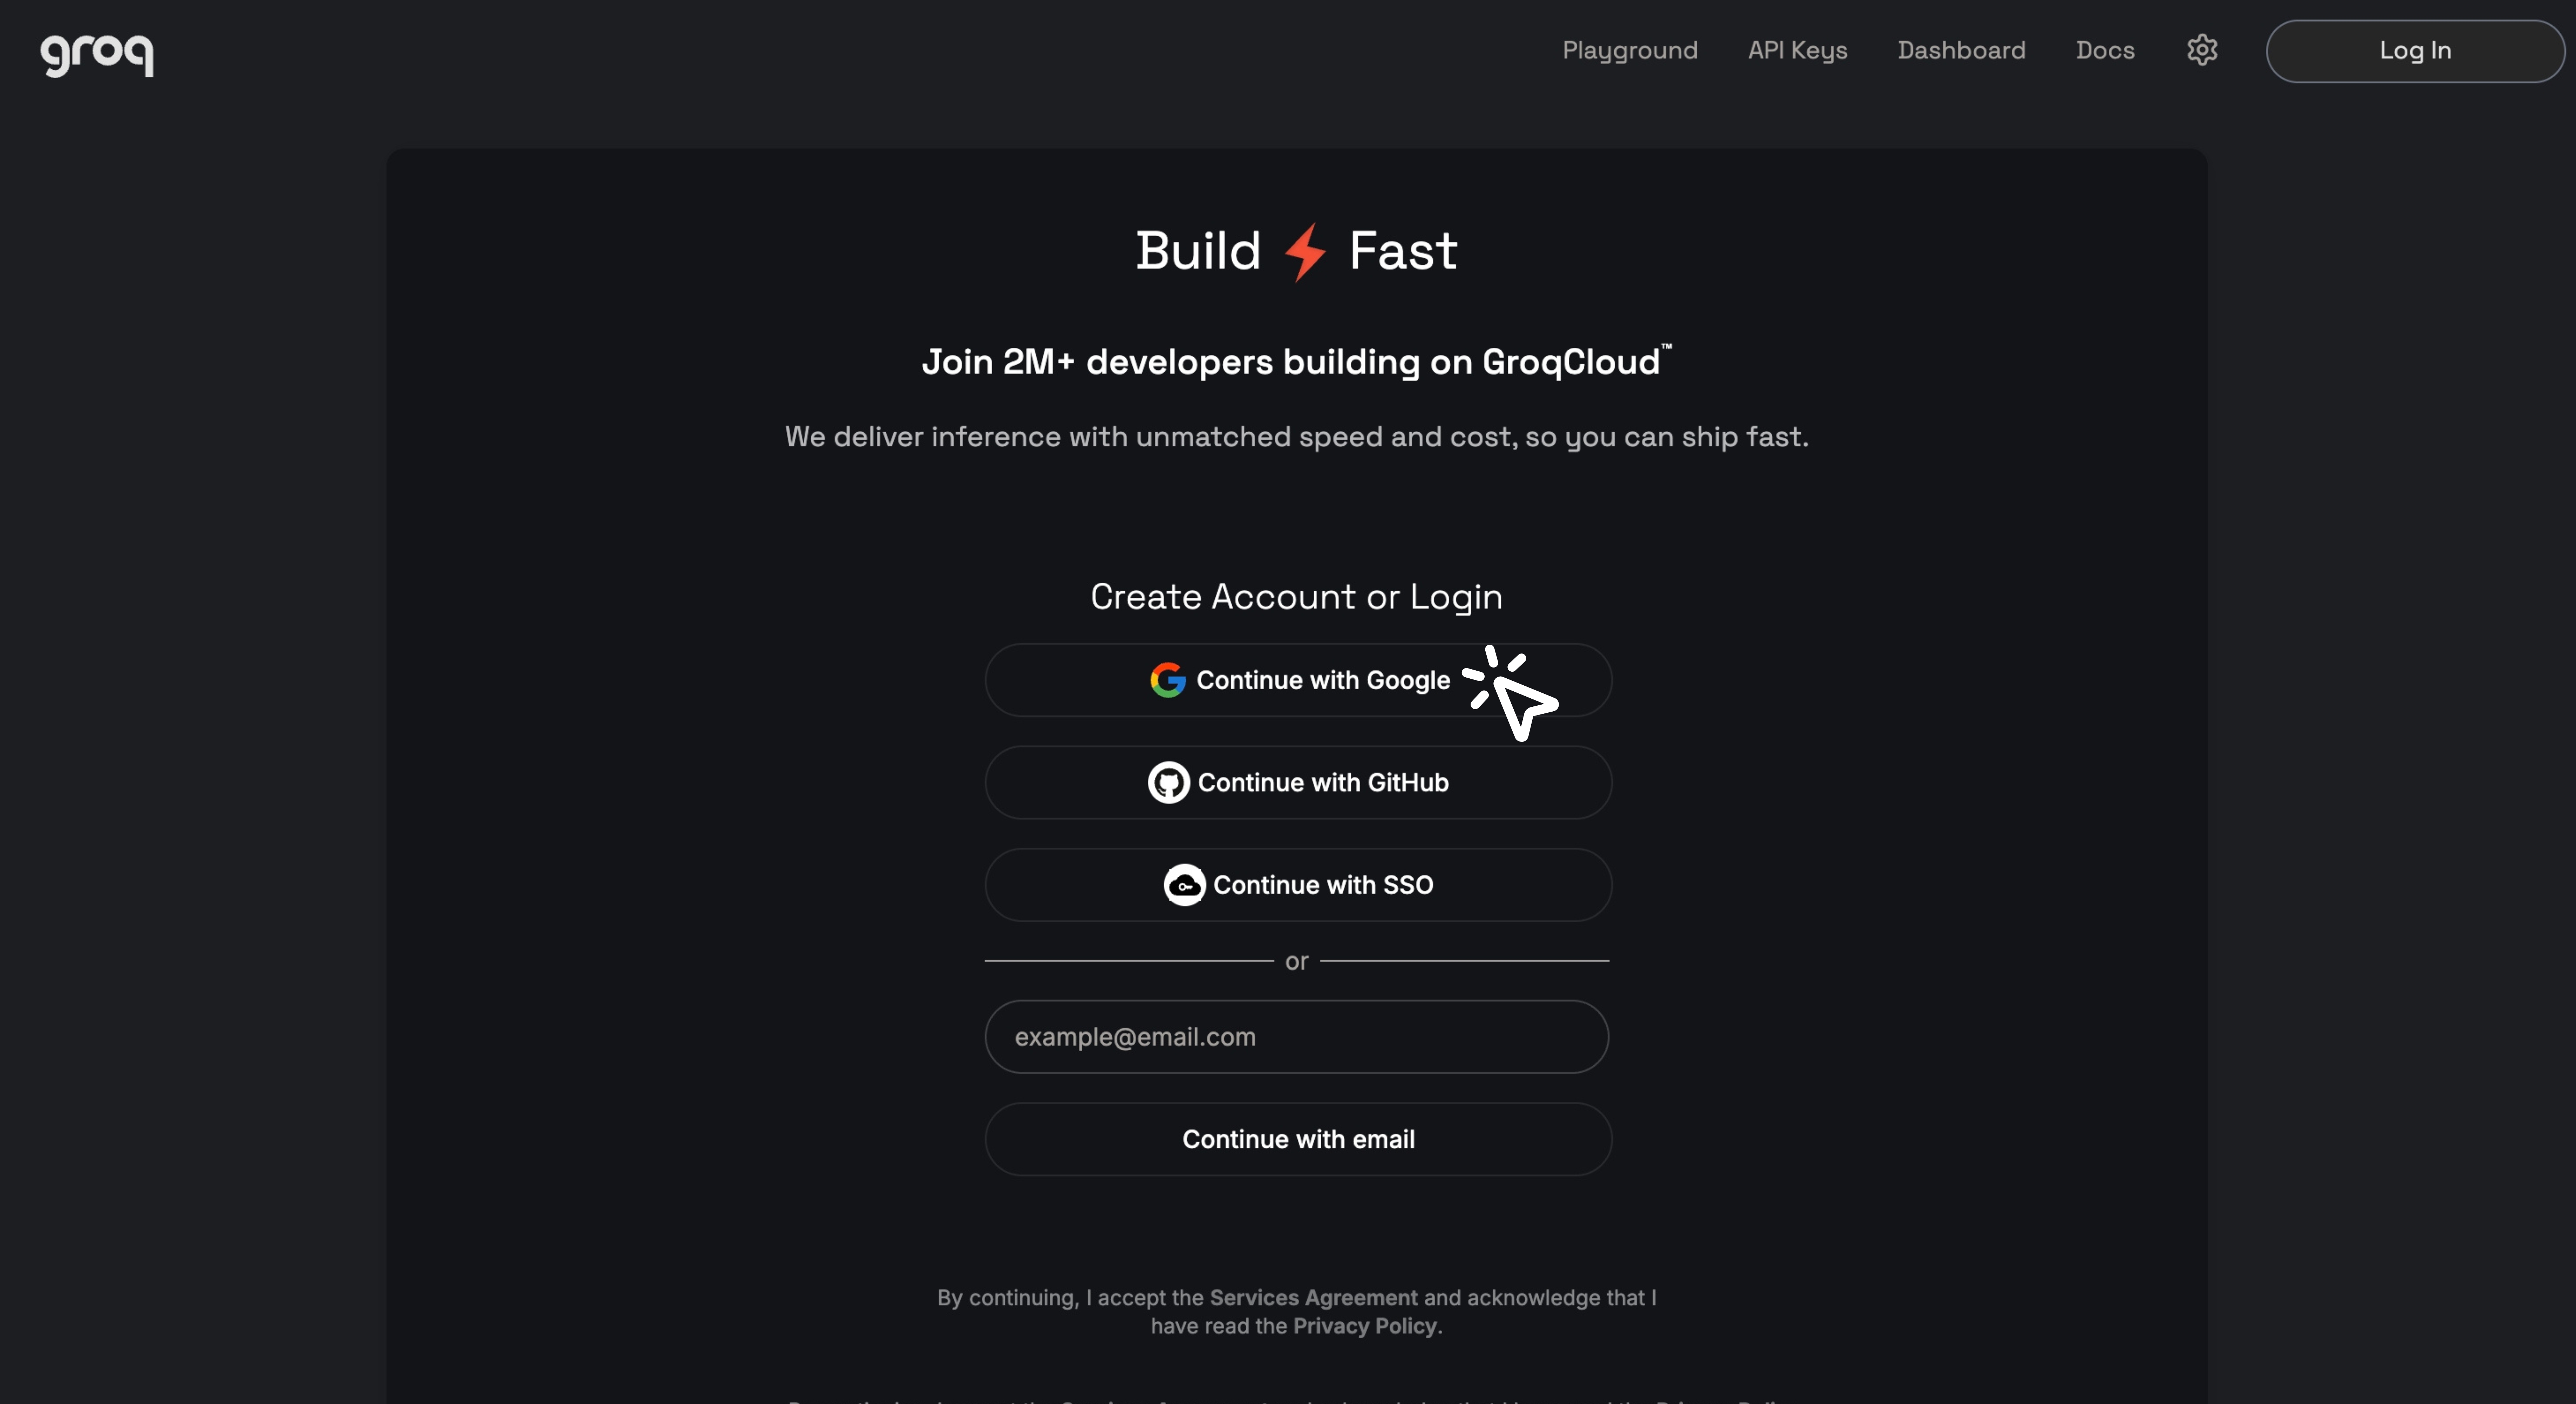 Sign up using your email, Google account or other choises. I'll continue with Google account.
Step 3:
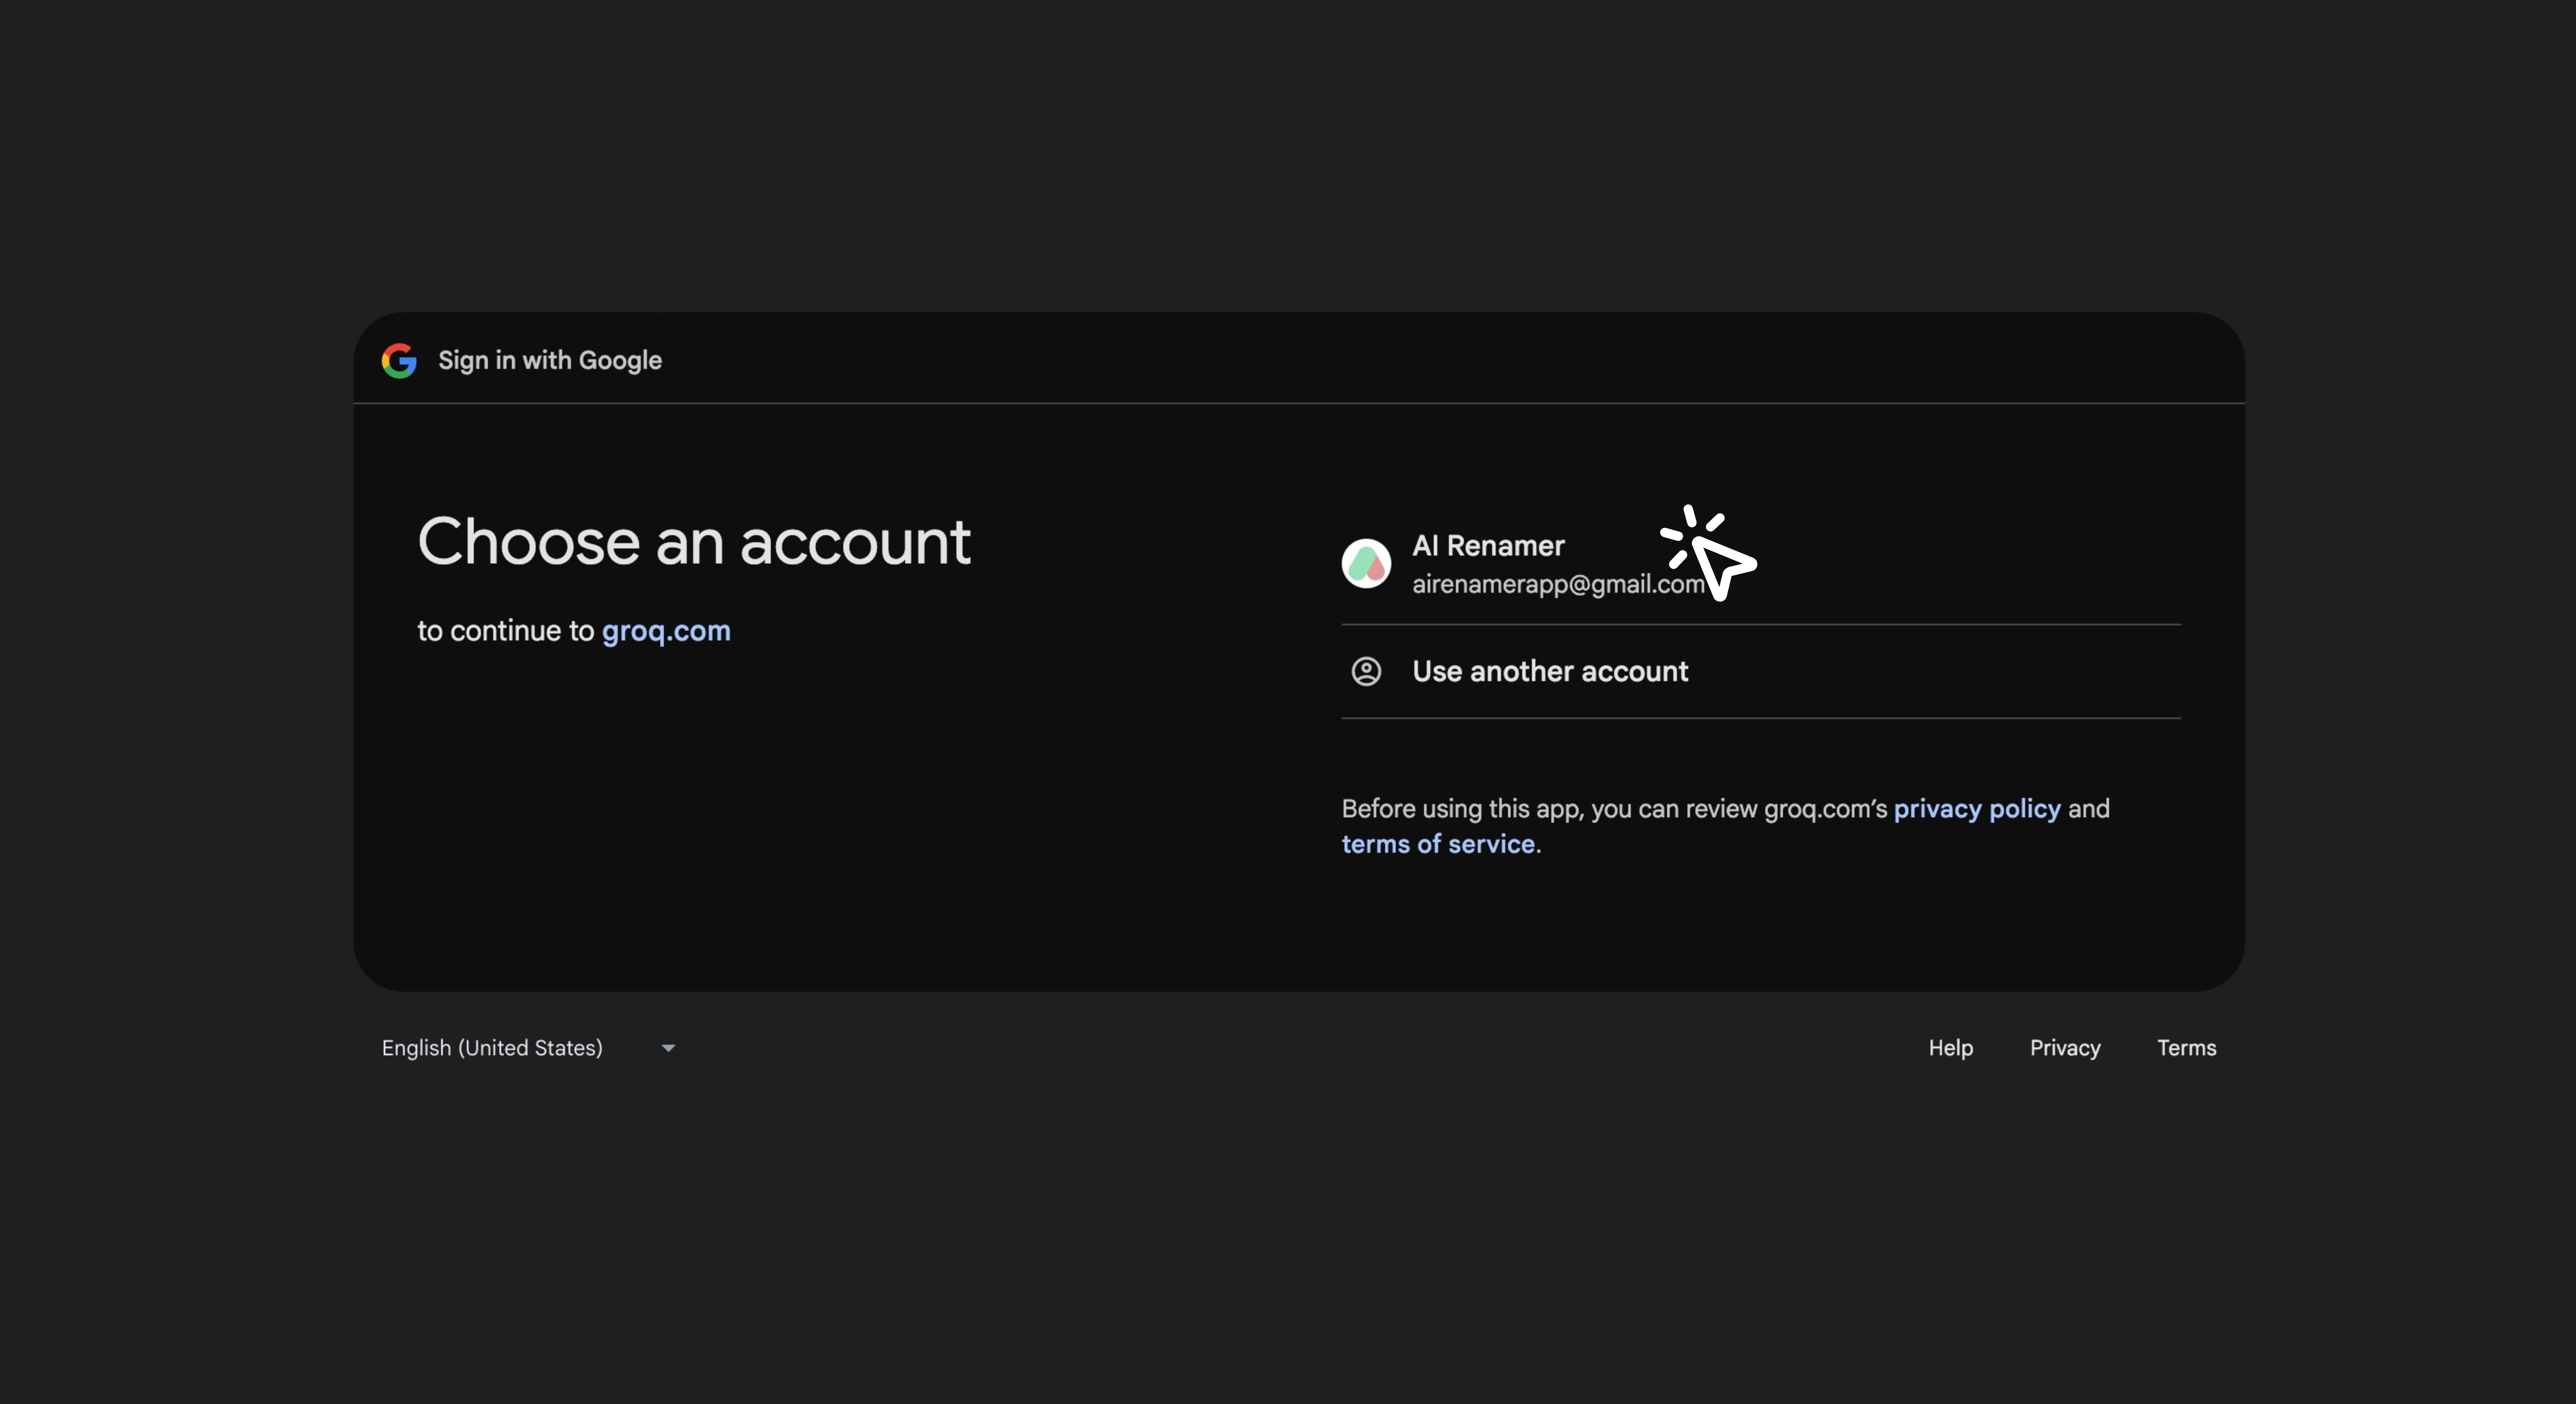 Choose your Google account to continue.
Step 4:
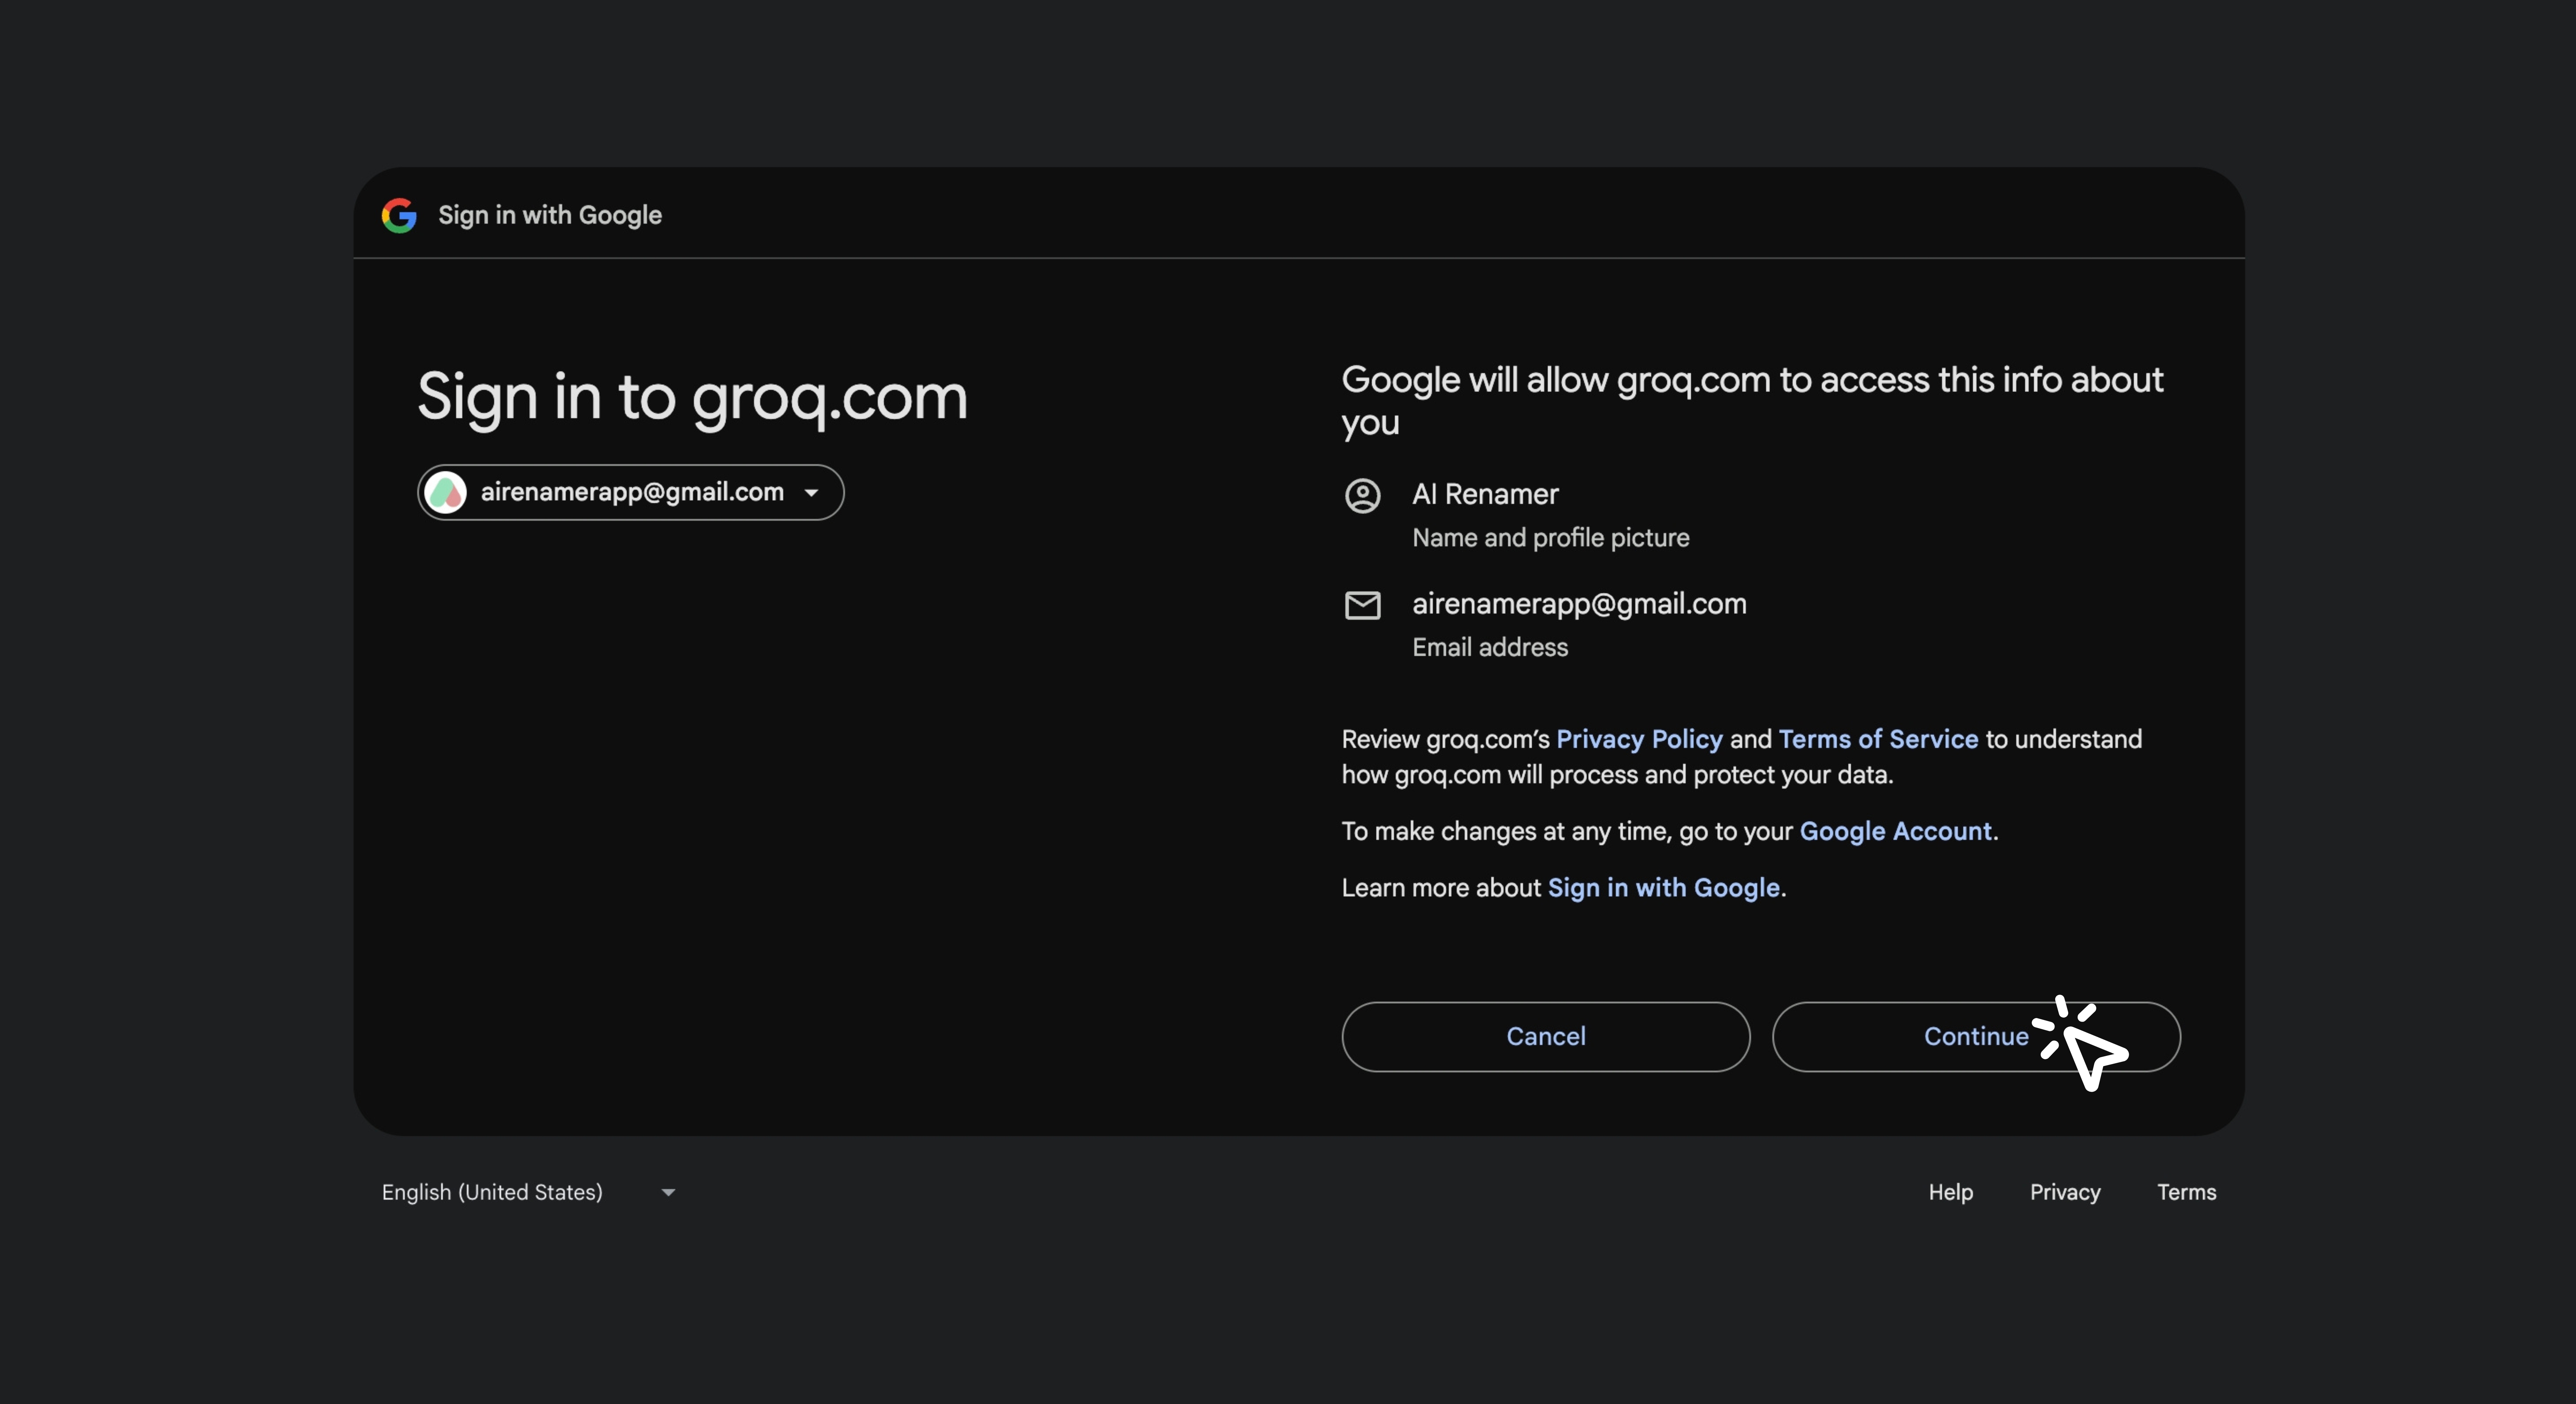 Click Continue to confirm signing in to Groq using your Google account.
Step 5:
 Wait 2 to 5 seconds while your Groq account is being set up.
Step 6:
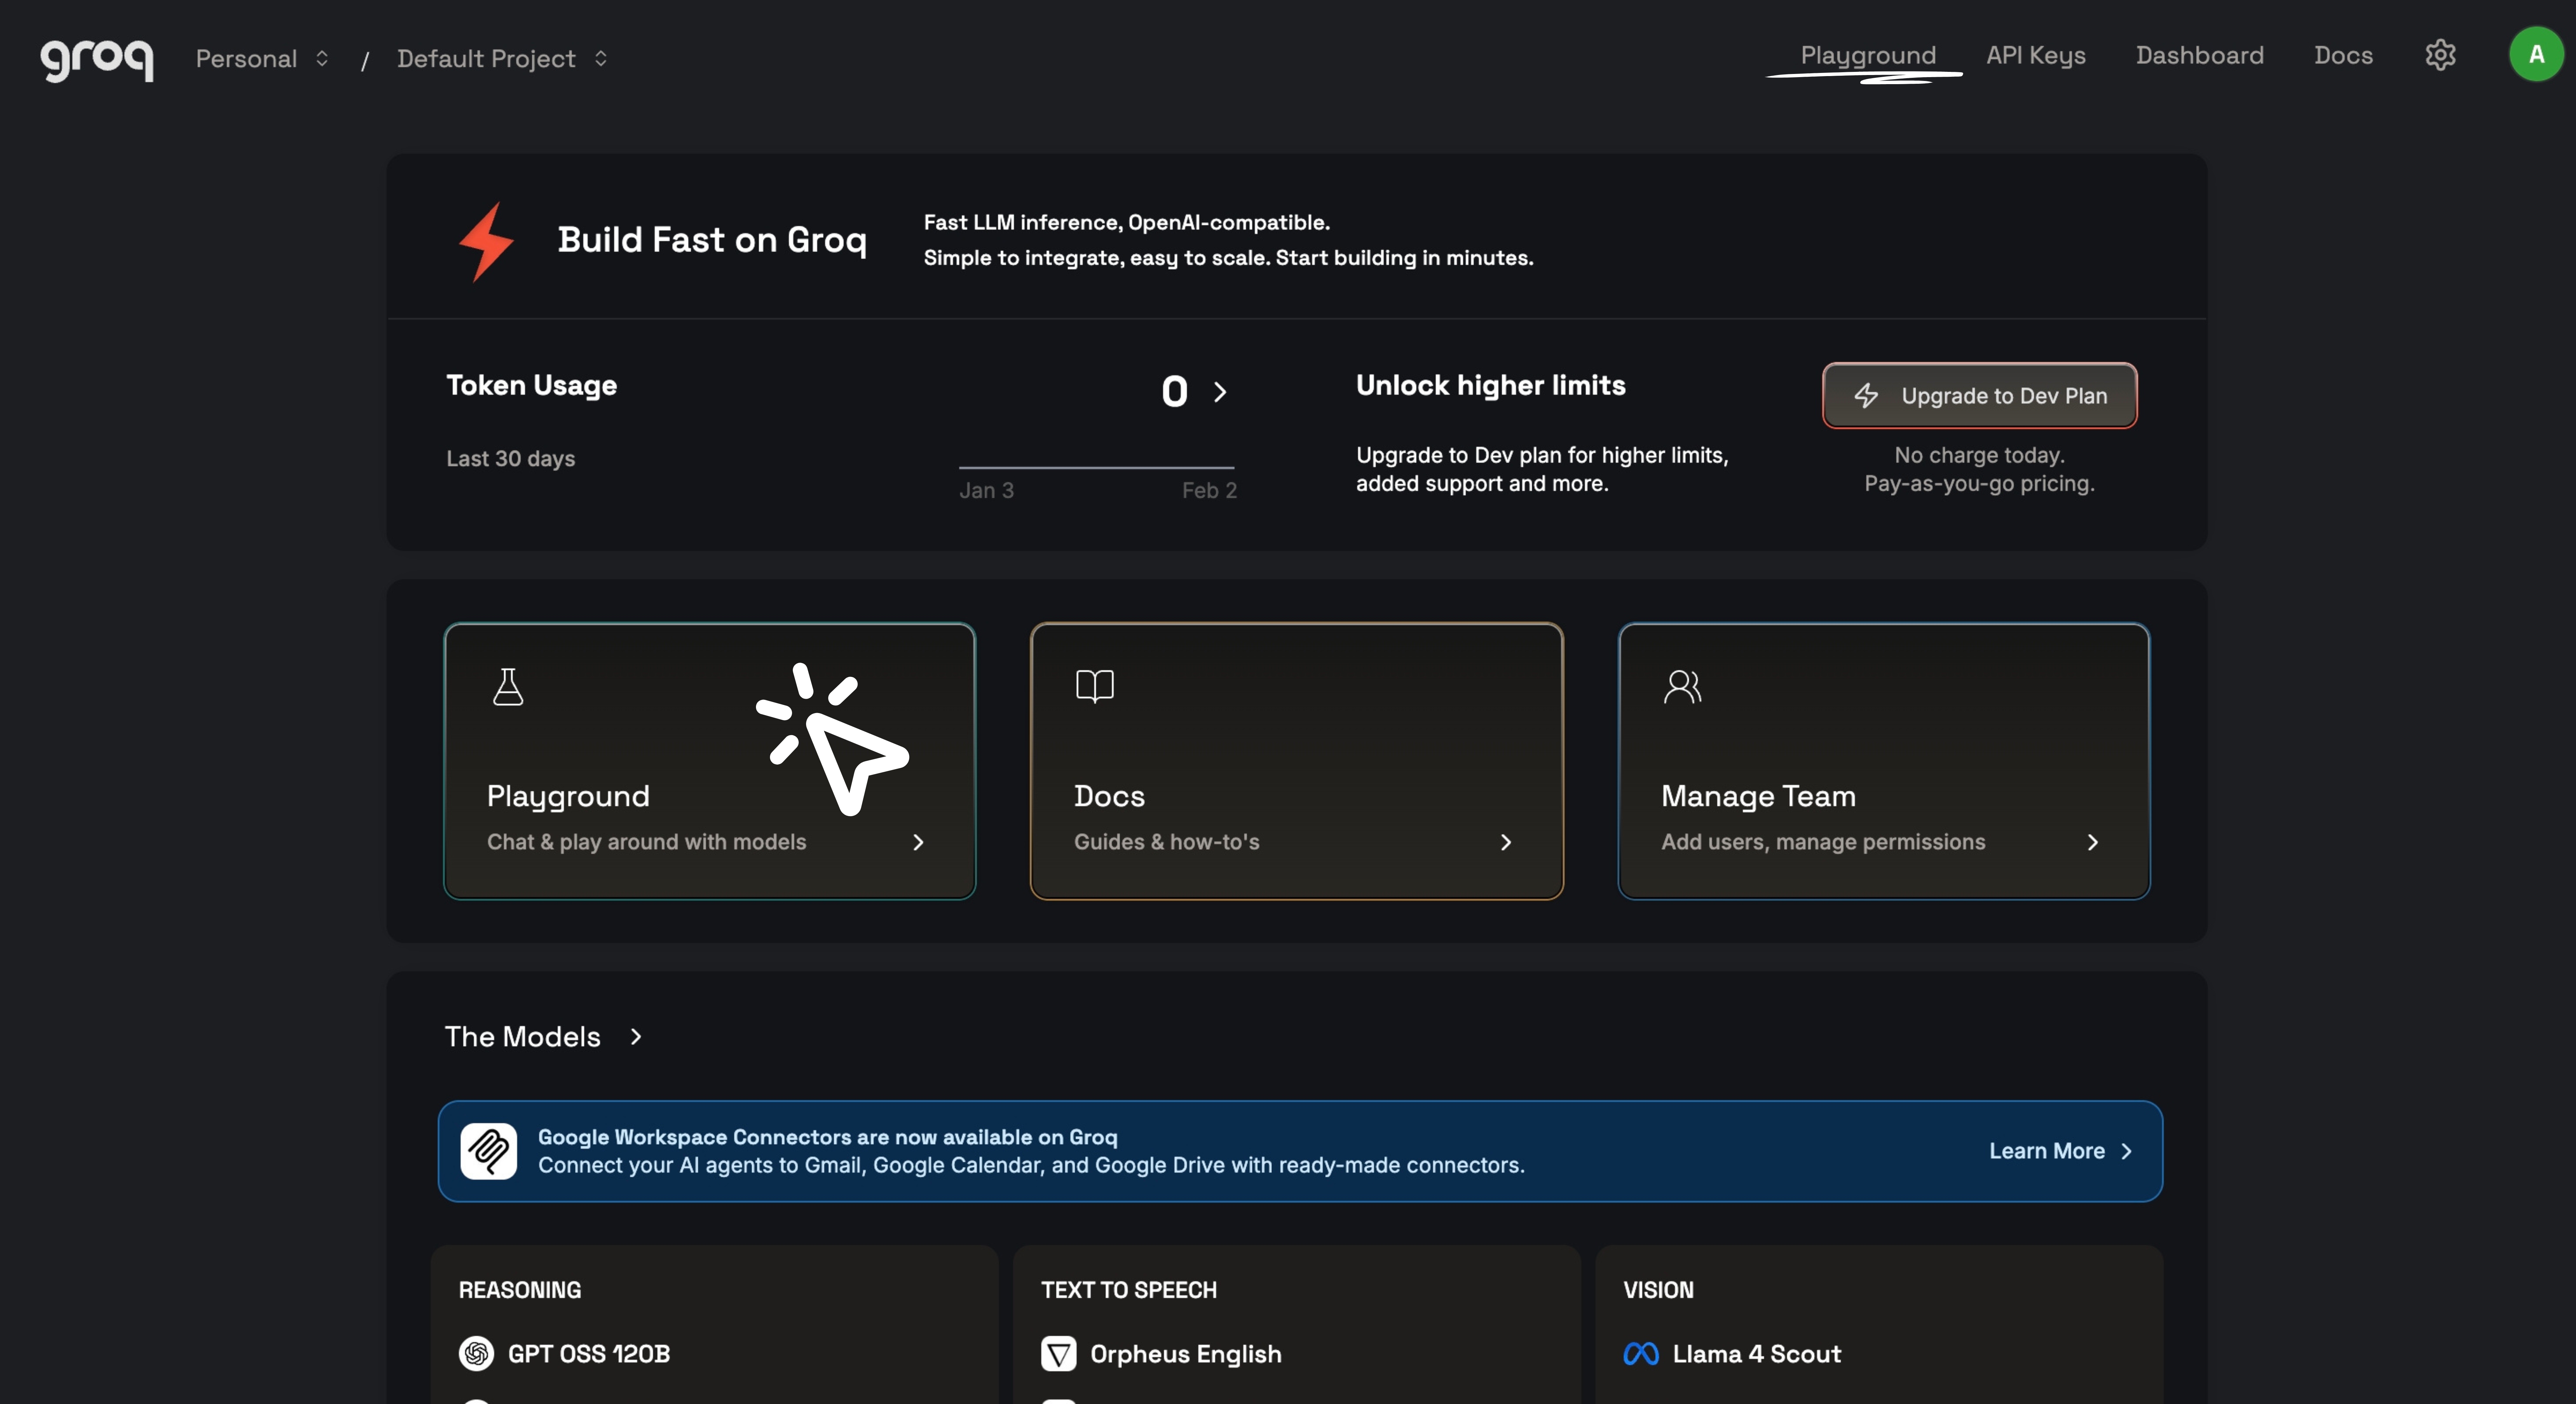 Click Playground in the Groq dashboard.
Step 7:
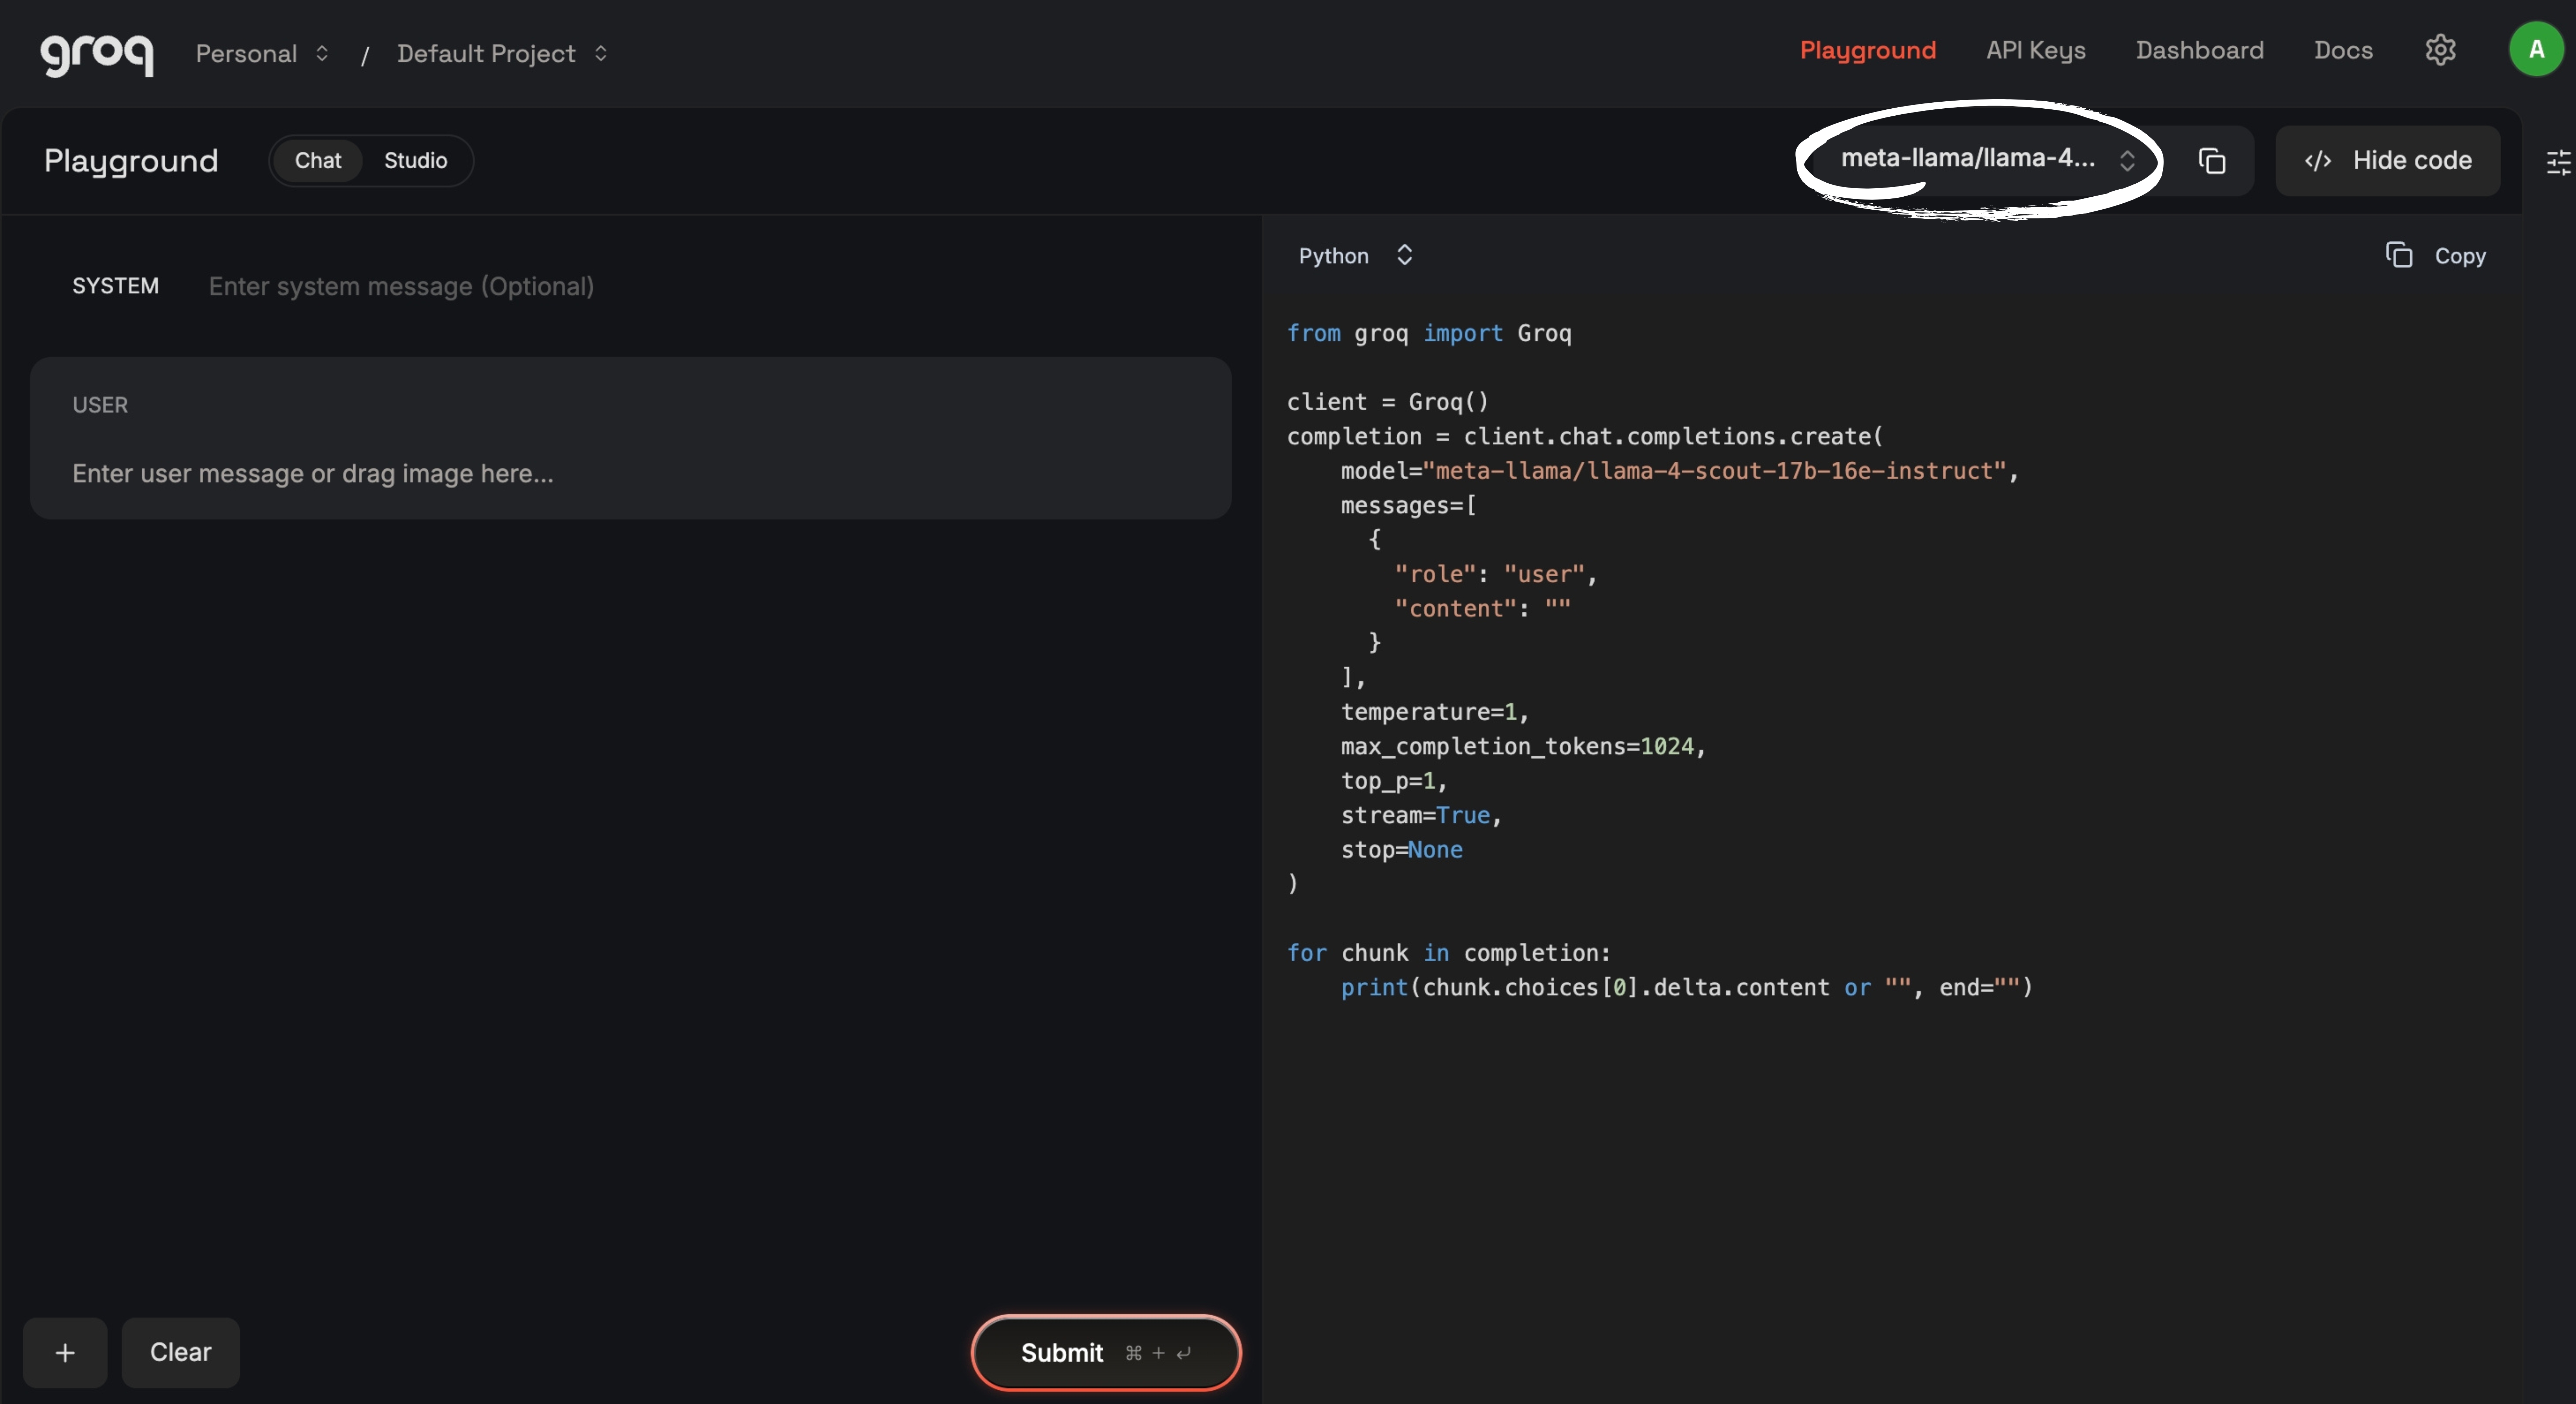 Click the highlighted section to view the AI models available for use with AI Renamer.
Step 8:
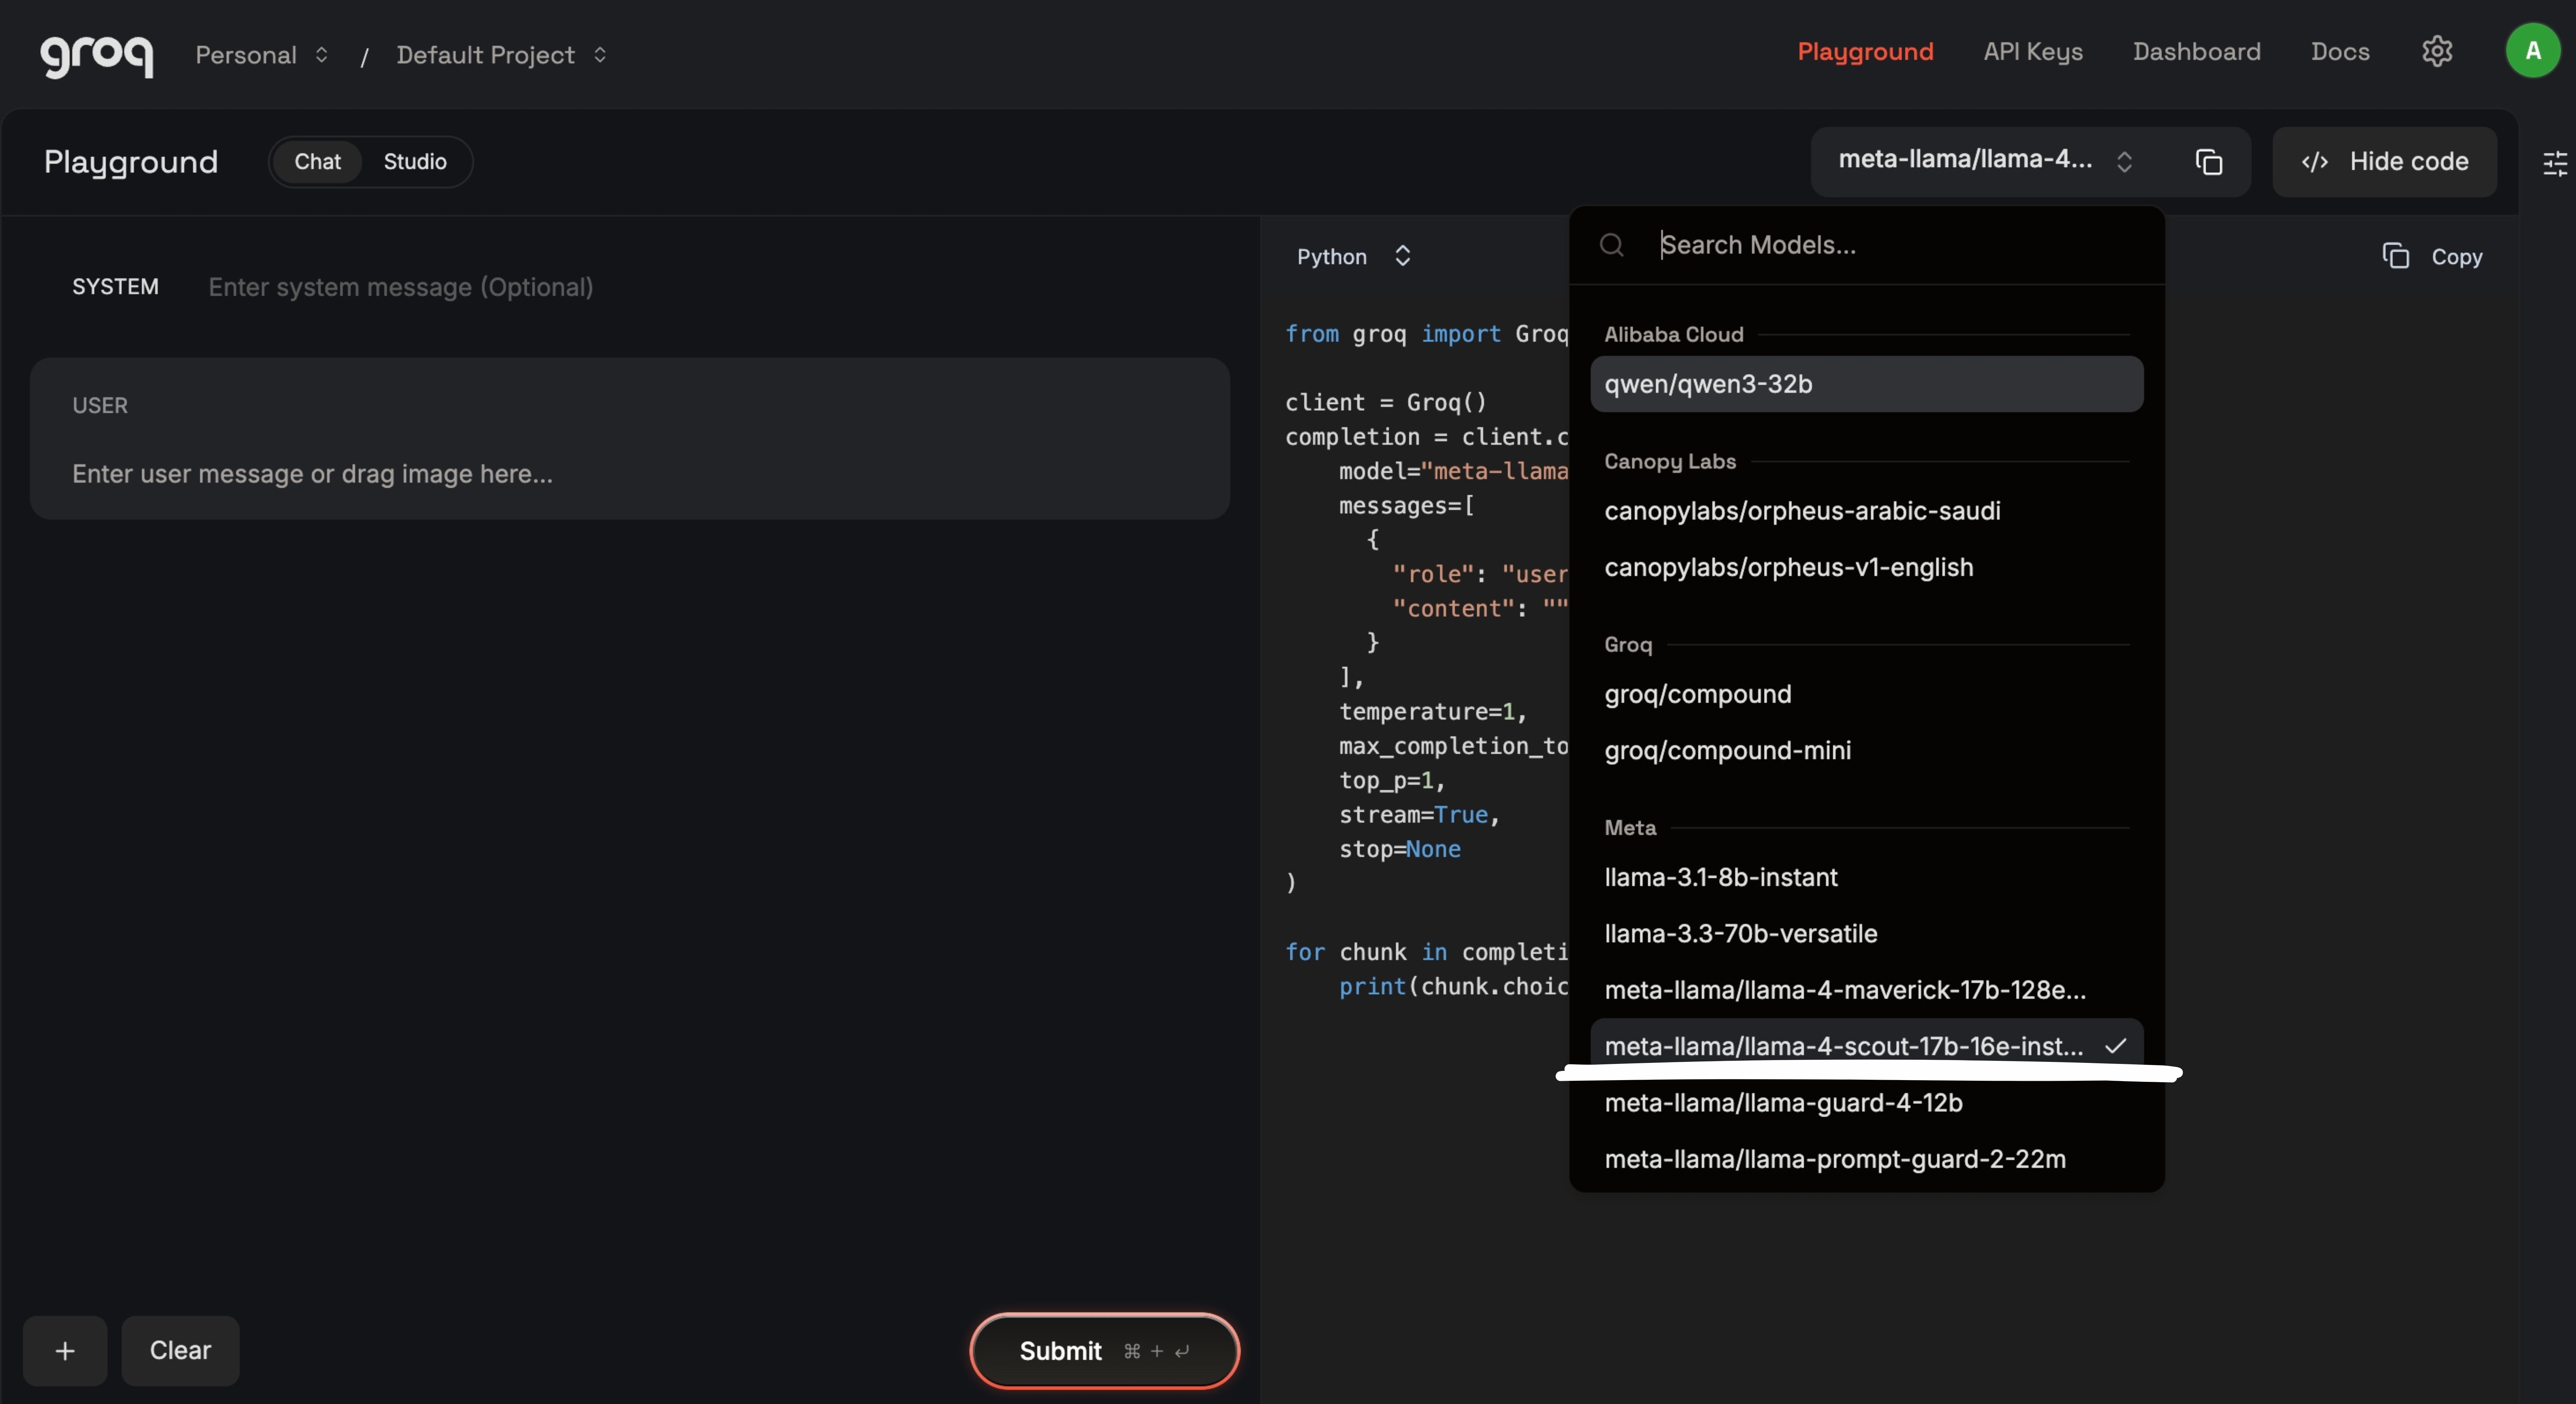 In this guide, I selected the Meta Llama 4 Scout model to rename files.
Step 9:
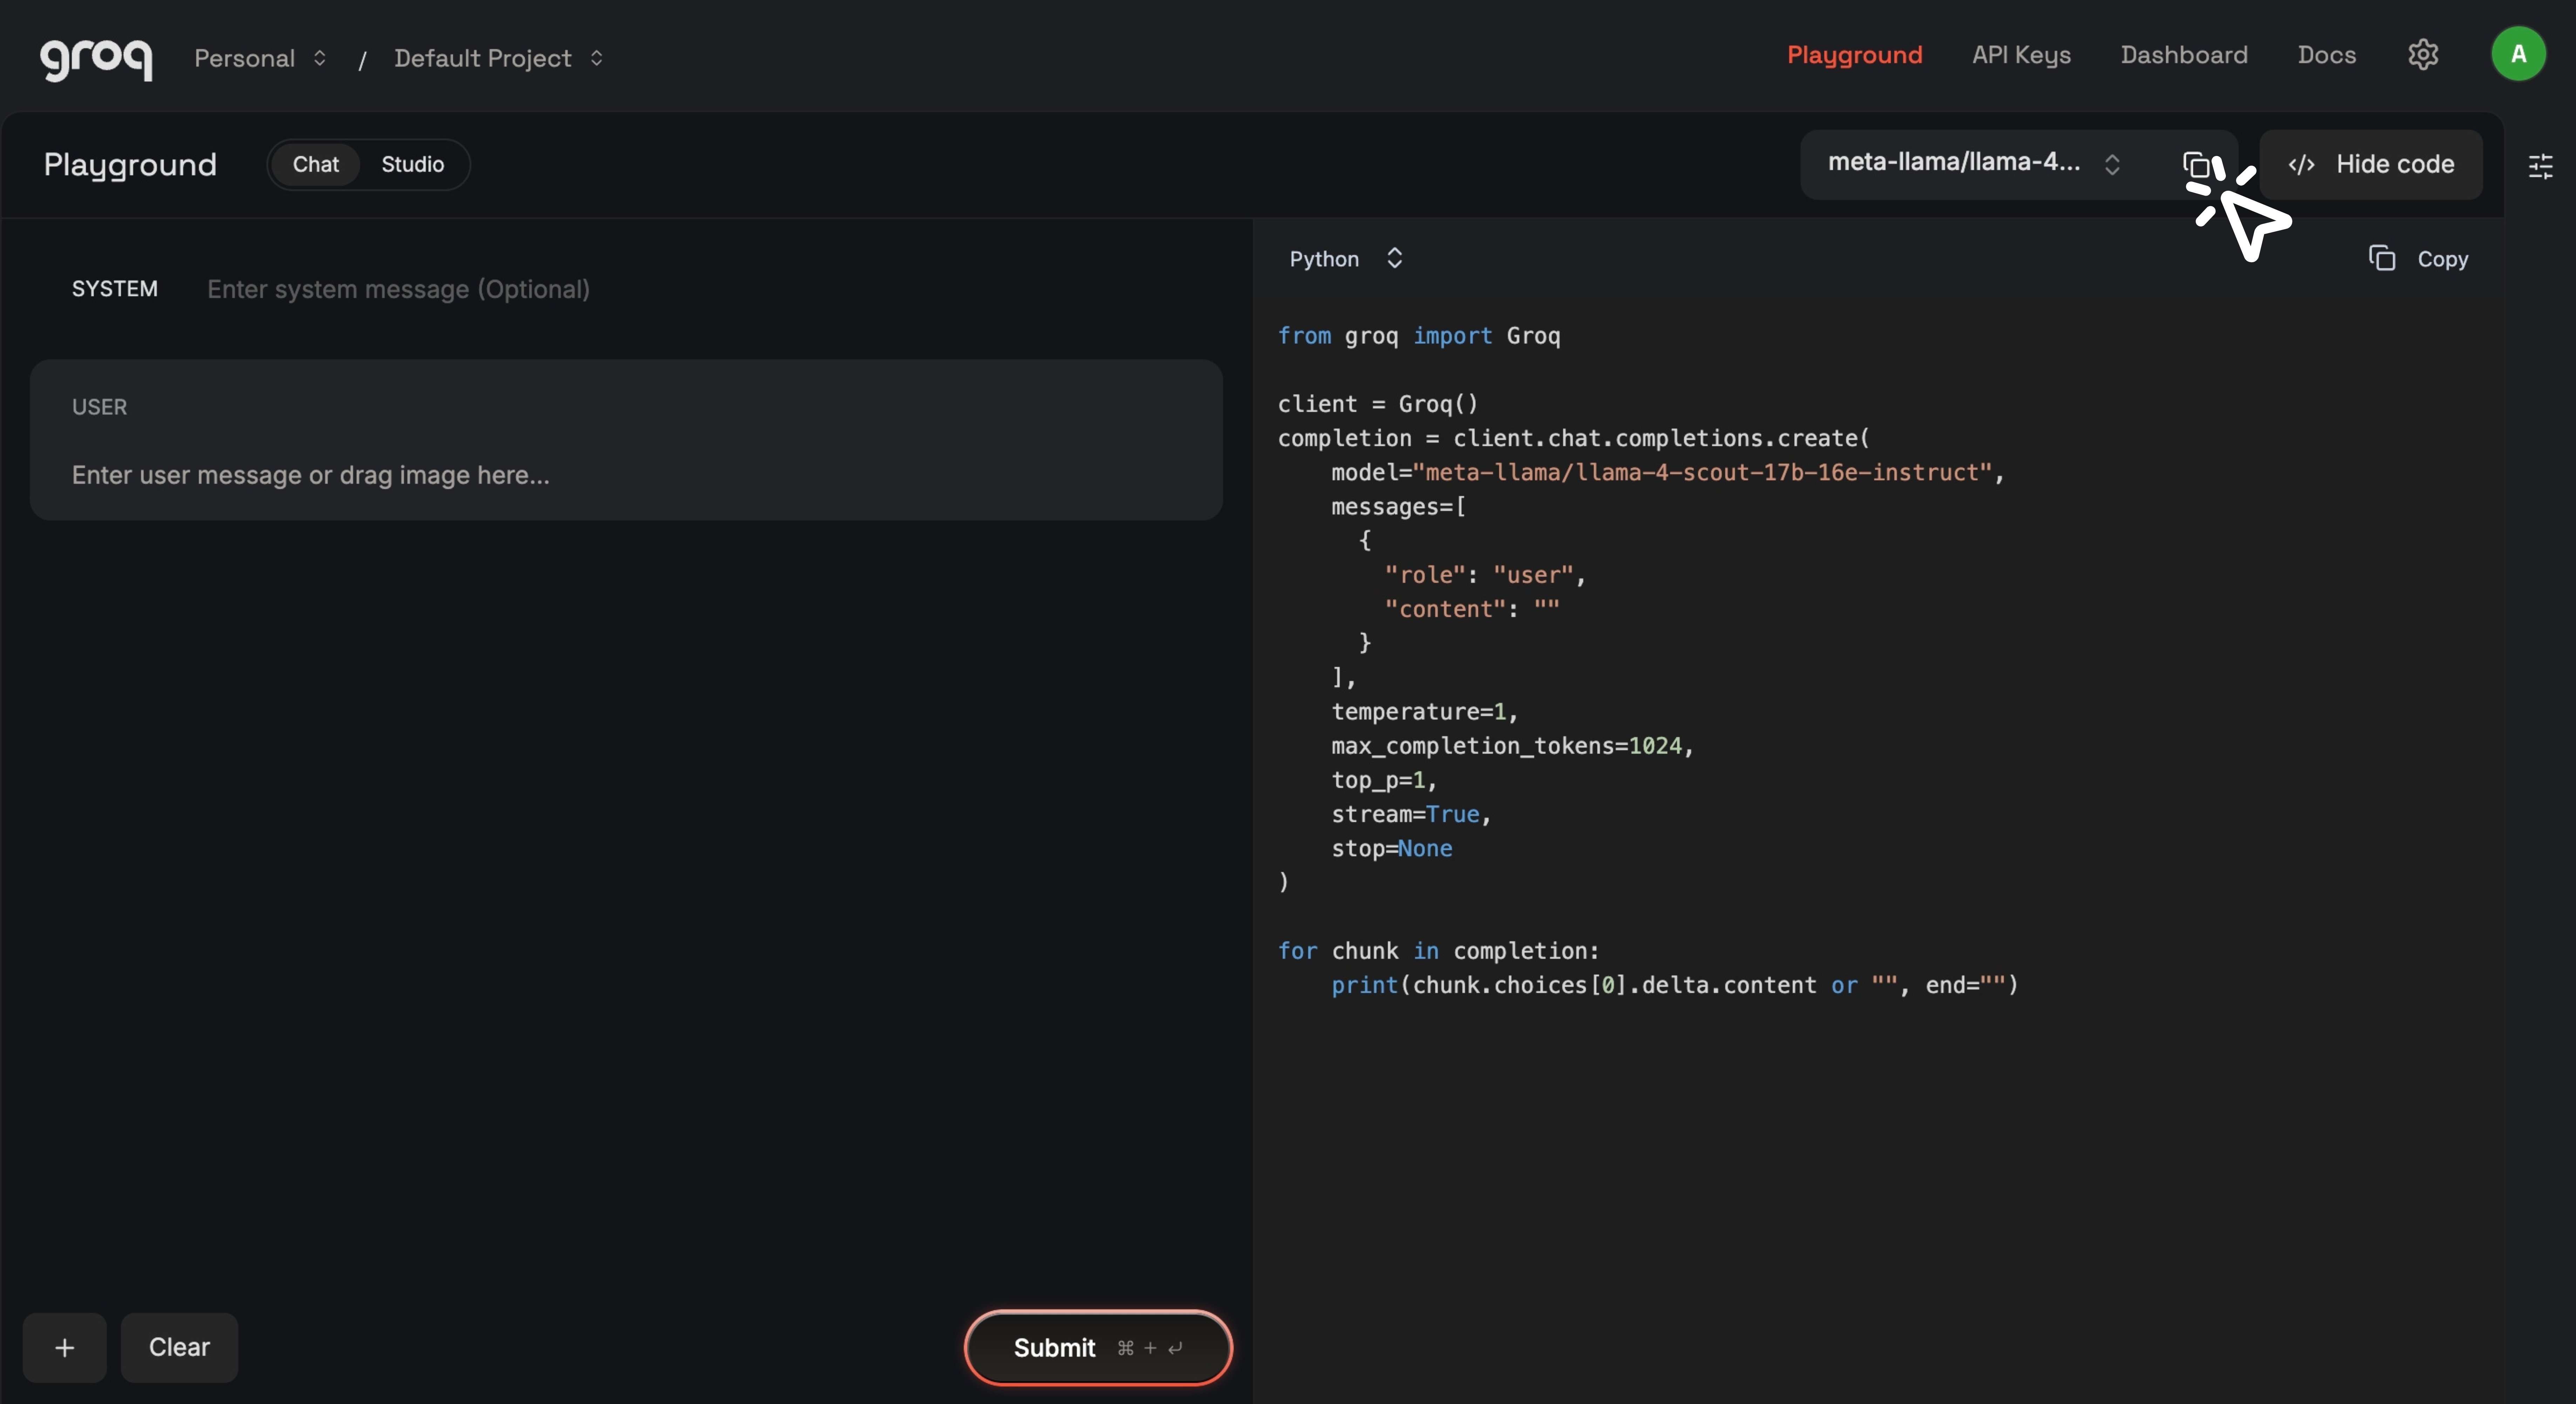 To use this model in AI Renamer, copy the model ID.
Step 10:
 Open the AI Renamer app on your computer and go to the Settings section.
Step 11:
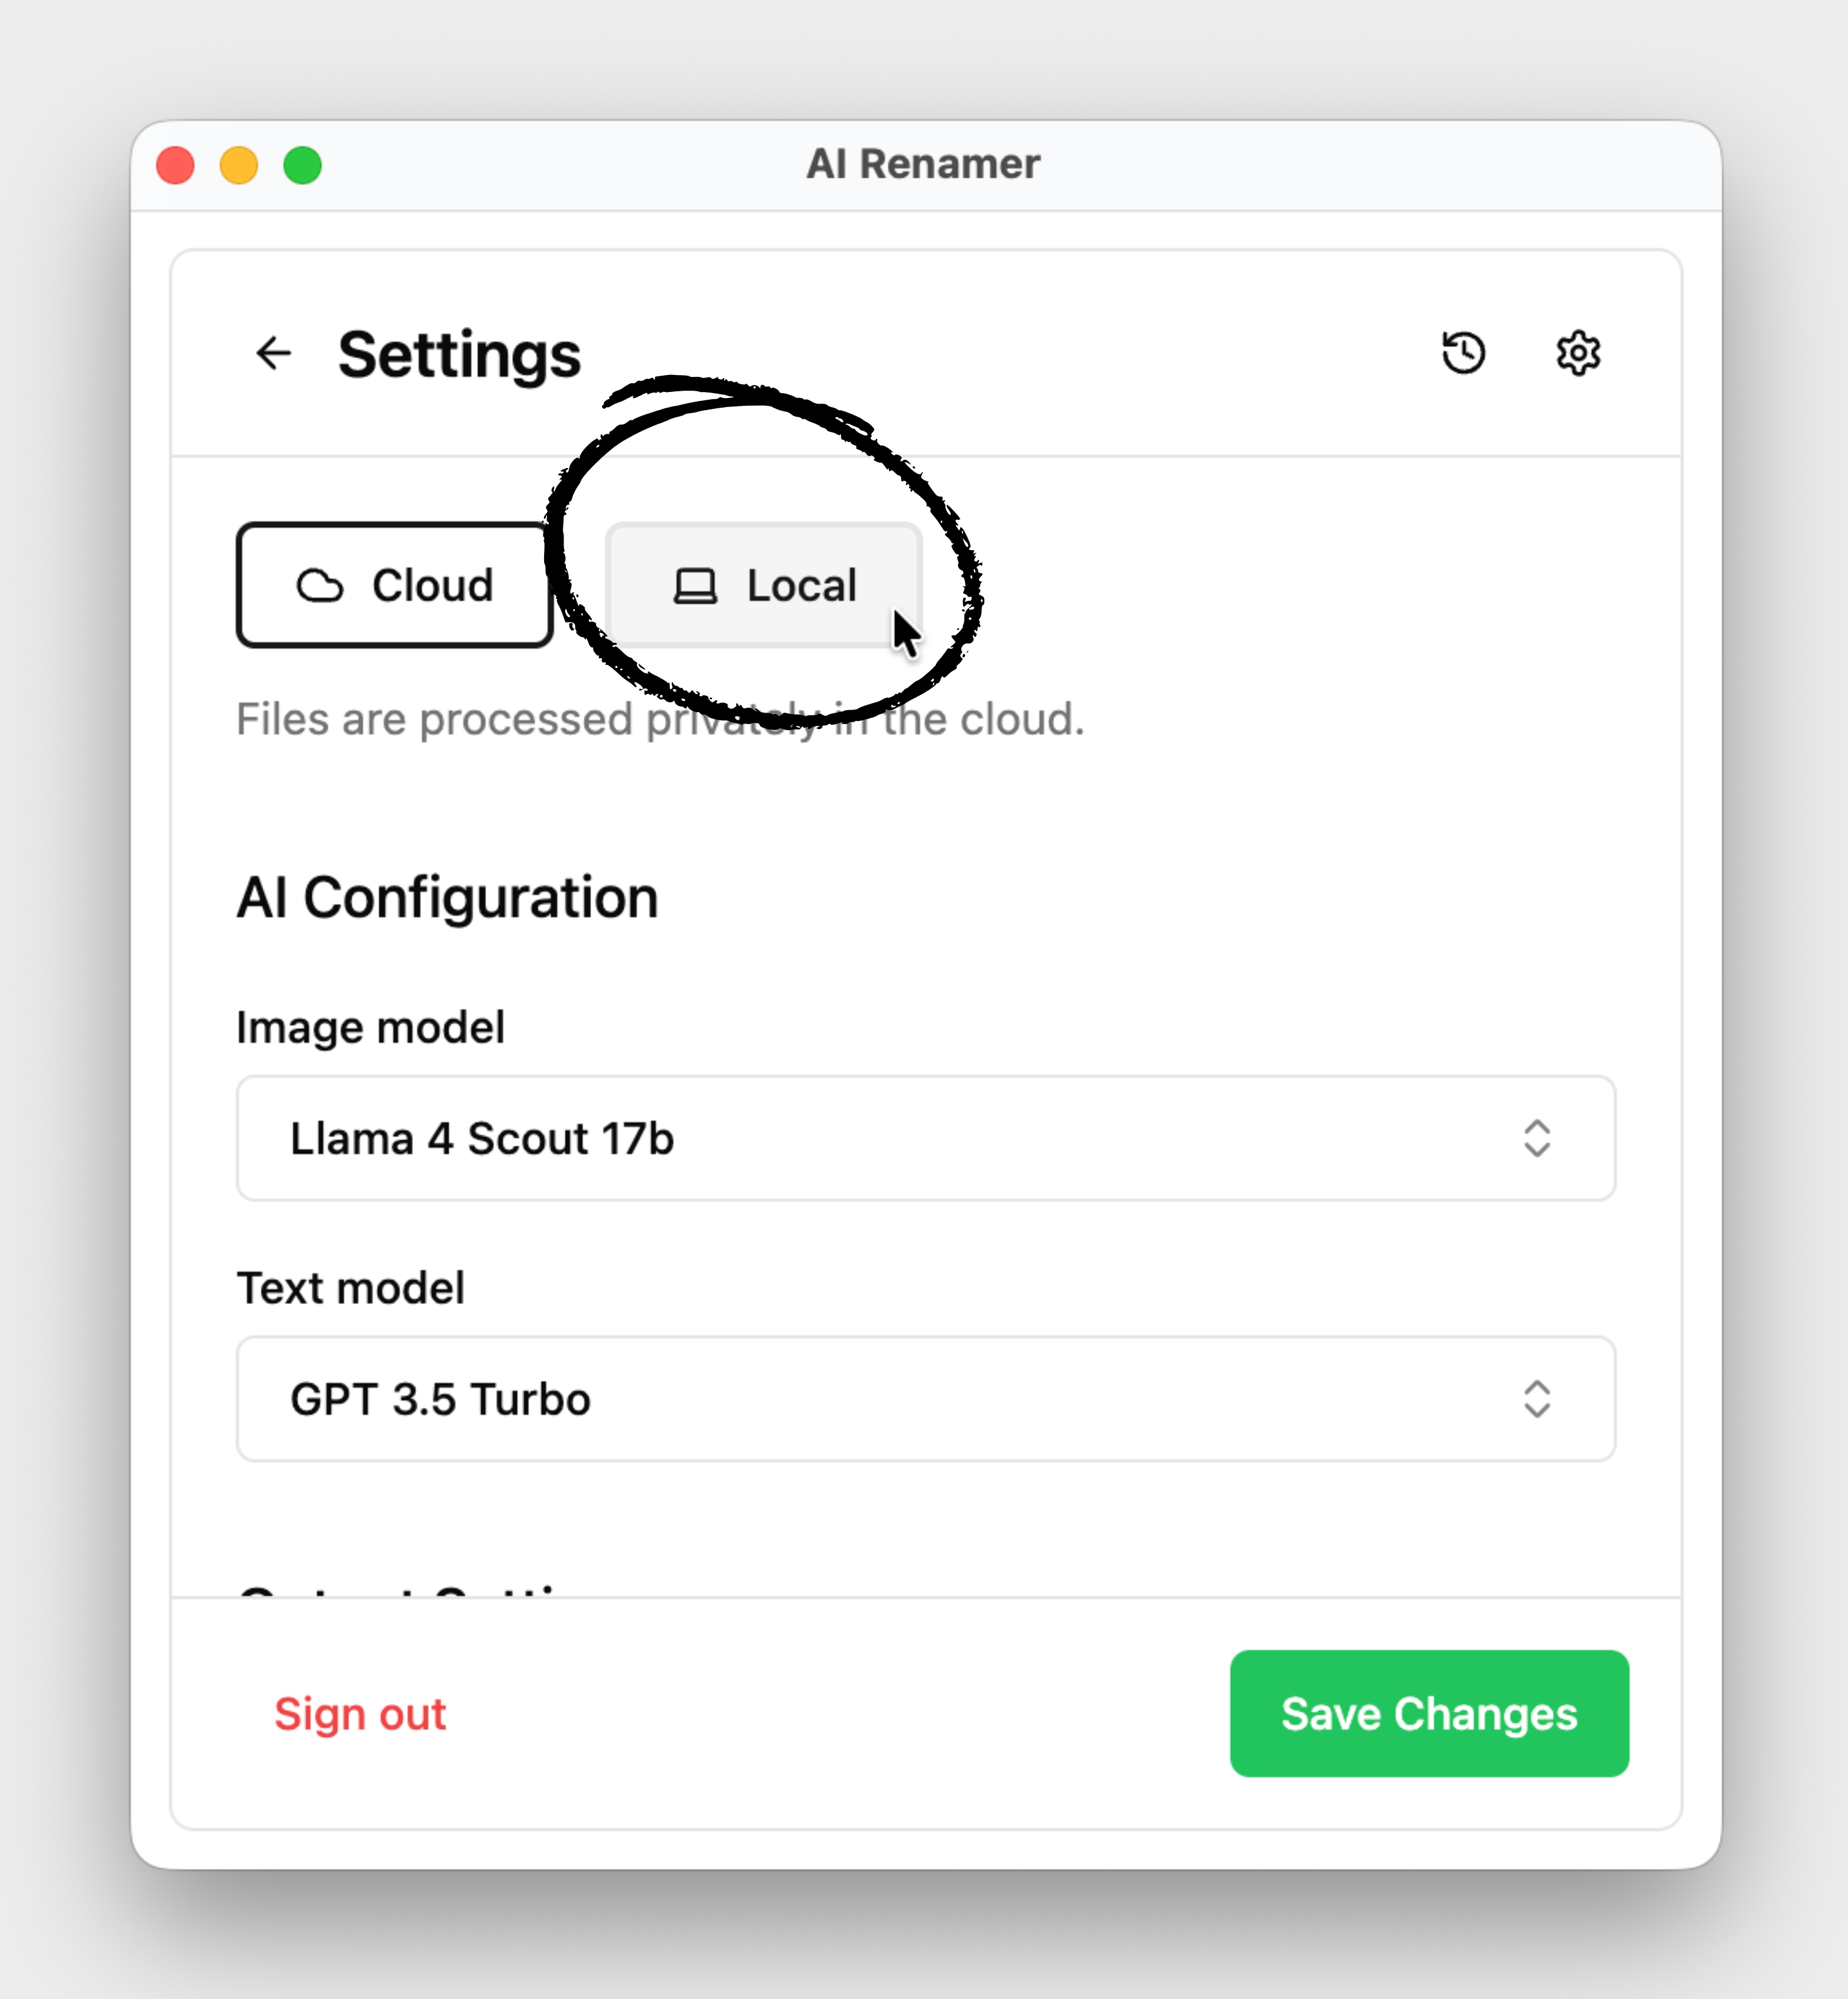 Select Local Mode in AI Renamer.
Step 12:
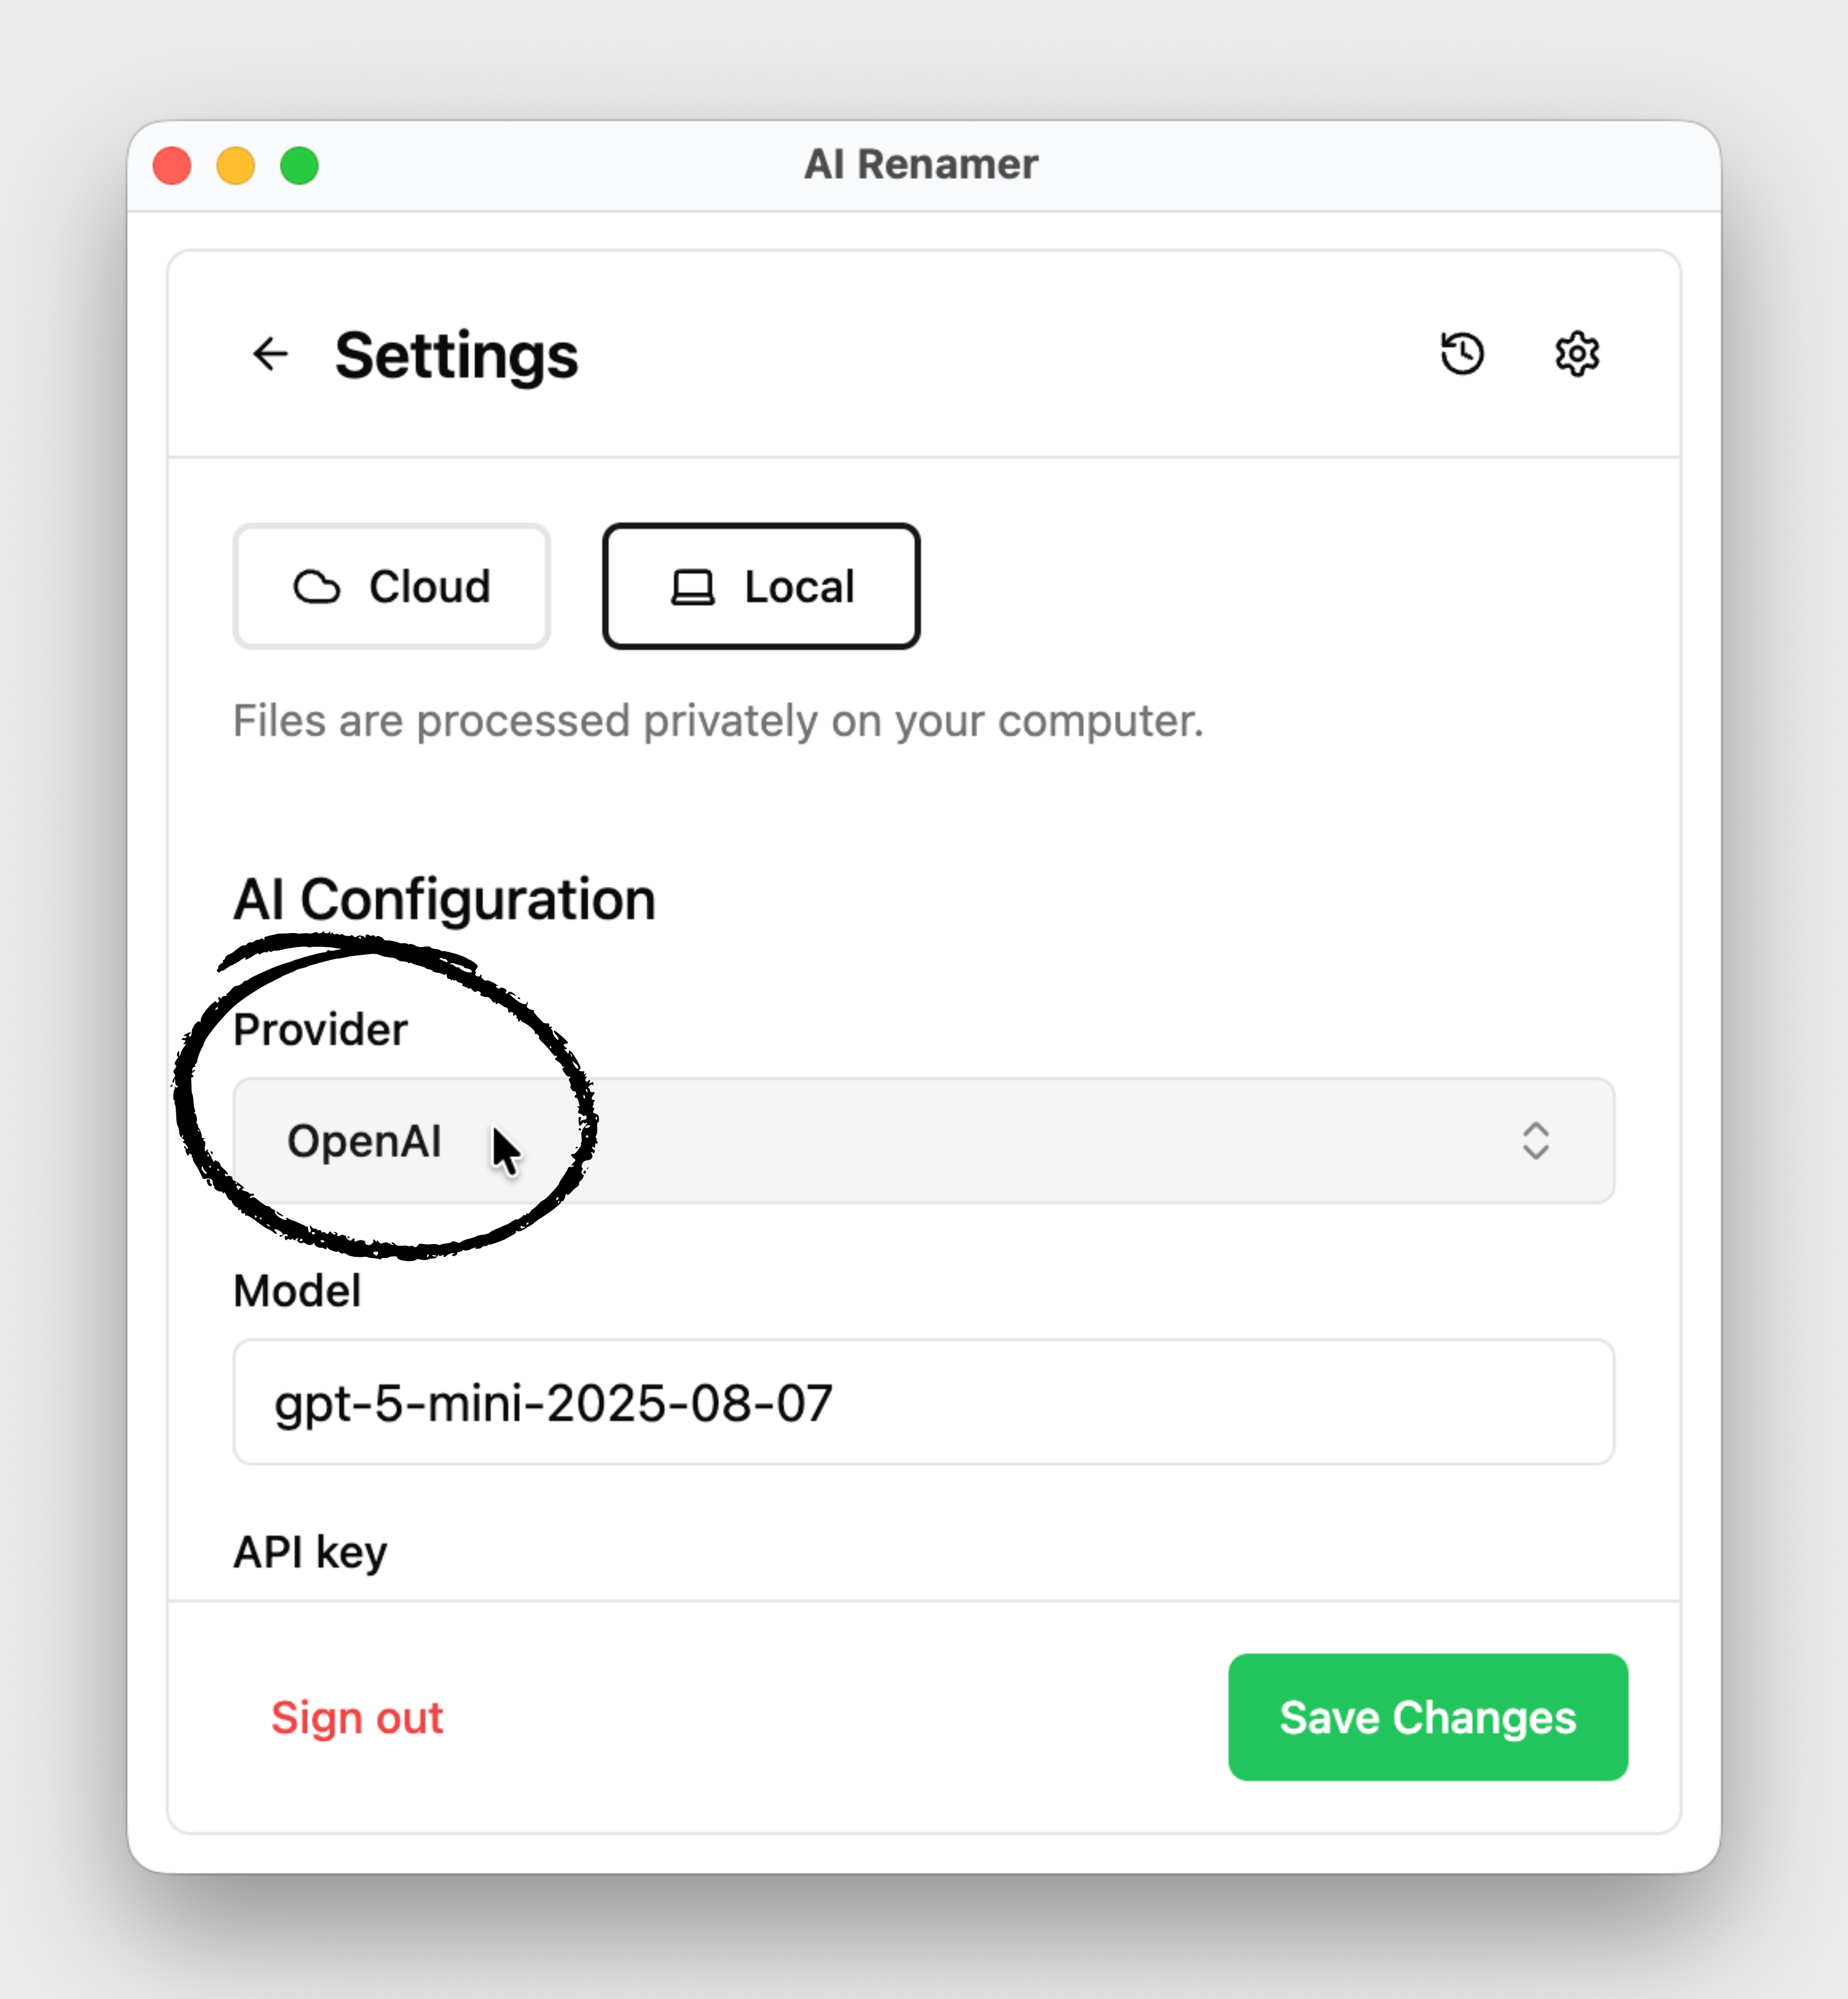 In the AI Configuration section, click the Provider field.
Step 13:
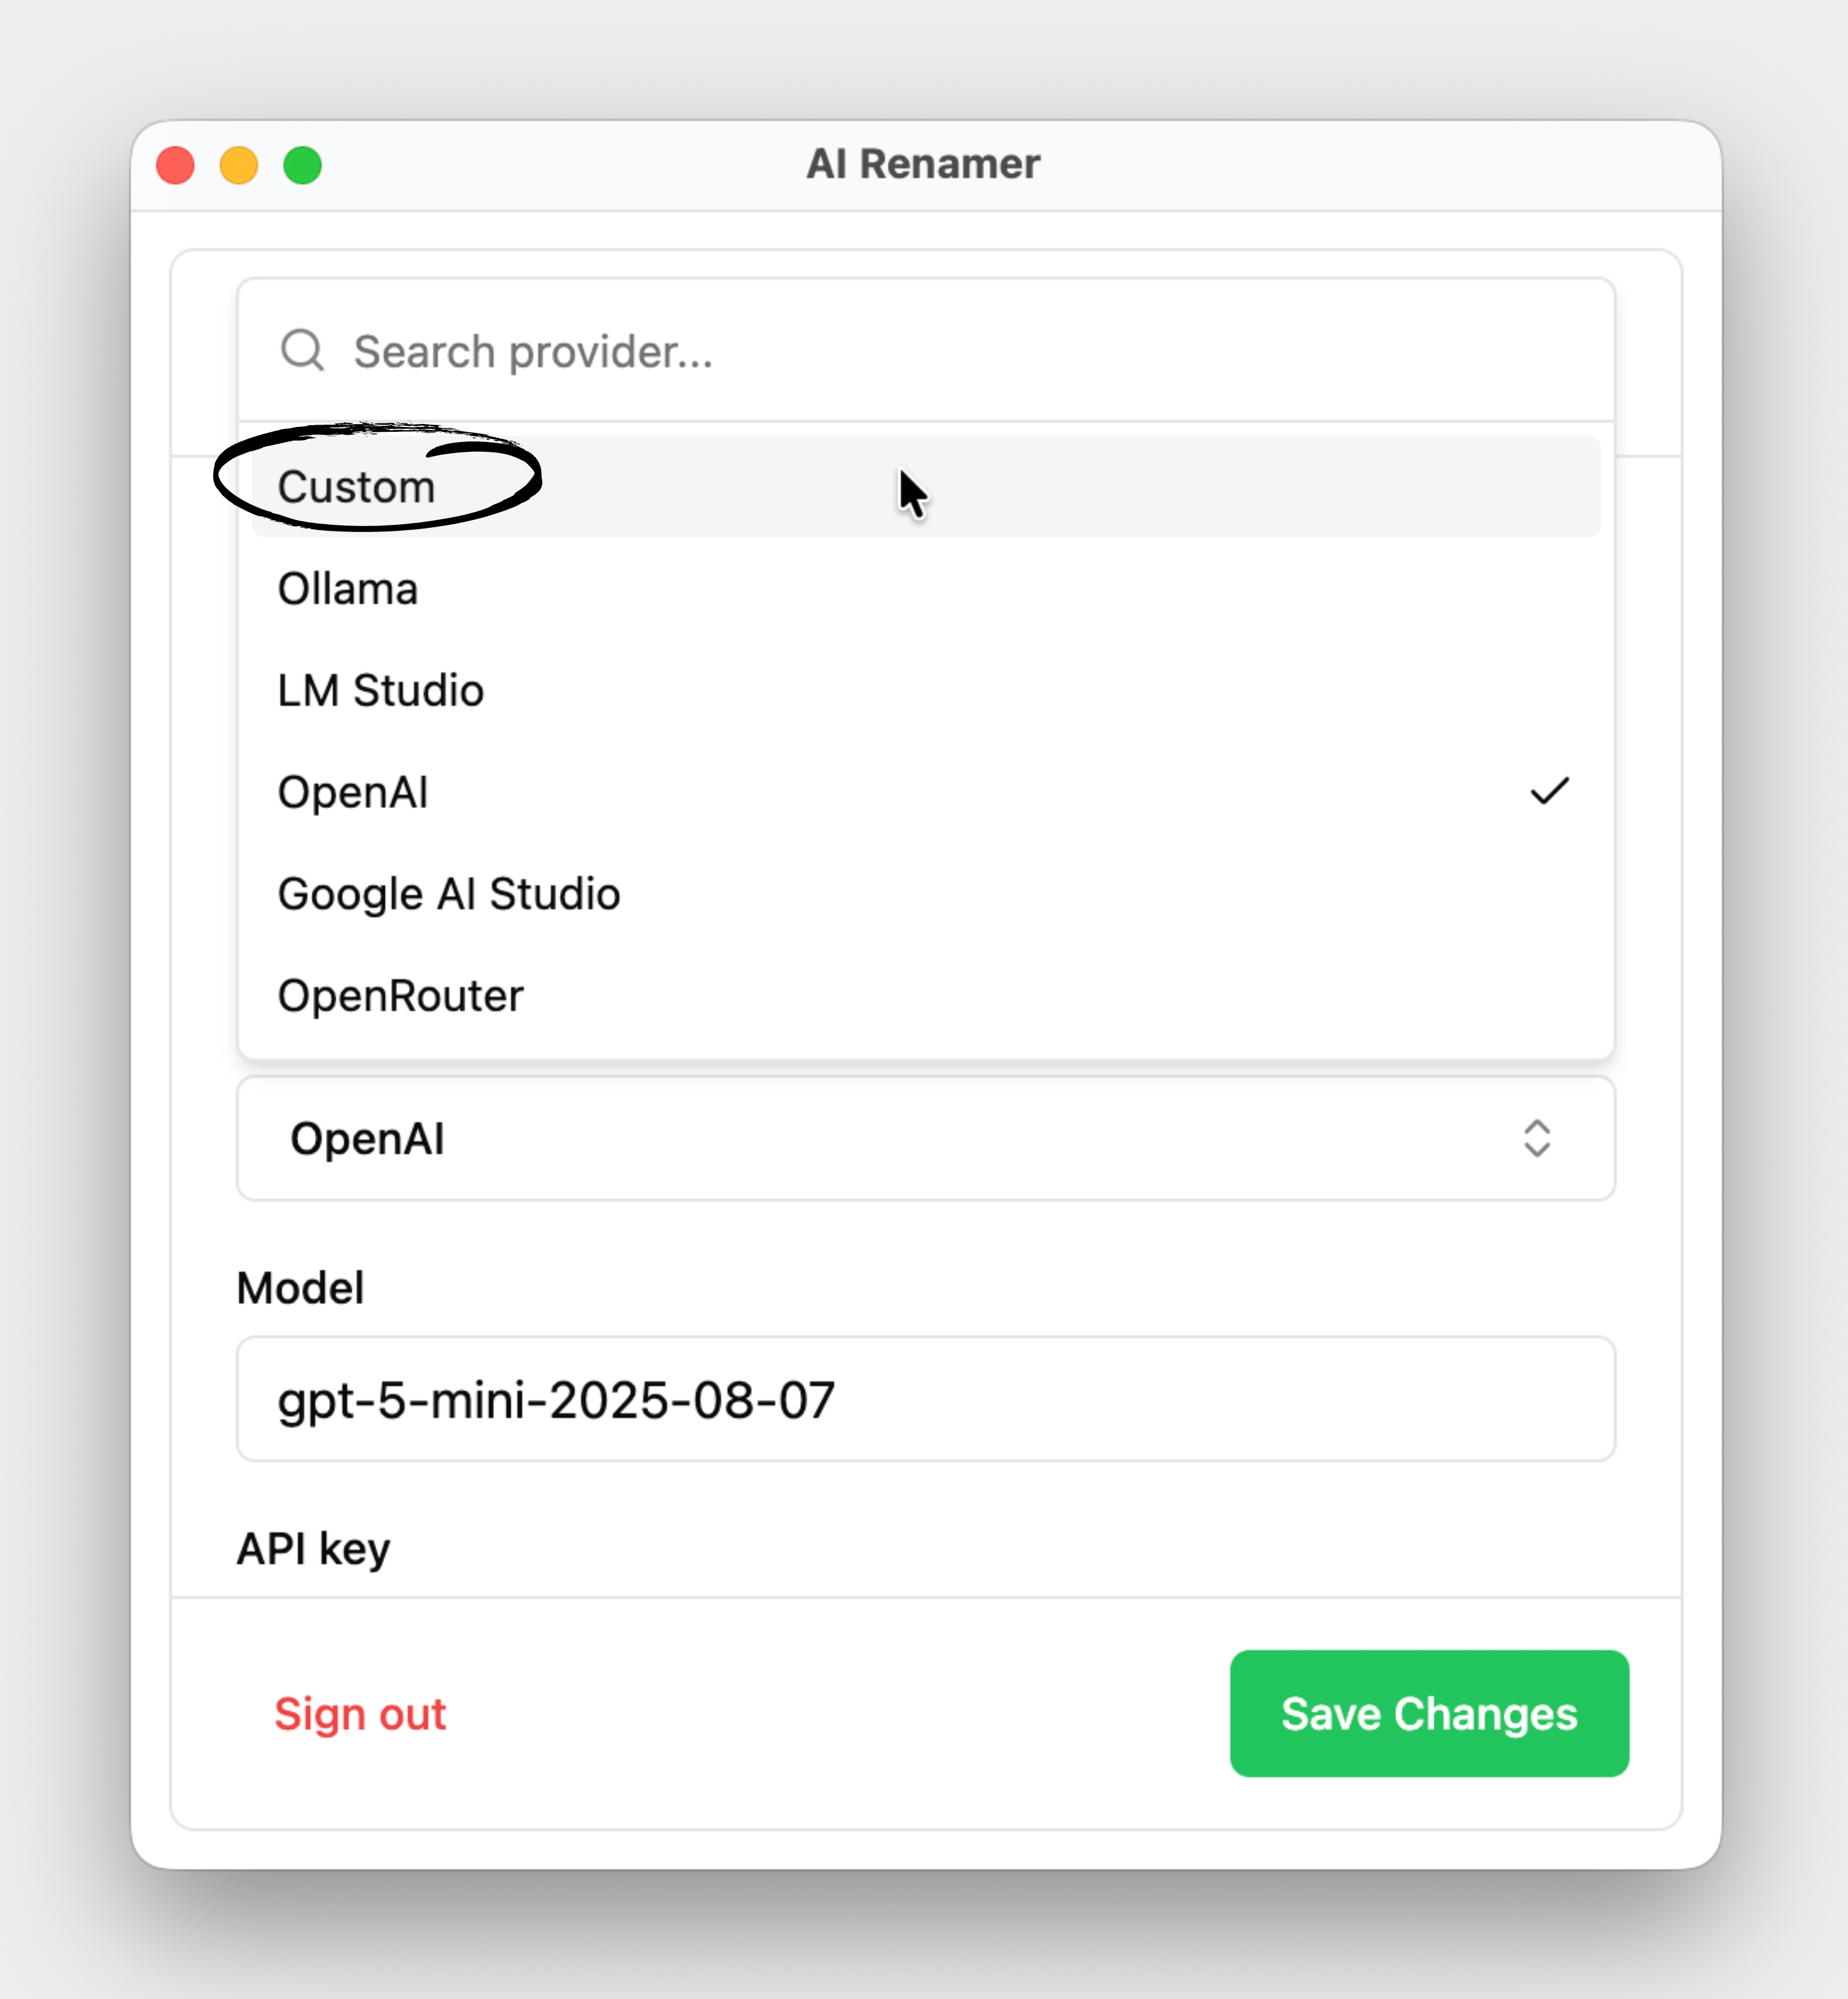 Select Custom as the provider.
Step 14:
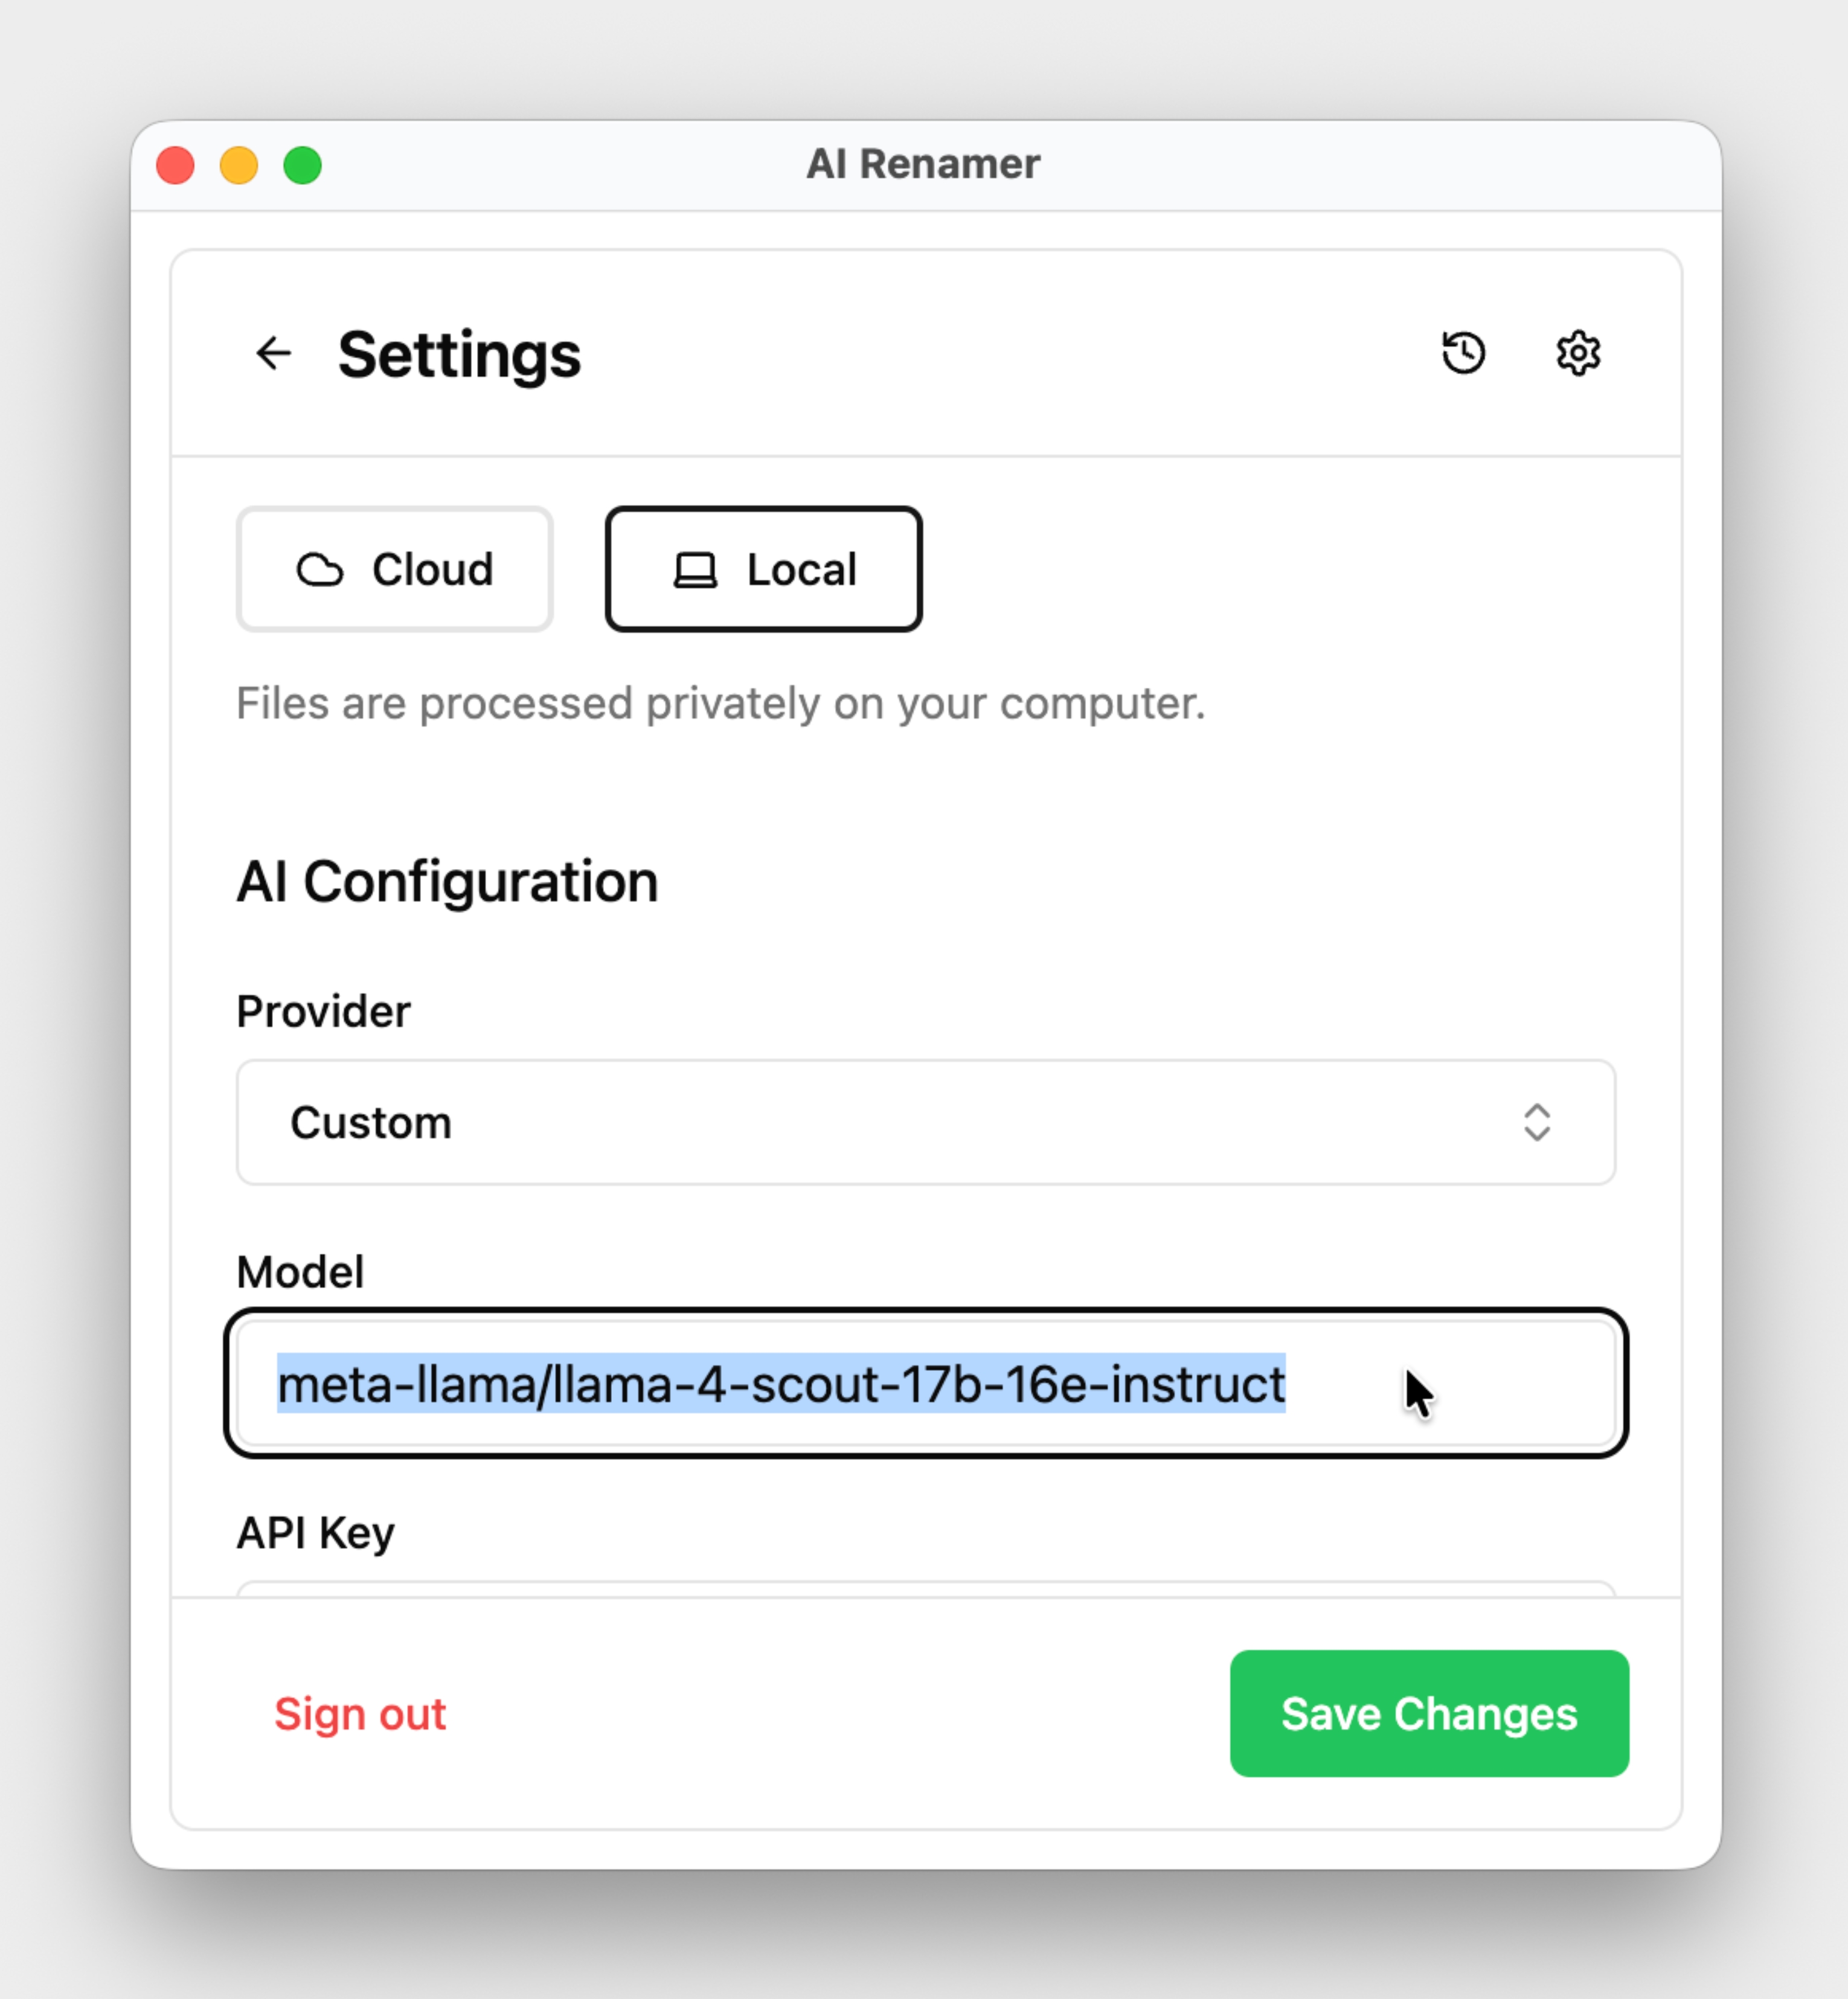 Paste the copied model ID into the Model field.
Step 15:
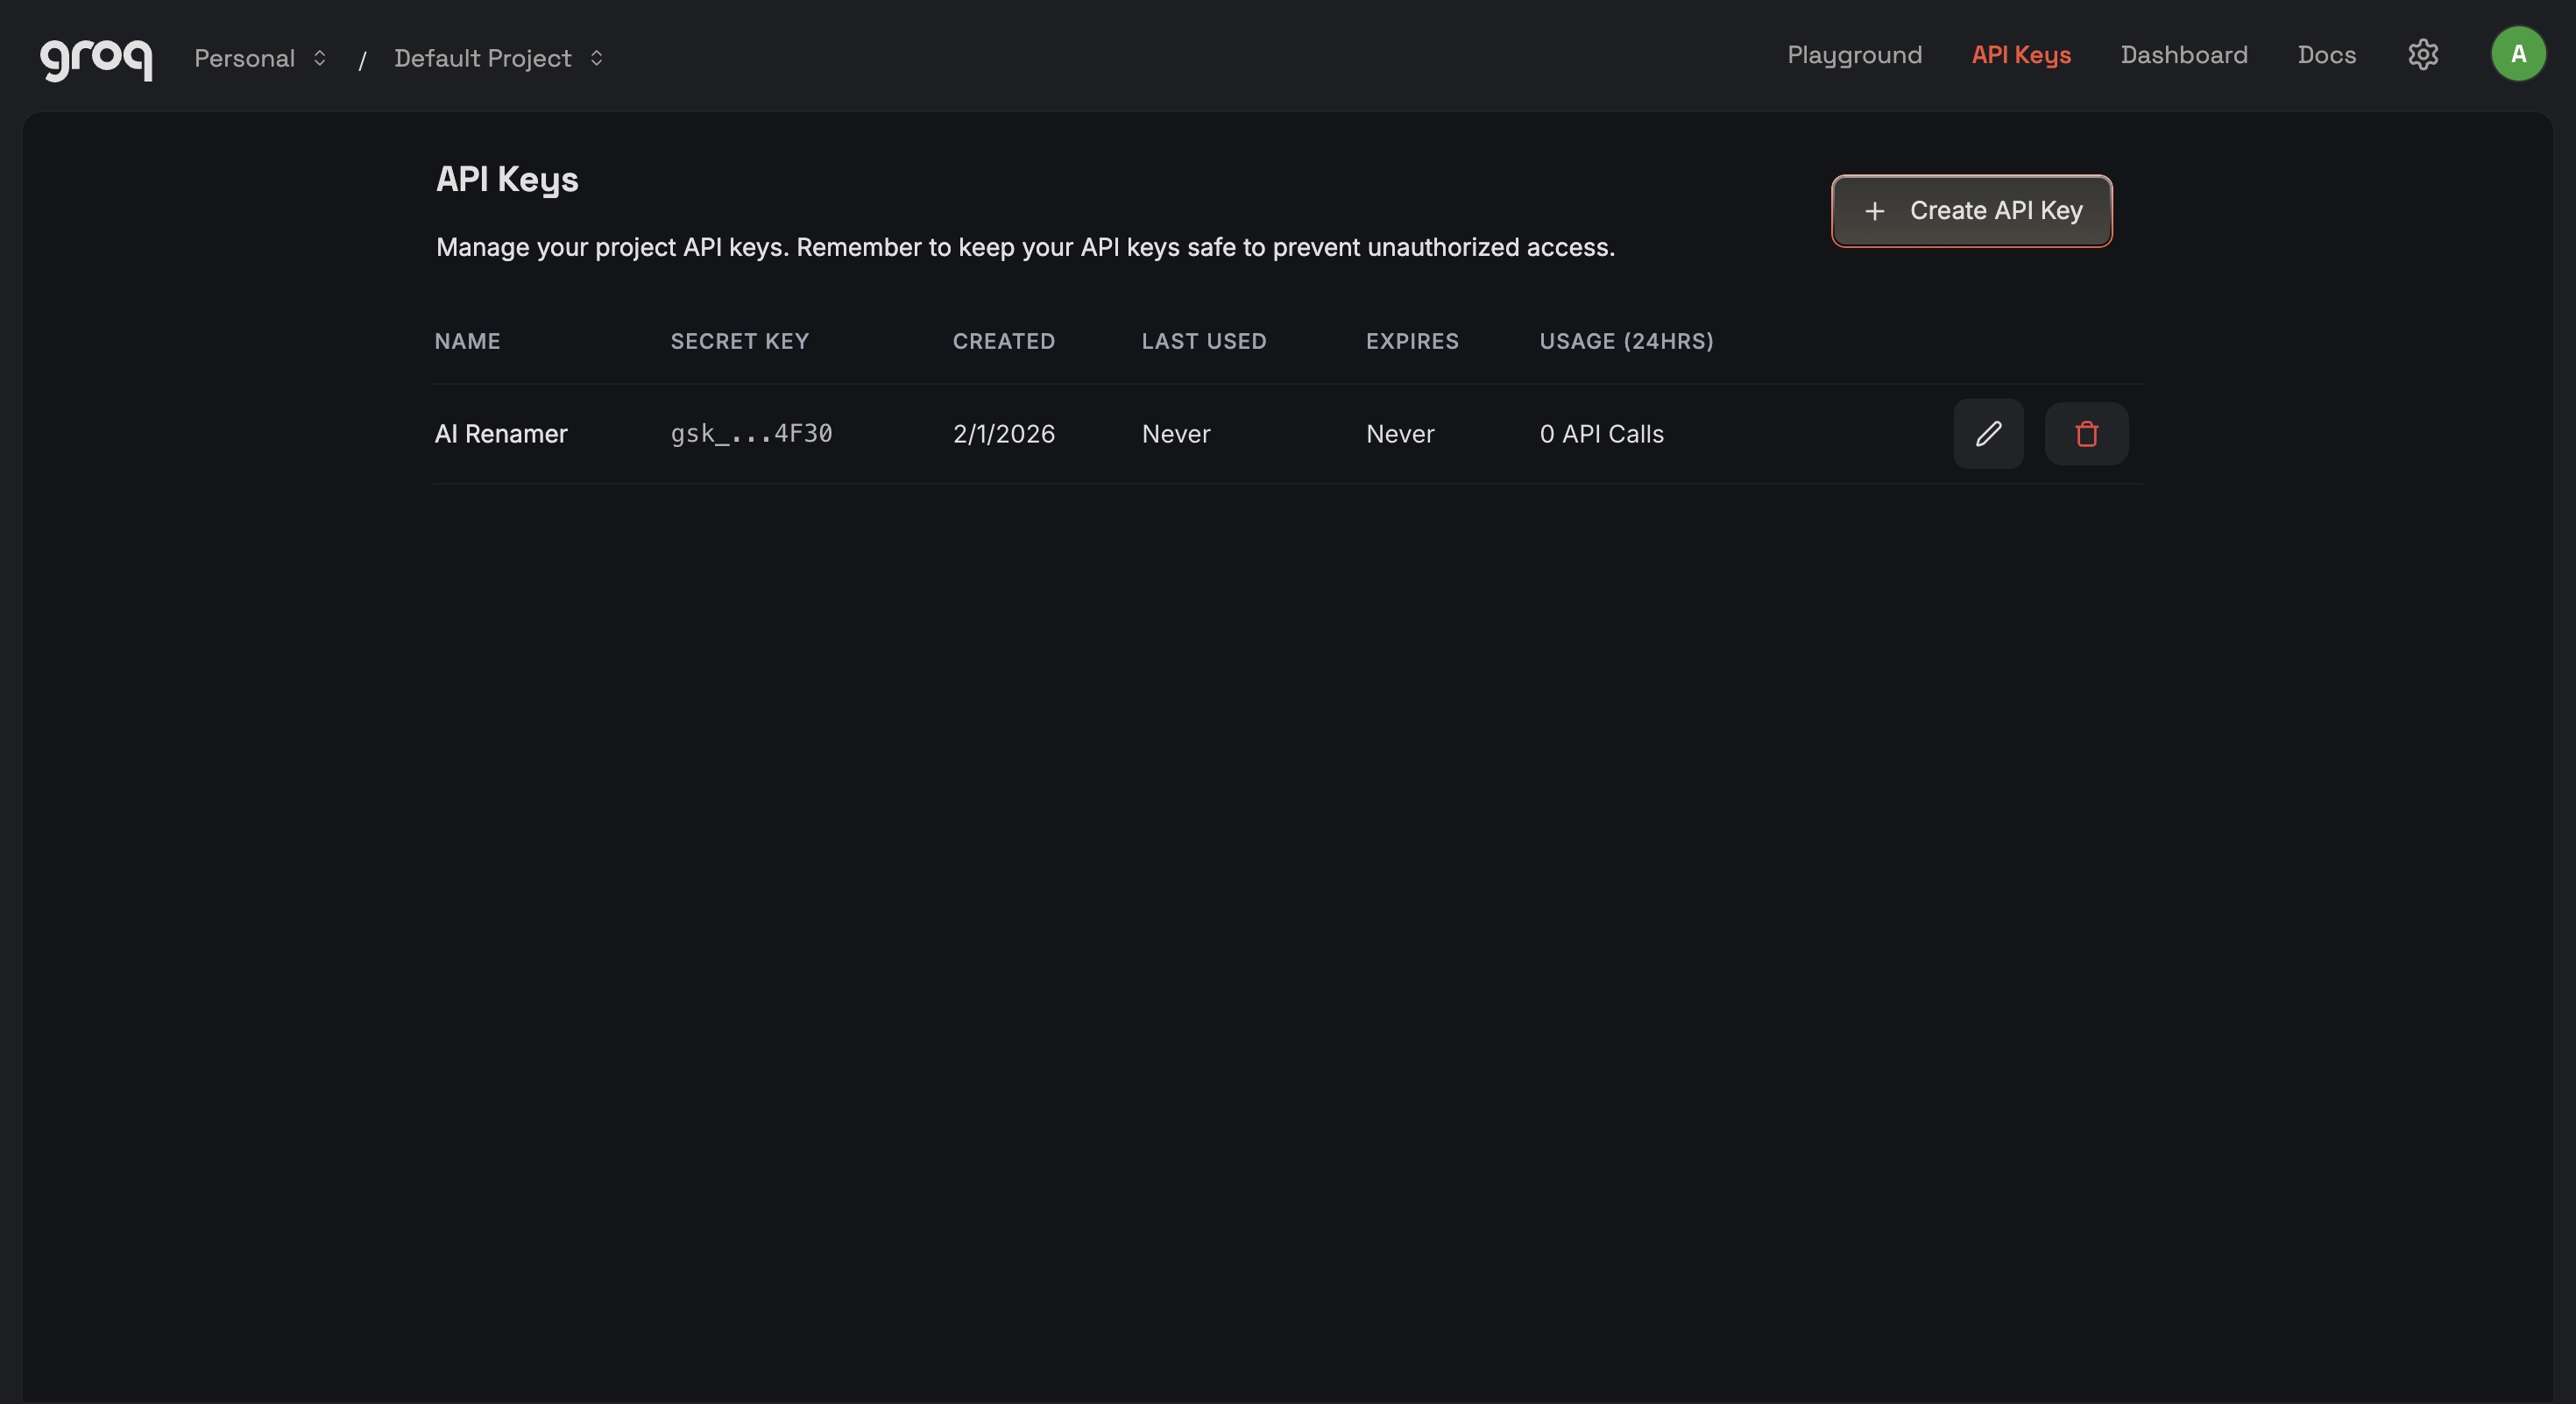
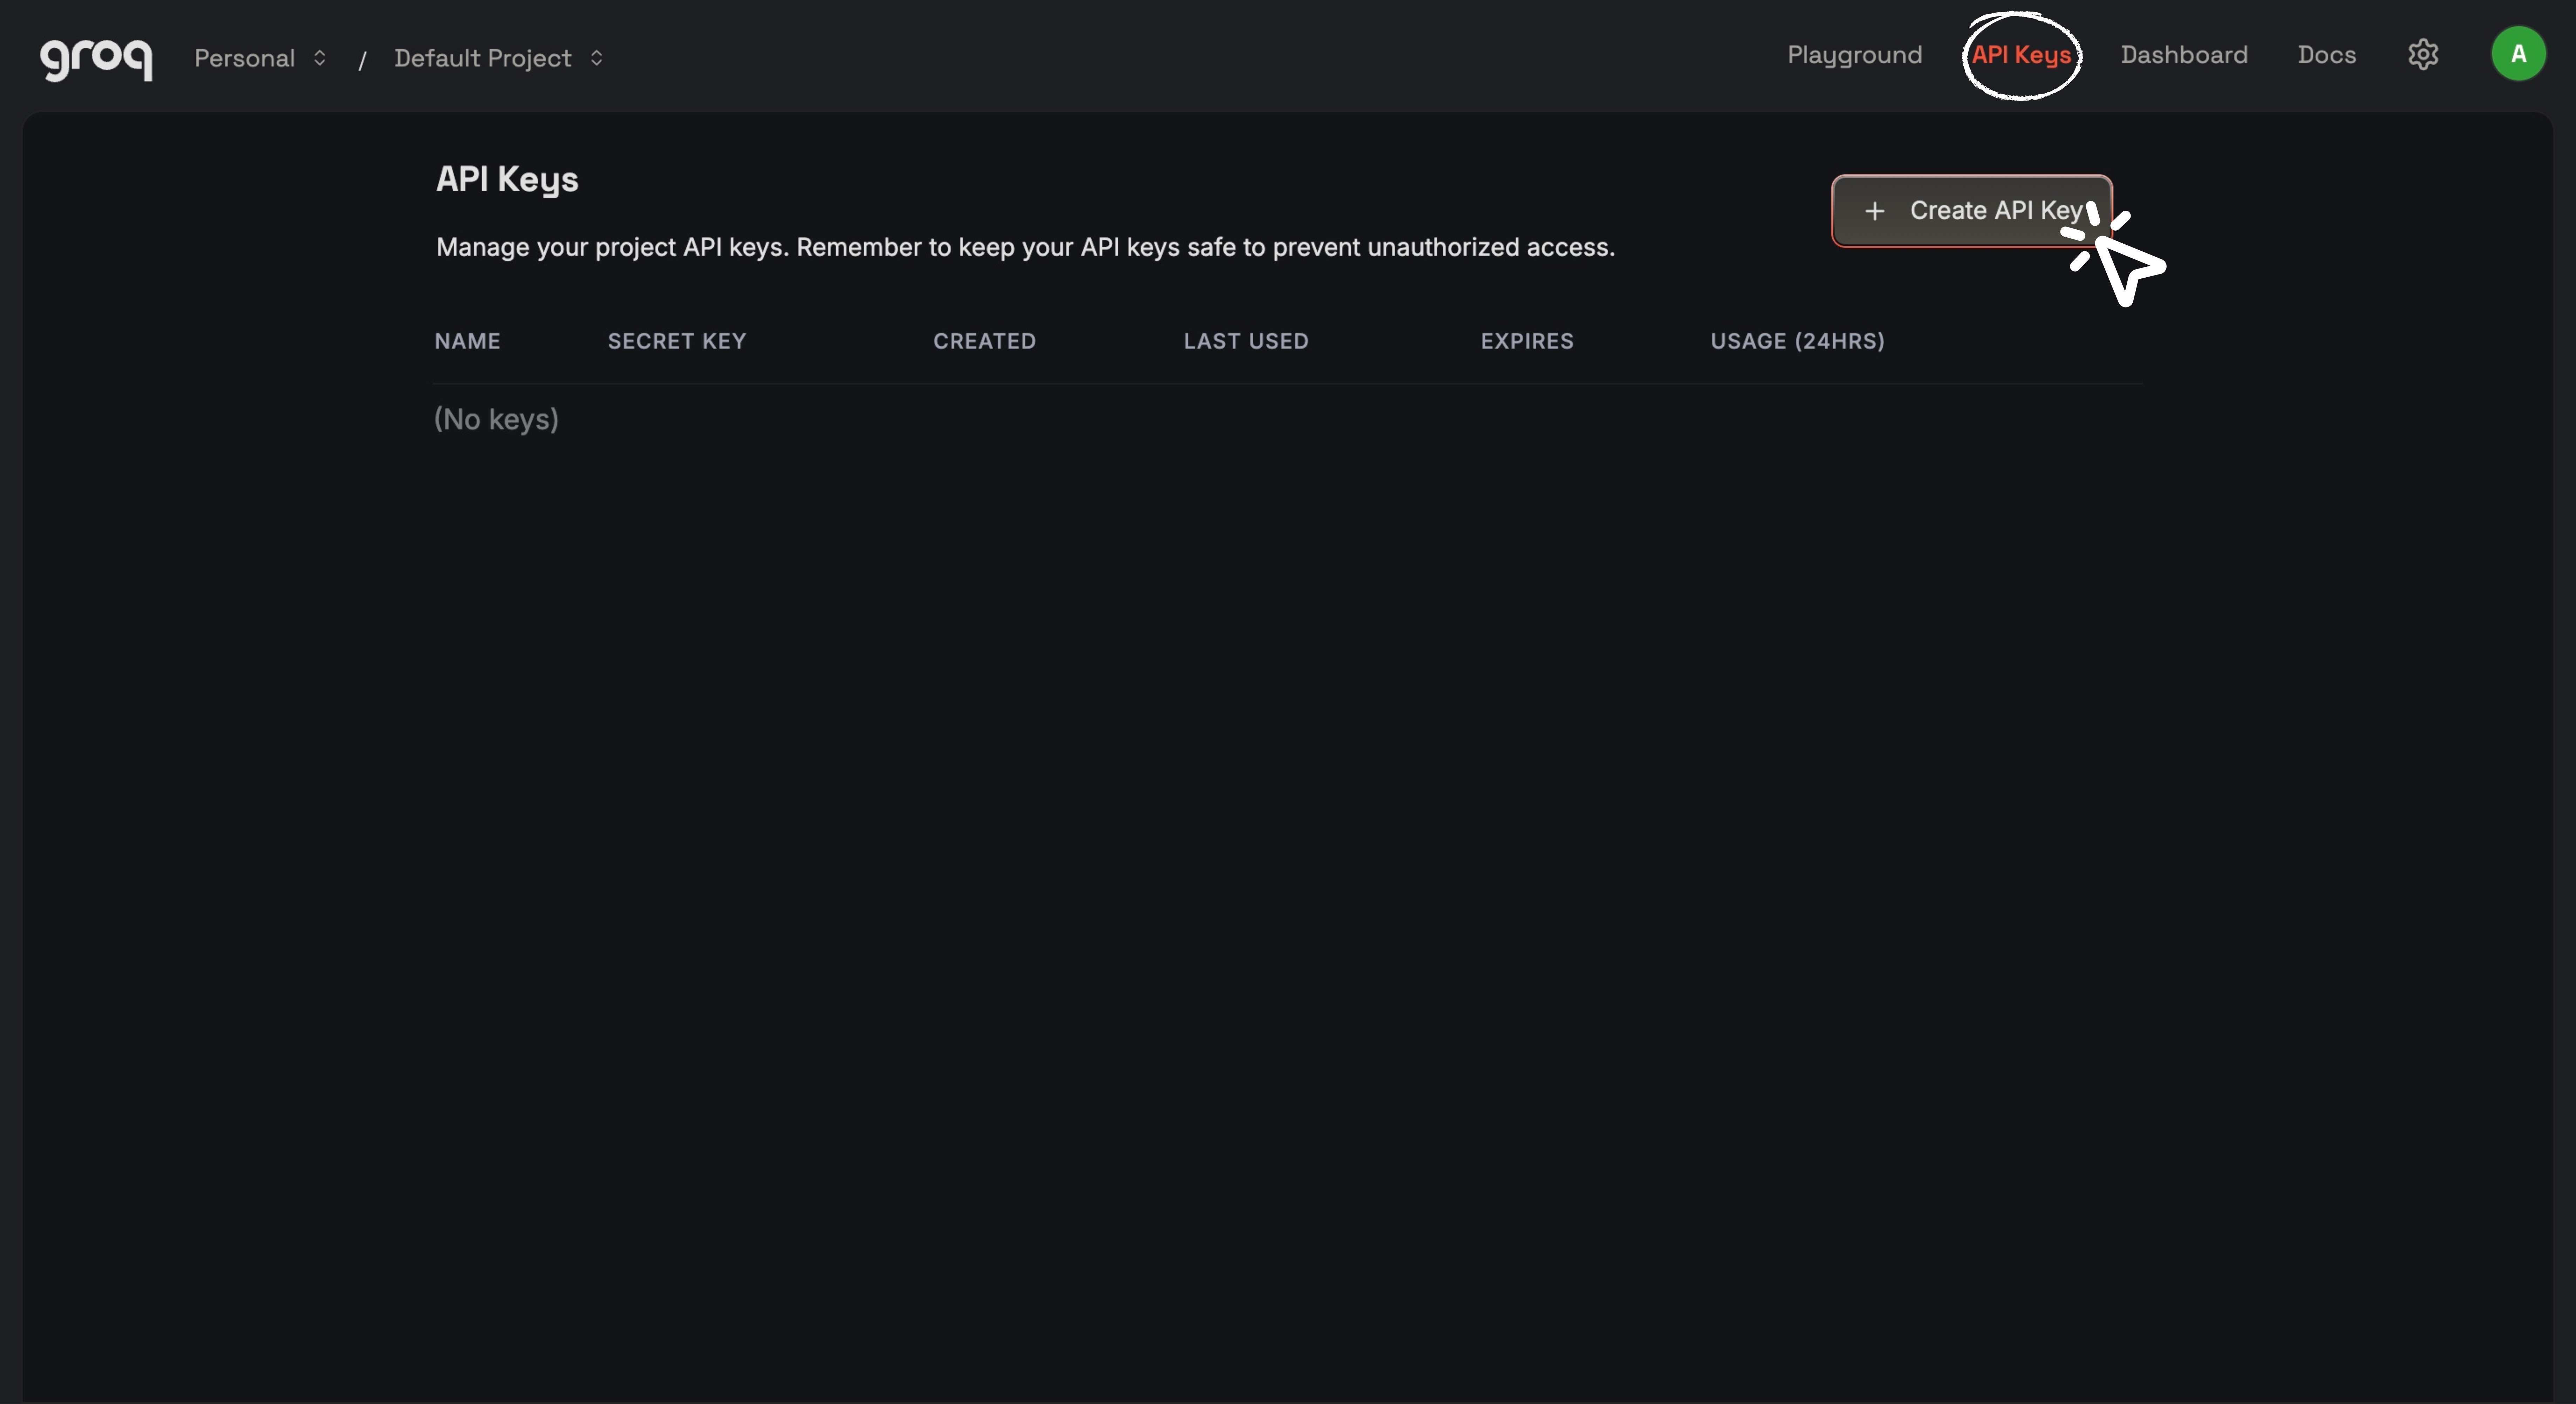 Return to the Groq website and open the API Keys section in the top right corner. Click Create API Key.
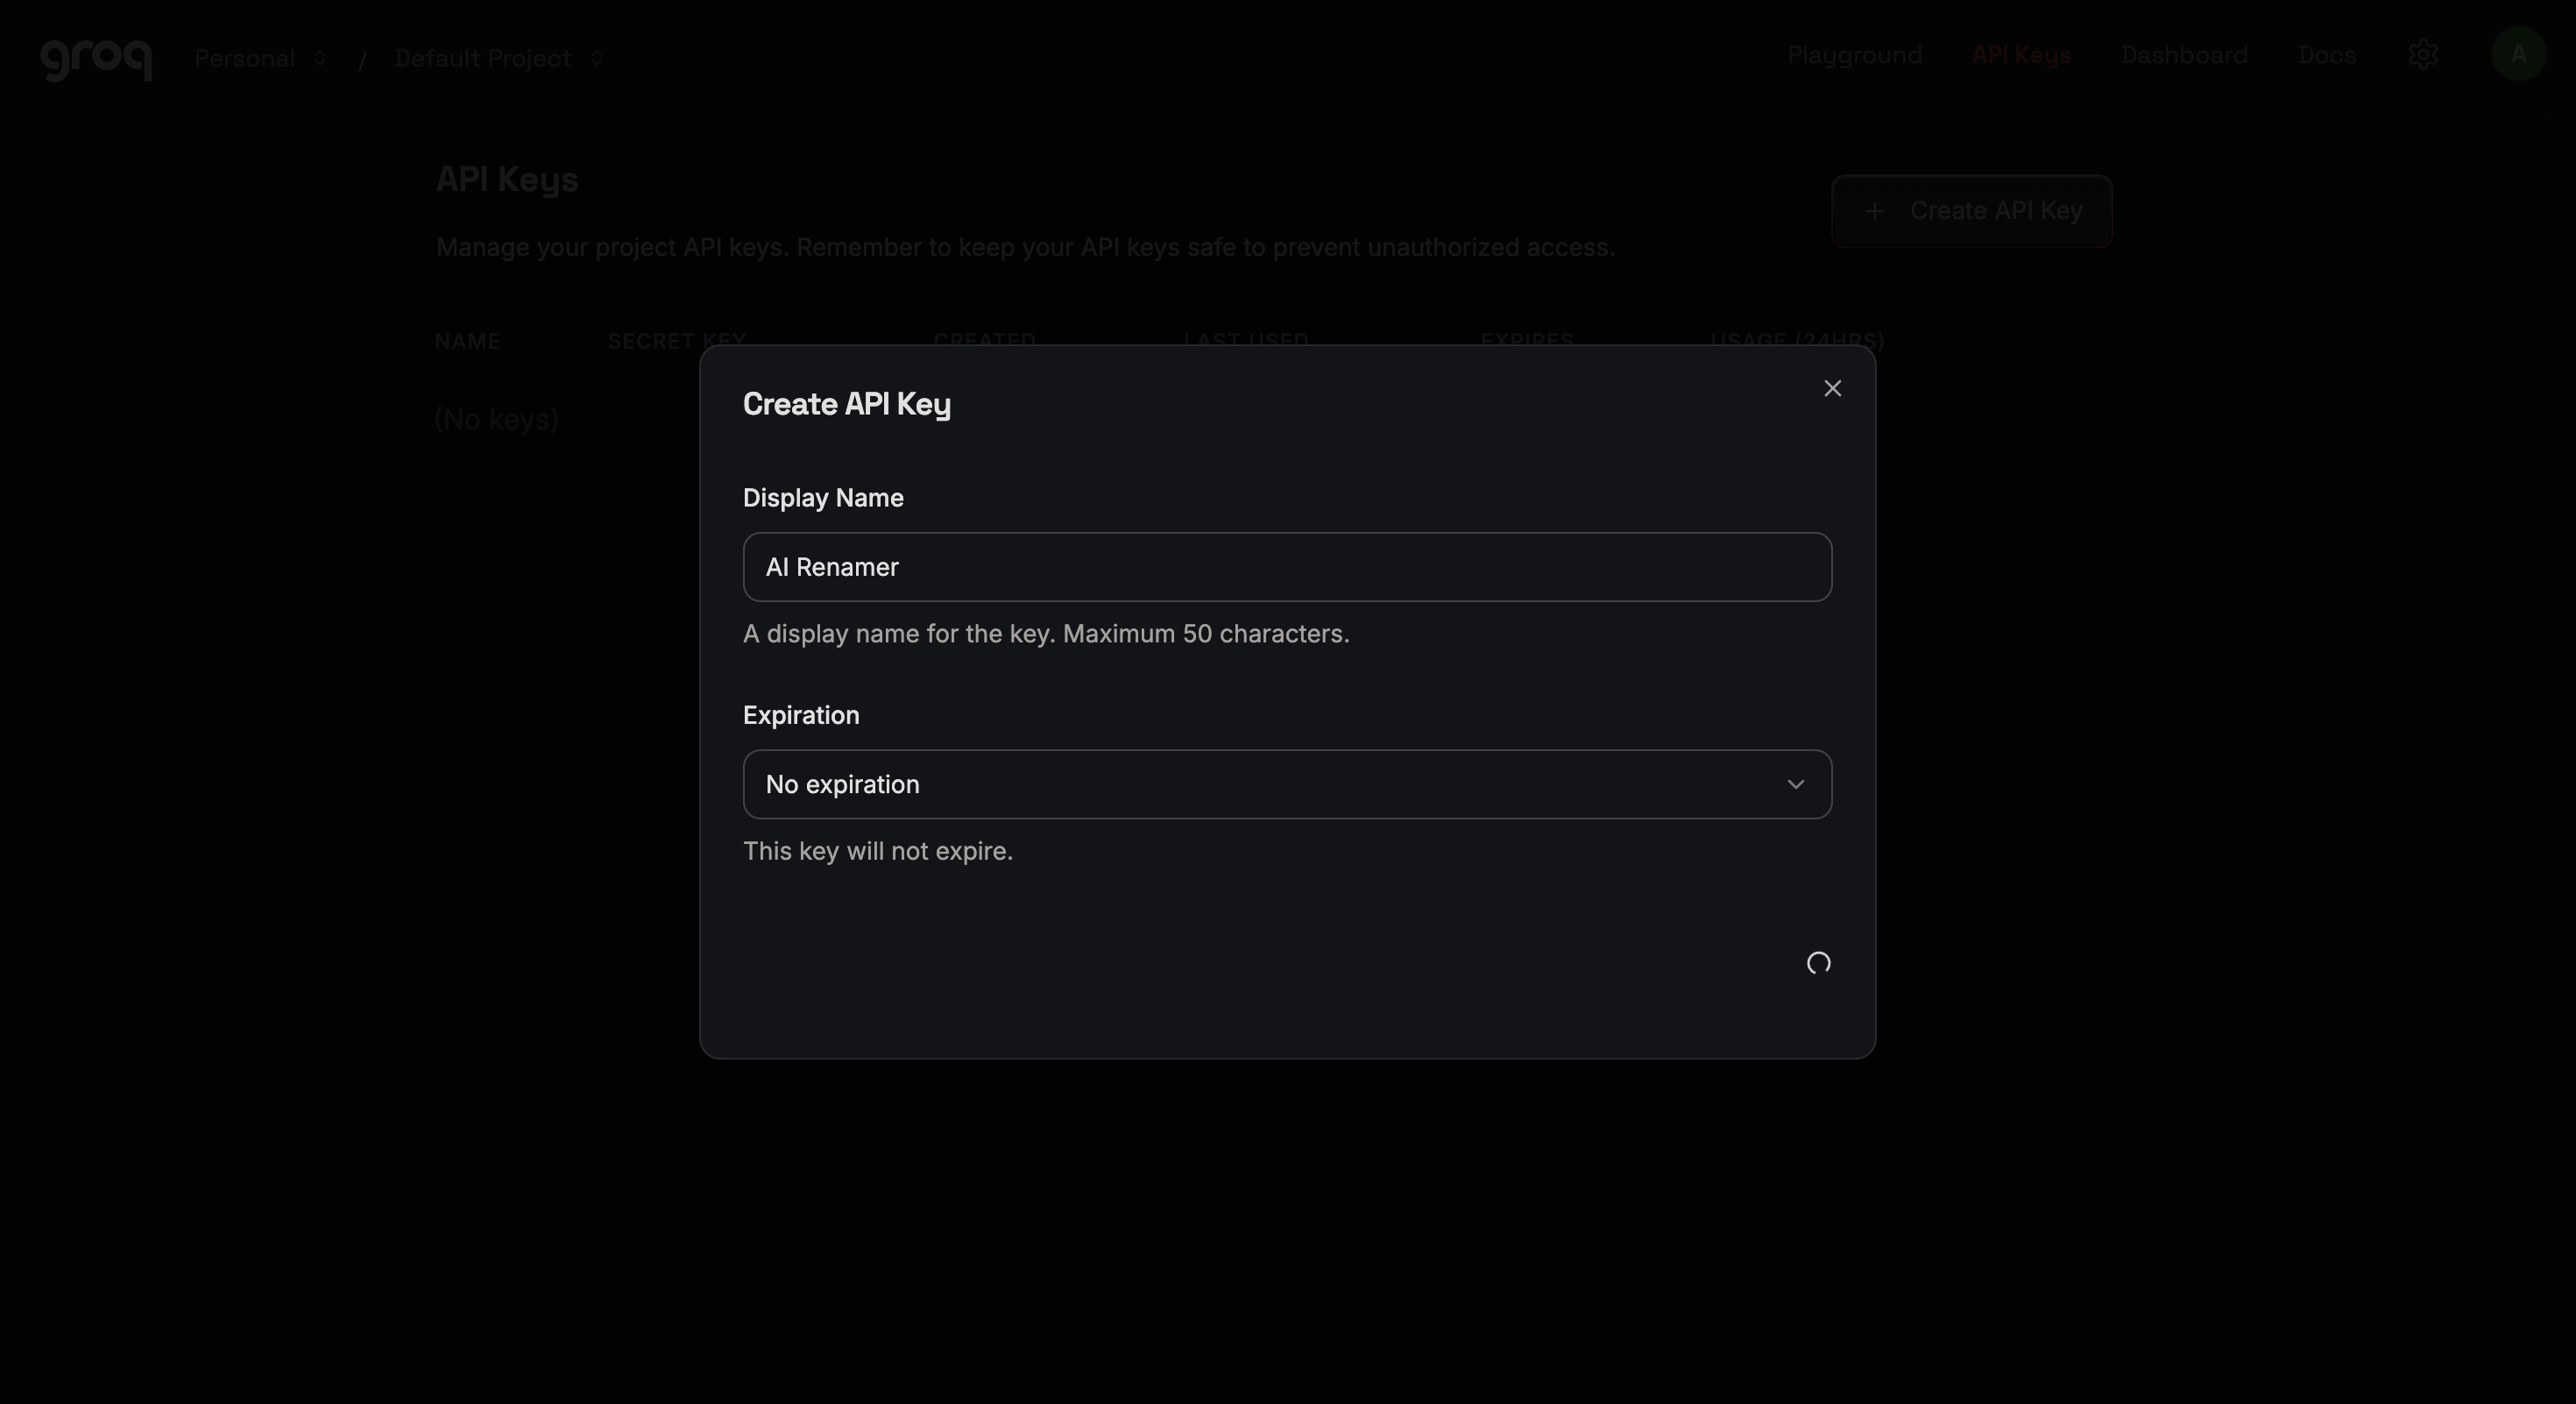
Step 16:
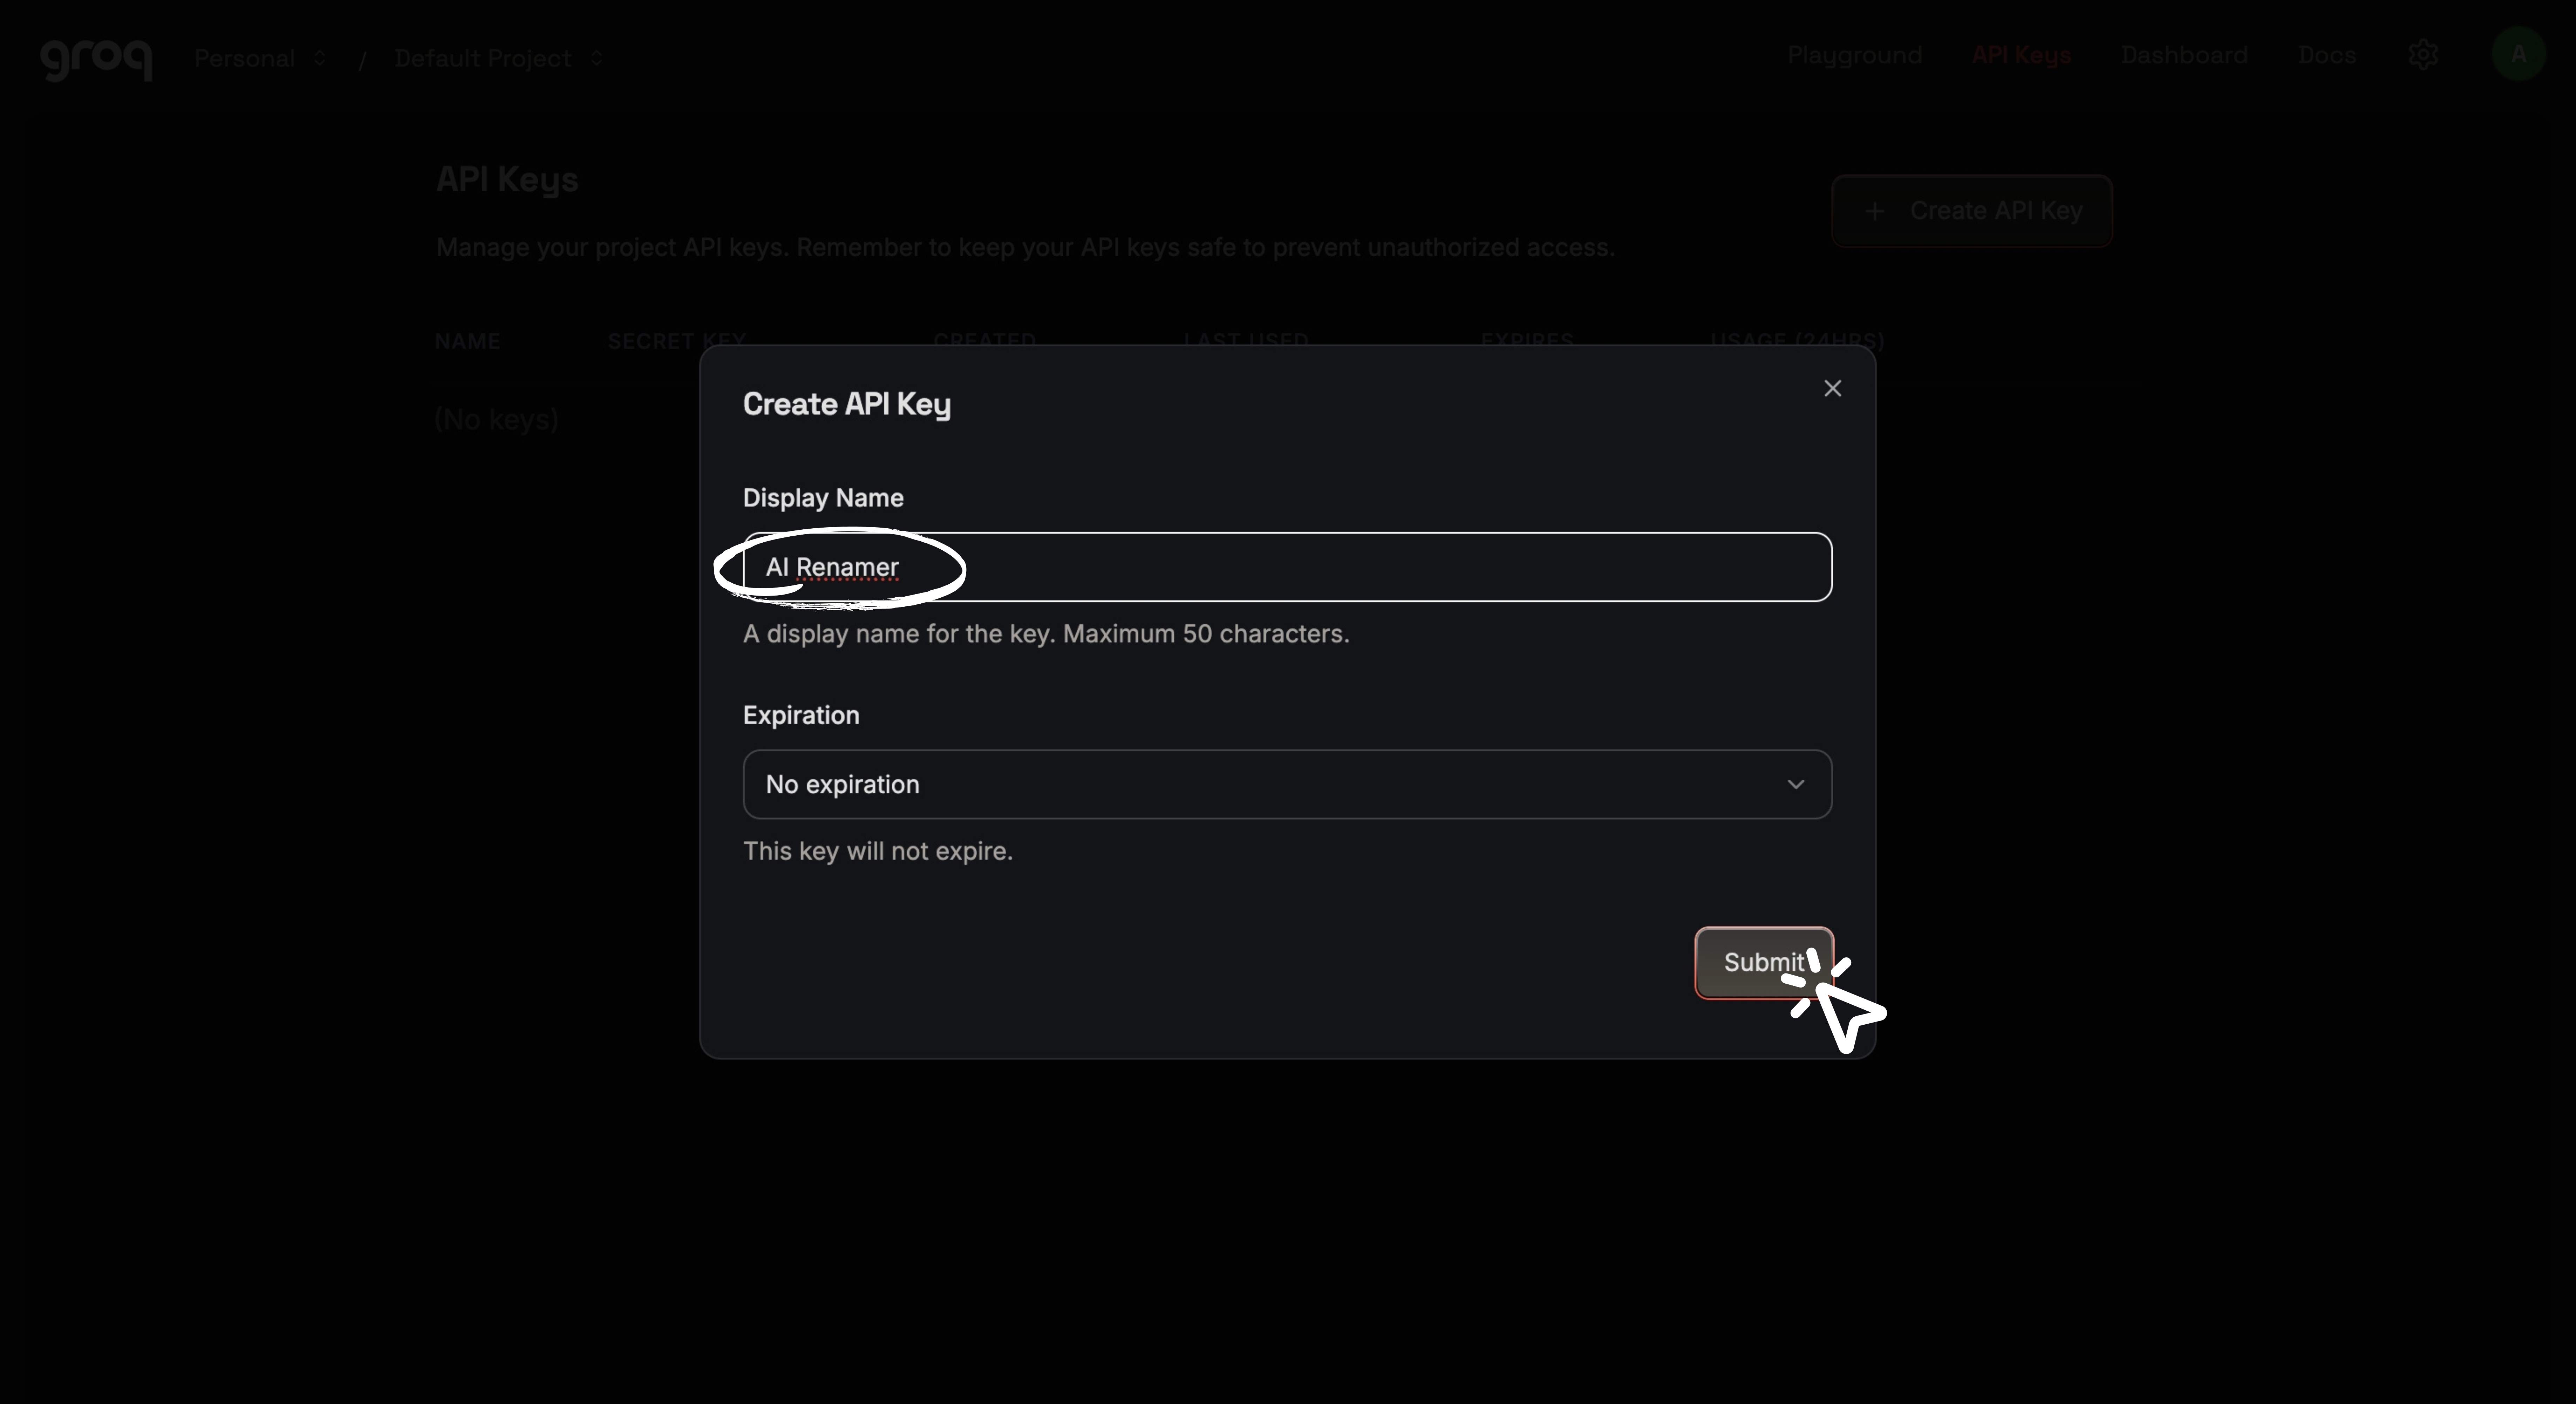 Give your API key a name, for example “AI Renamer”, set the expiration to “No expiration”, and click Submit.
Step 17:
 Wait 2 to 3 seconds while the API key is generated.
Step 18:
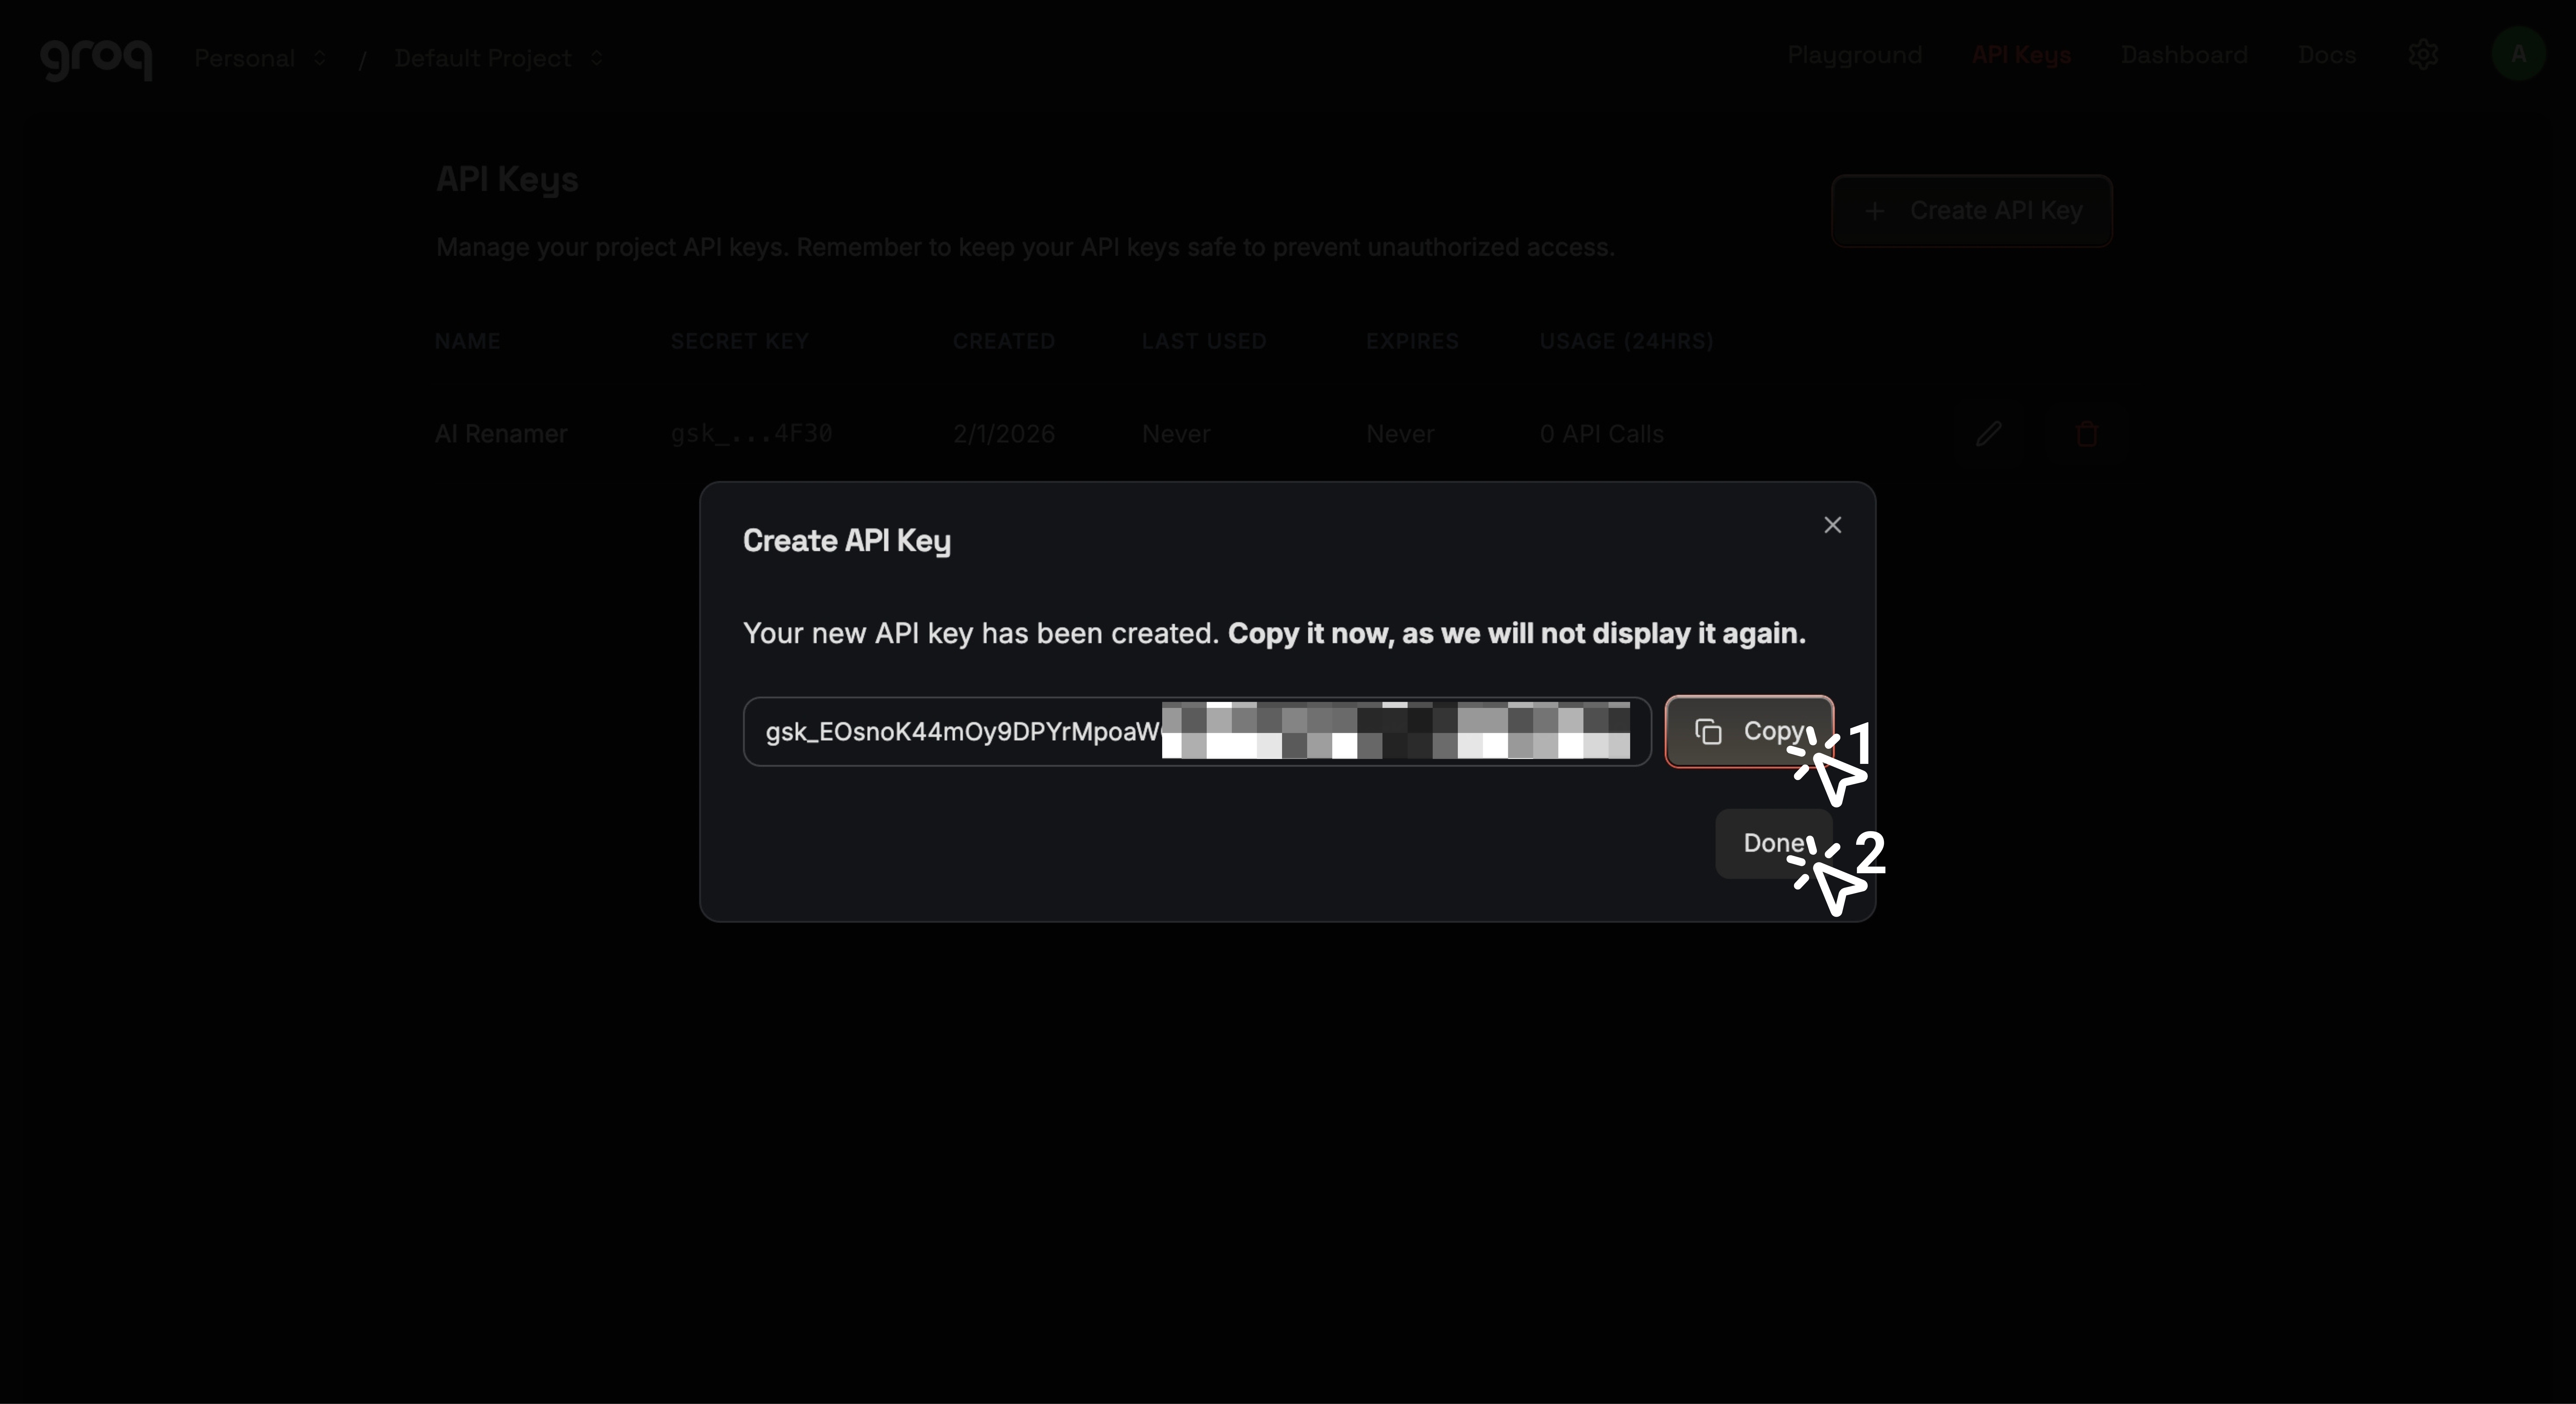 ⚠️ Copy the API key and store it somewhere safe. You will need it in the next steps. Then click Done.
Step 19:
 Your Groq API key is ready. Now return to the AI Renamer app.
Step 20:
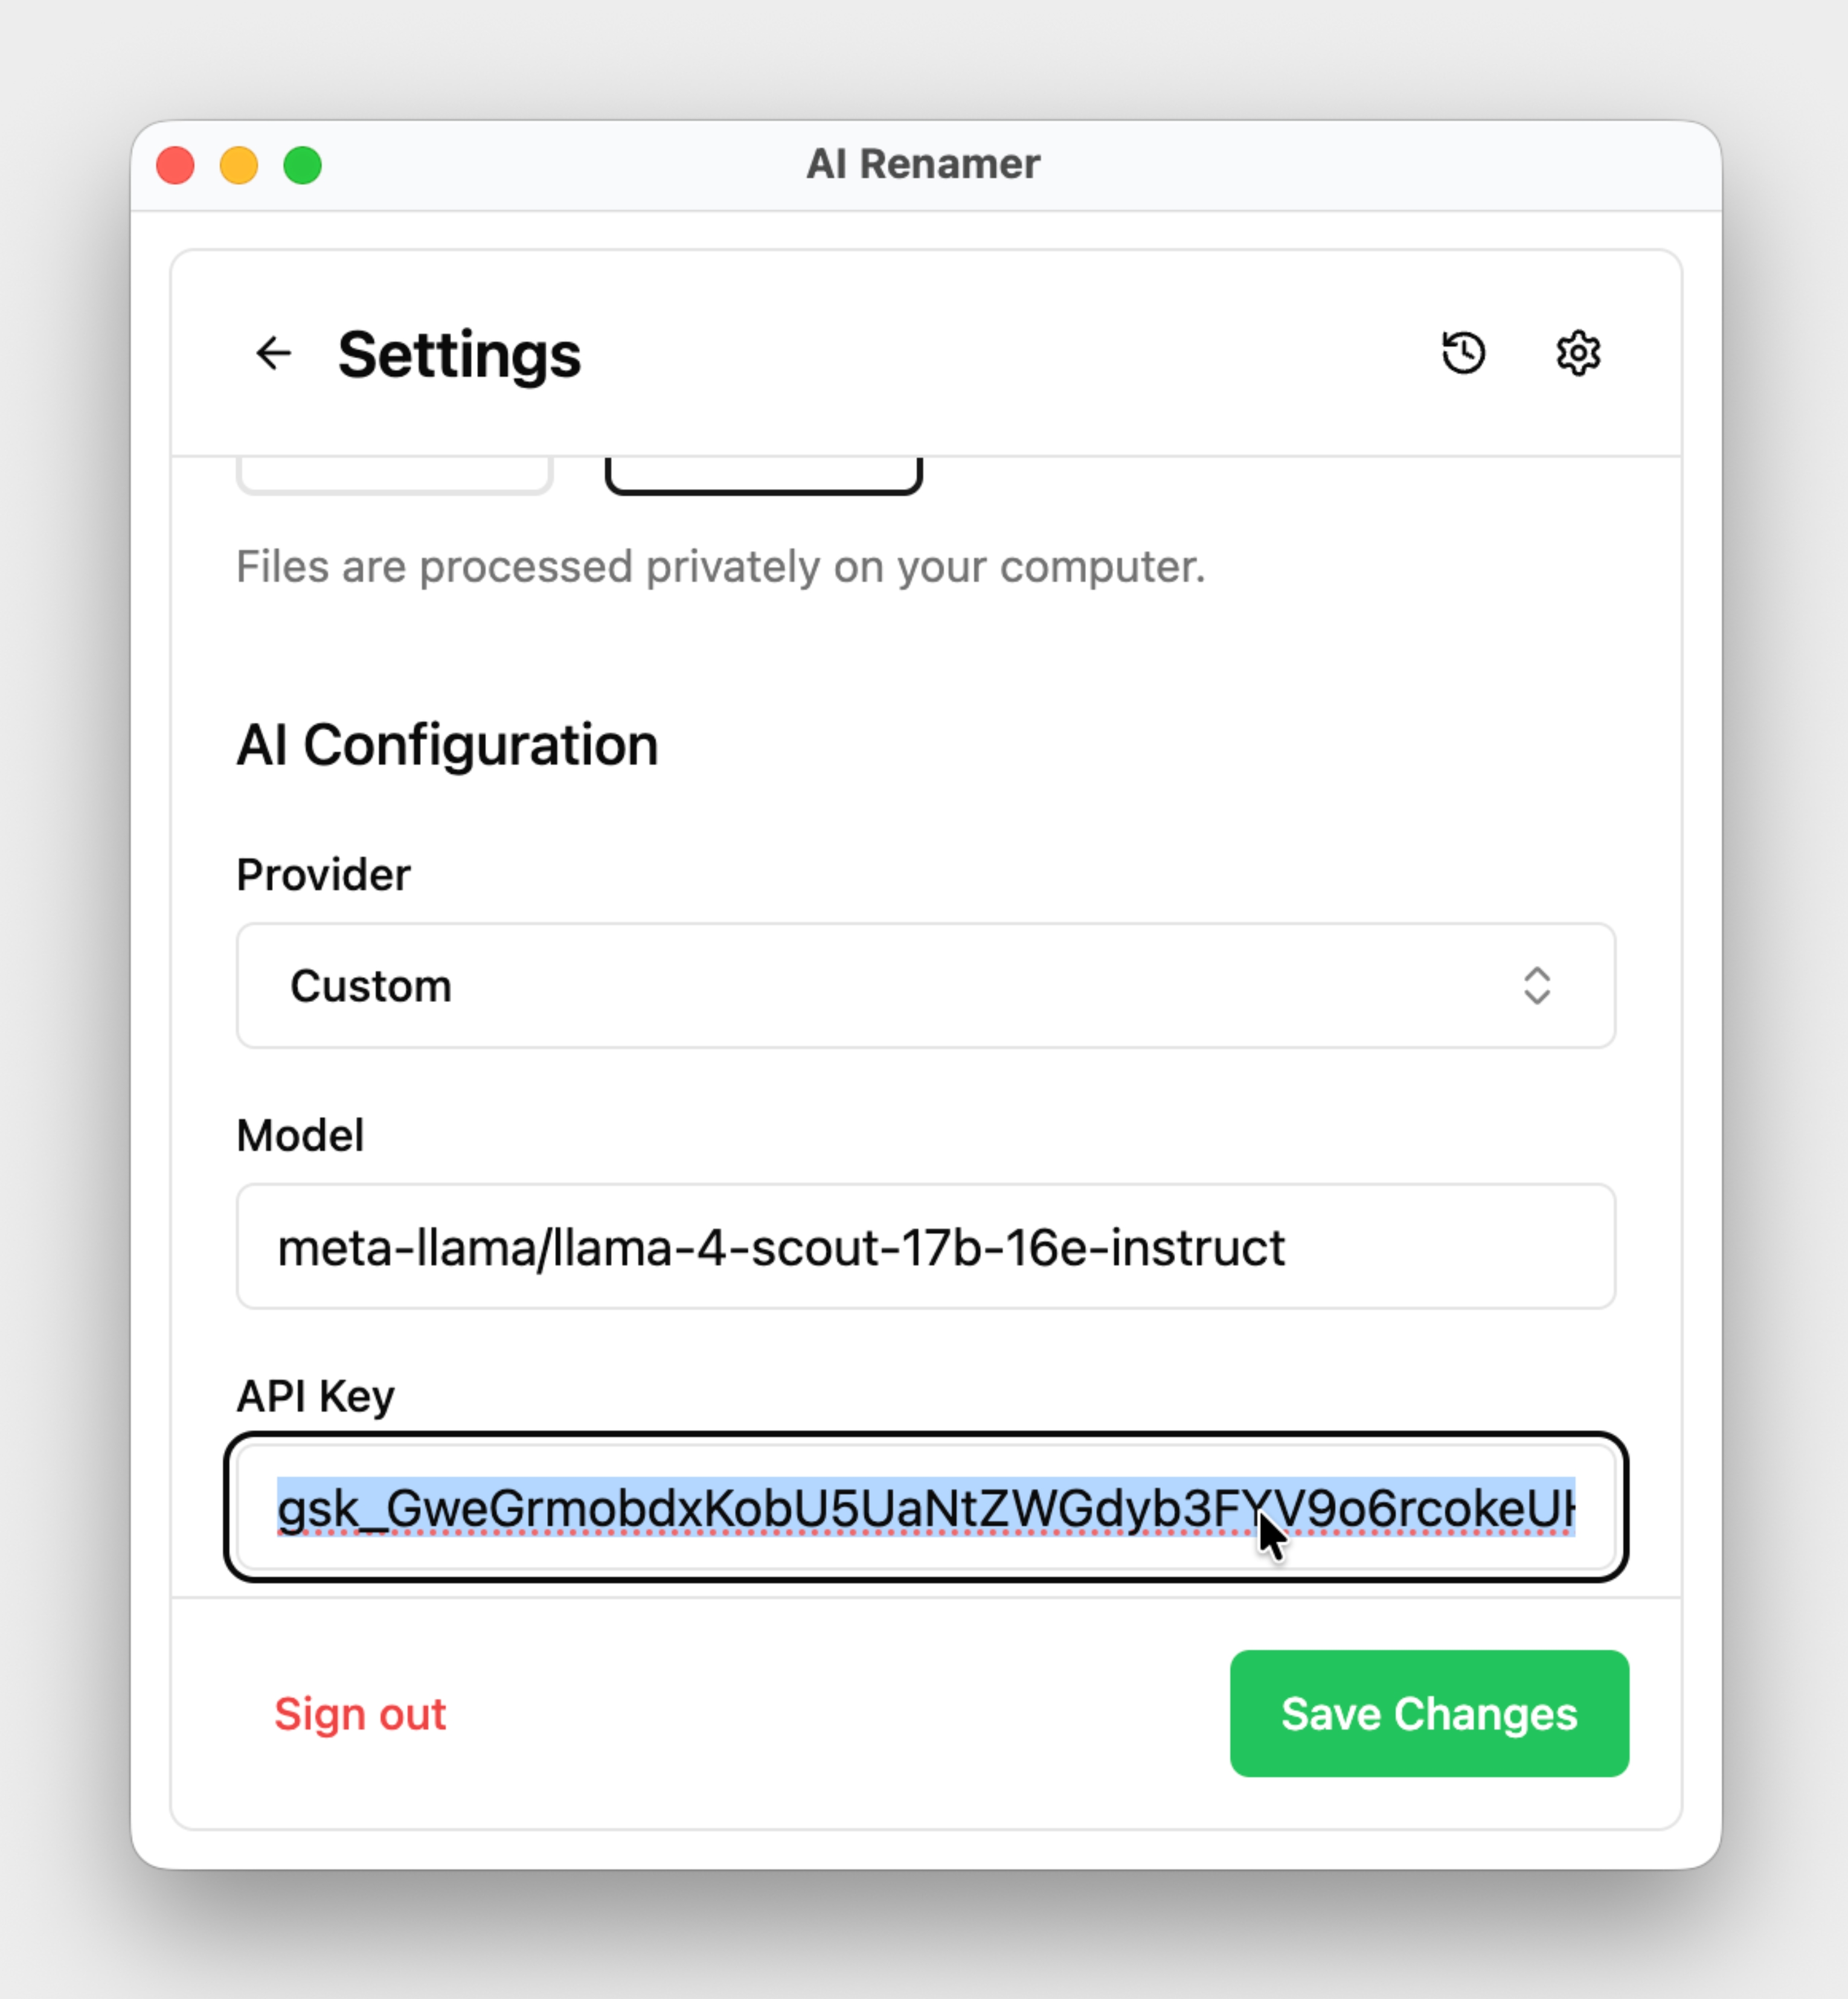 In the AI Configuration section, paste the copied API key into the API Key field.
Step 21:
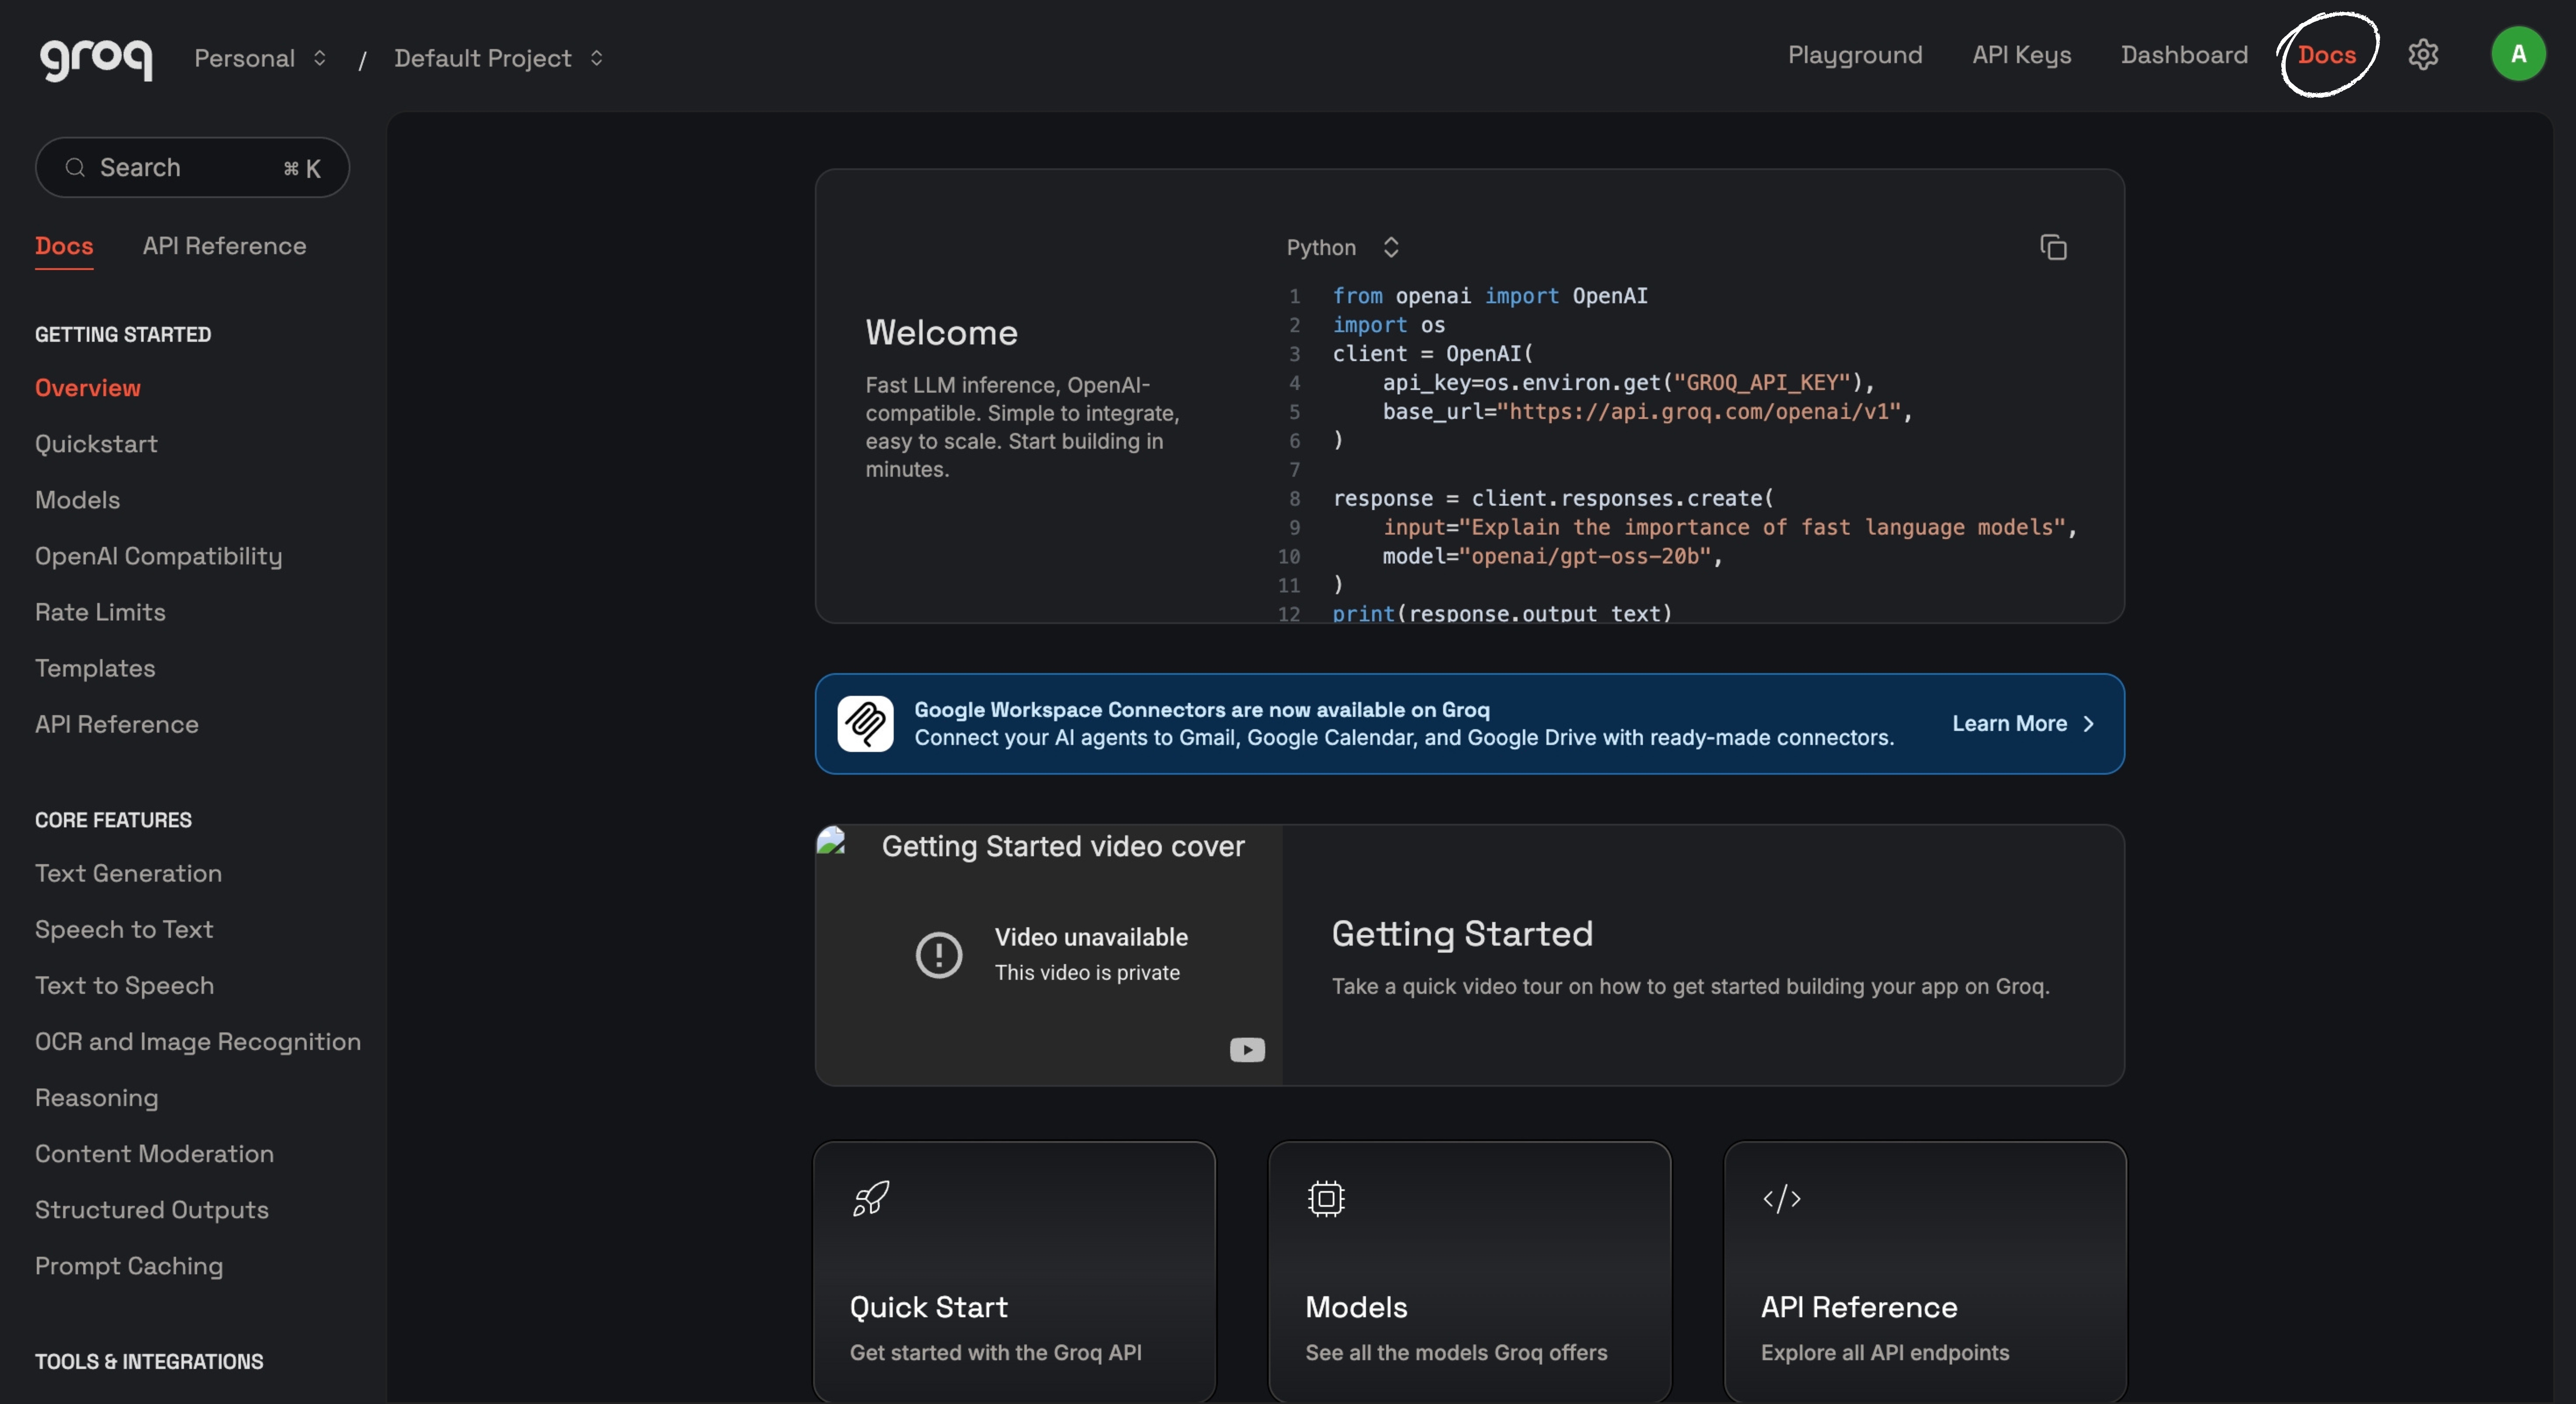 Go back to the Groq website and click Docs in the top right corner.
Step 22:
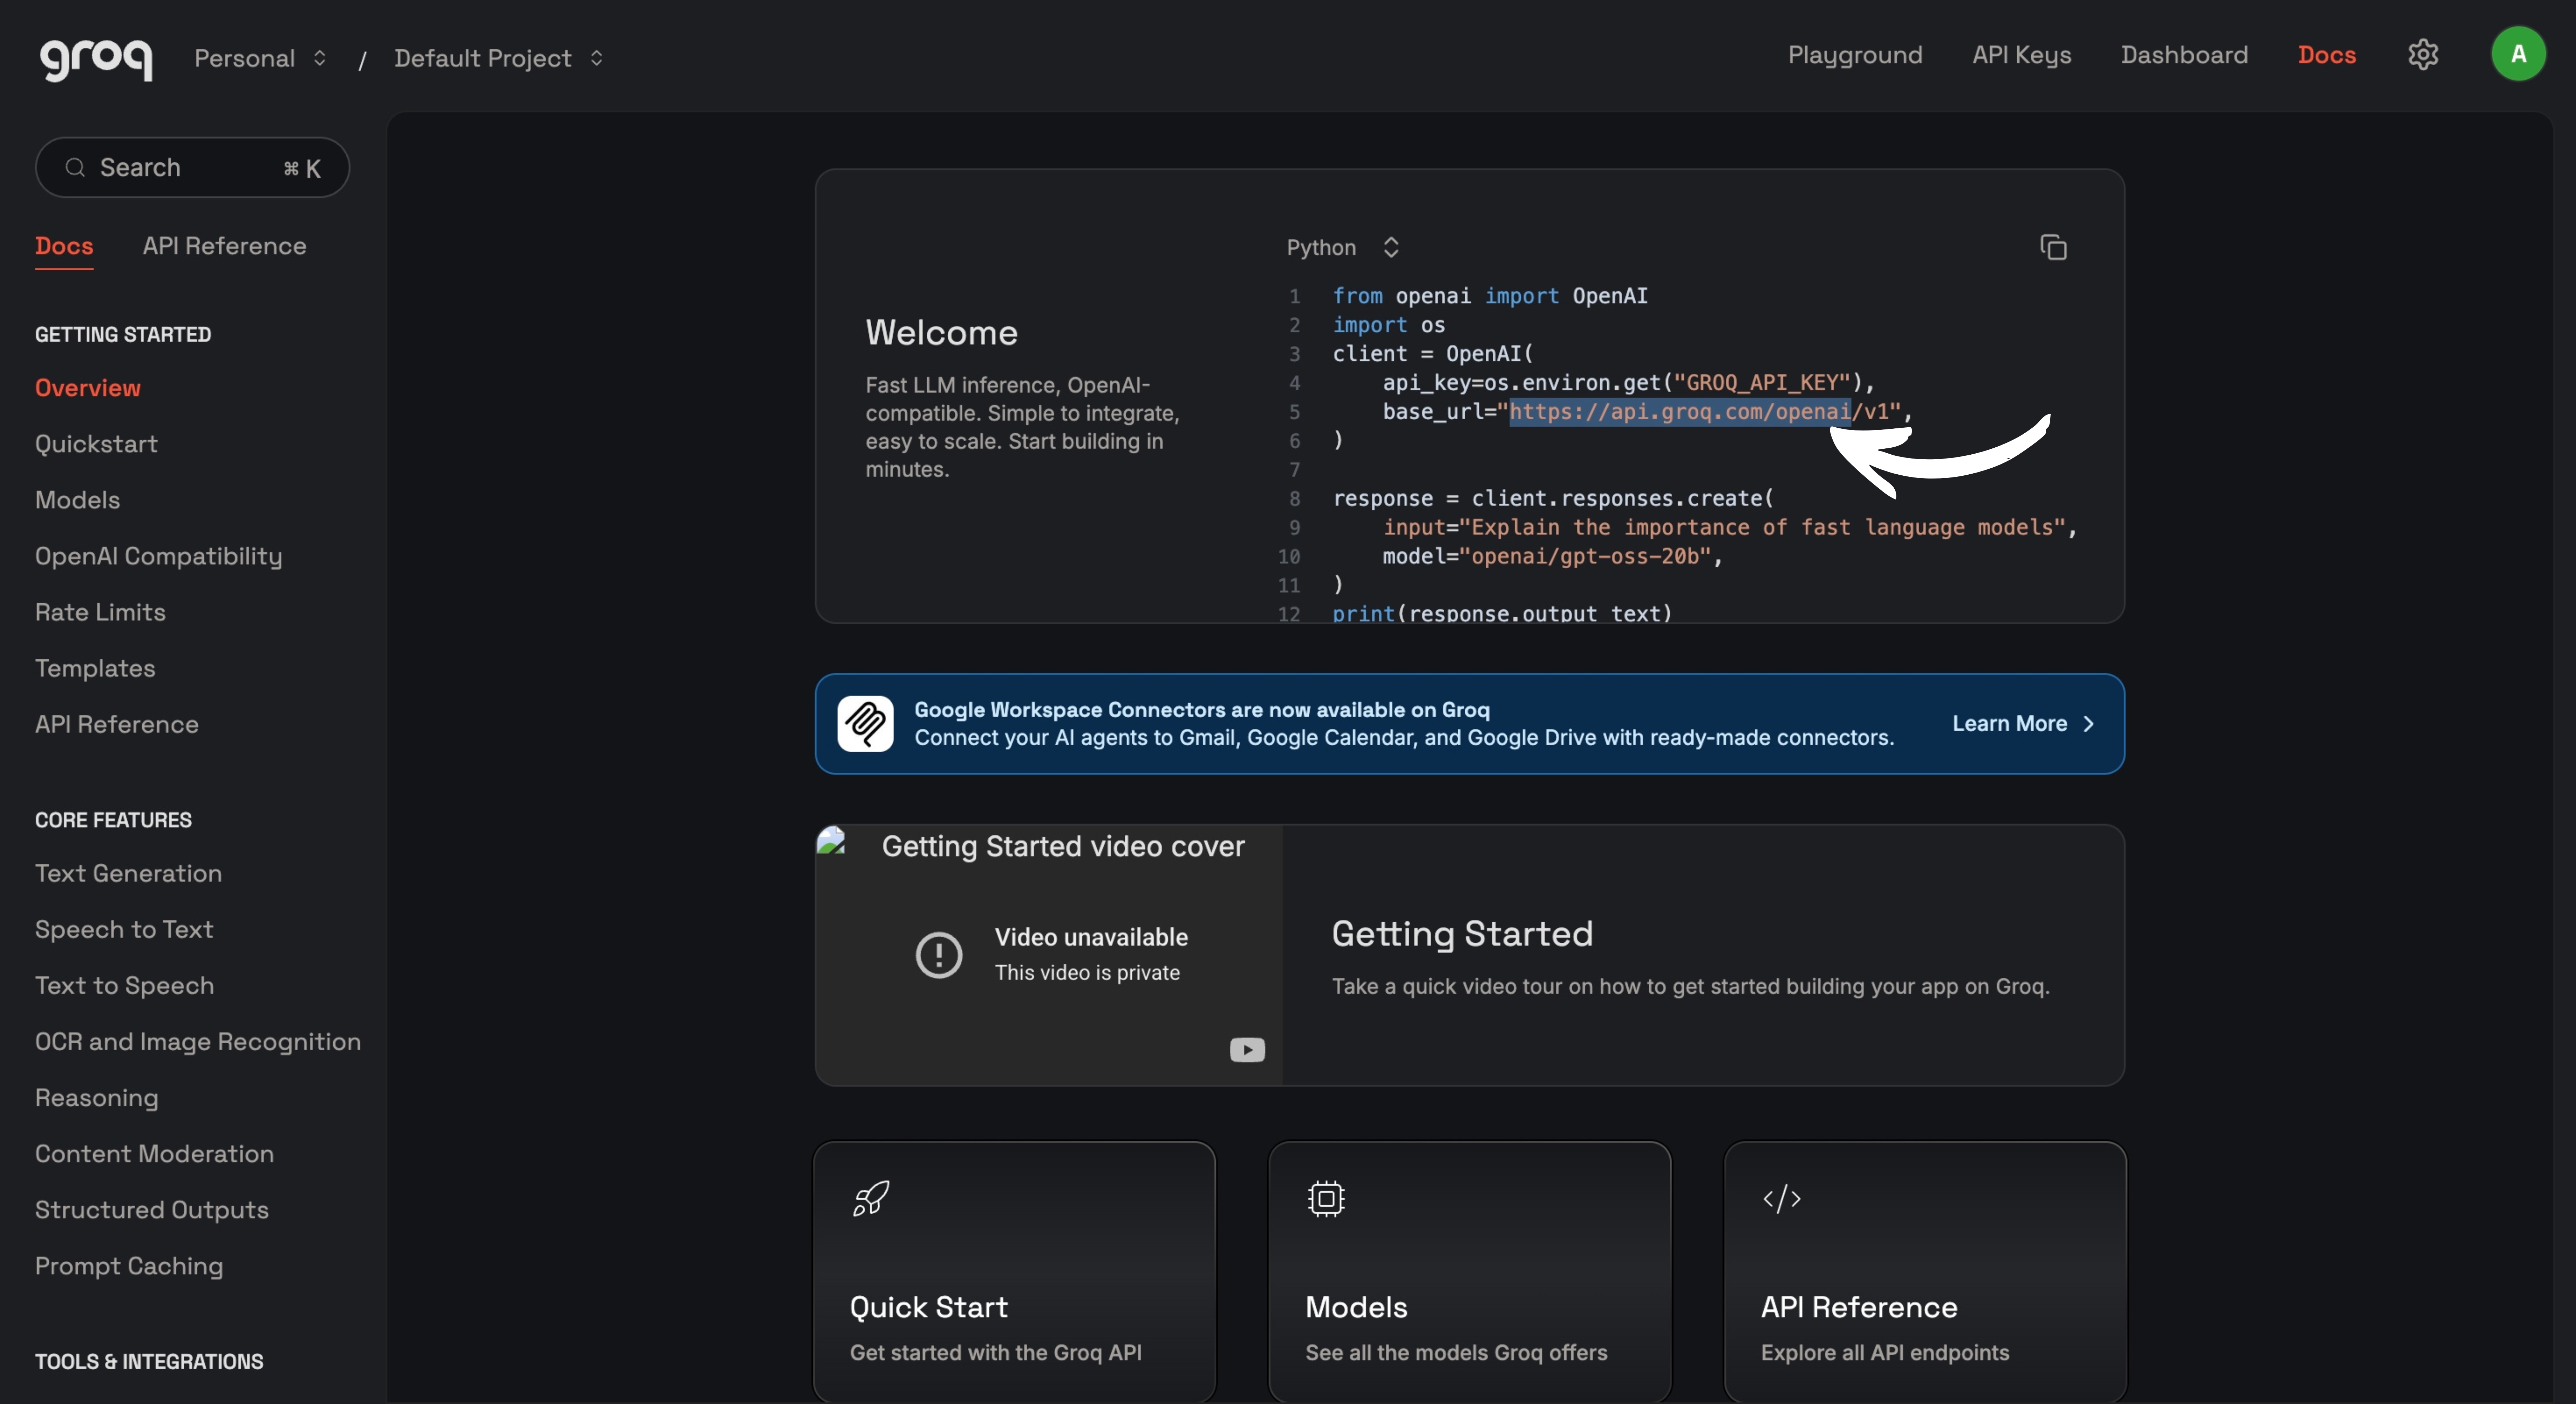 Copy the following base URL:
https://api.groq.com/openai
This is required when using Groq models with the Custom provider in AI Renamer.
Step 23:
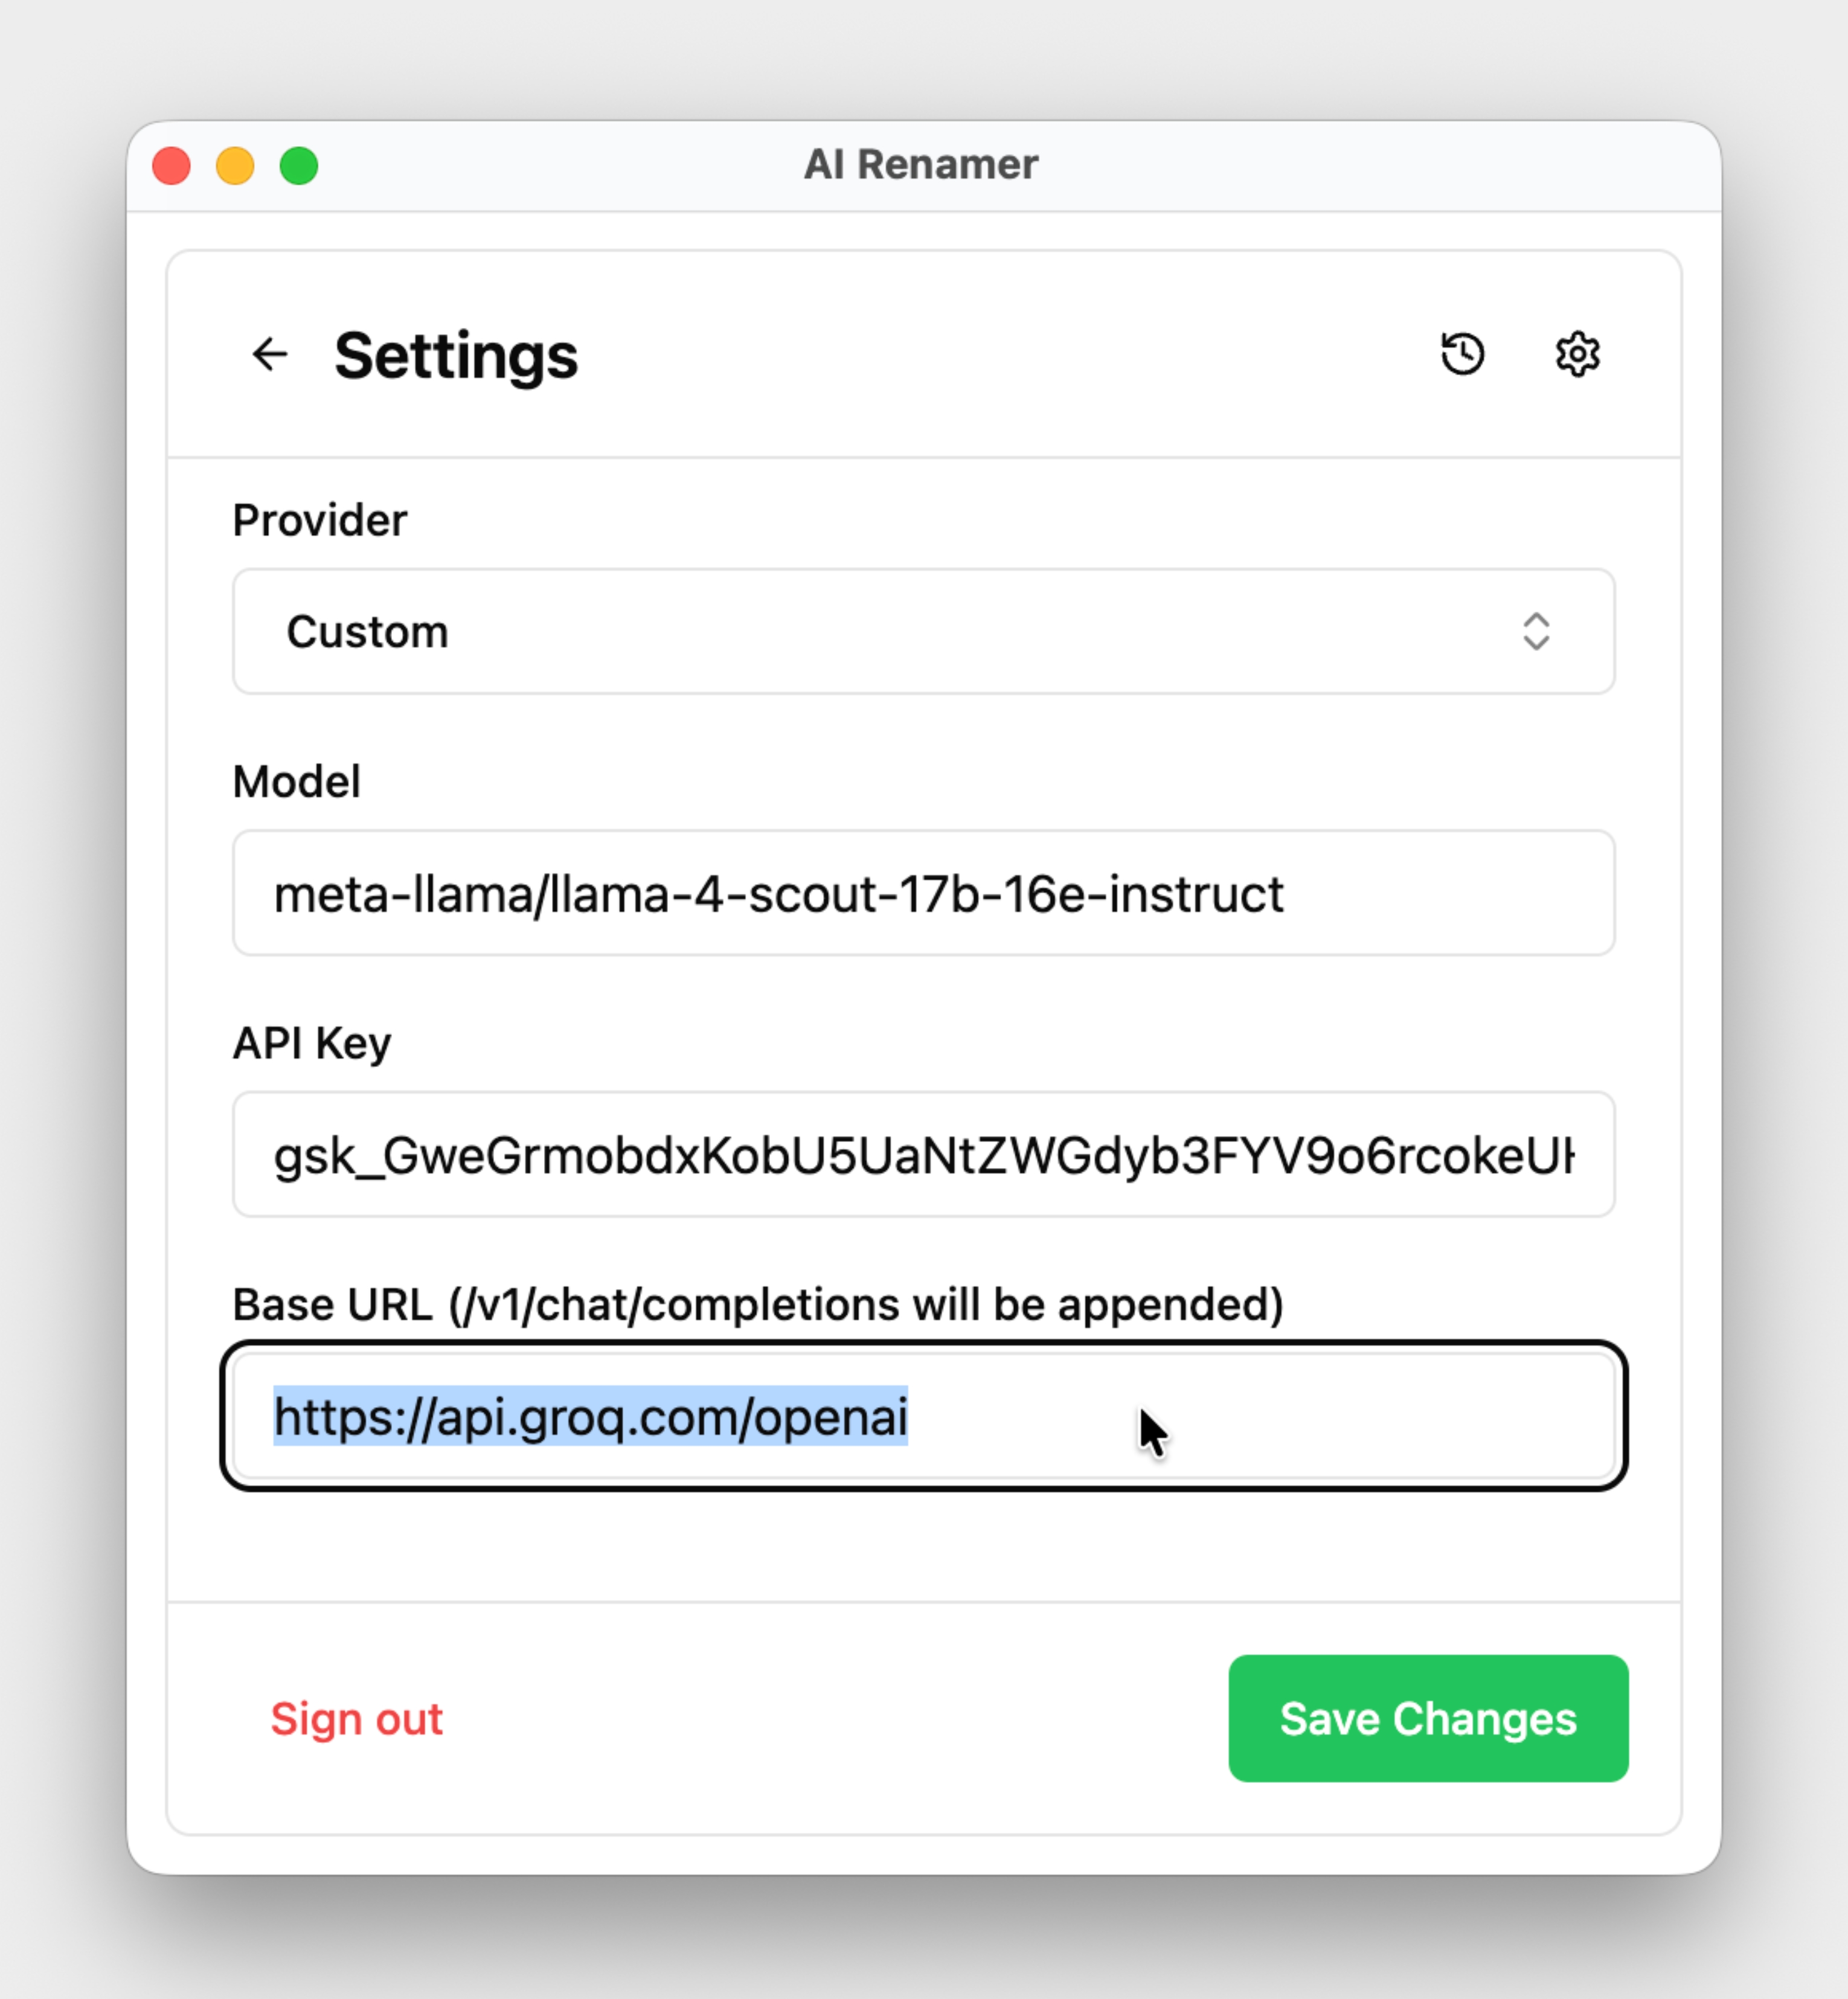 Return to AI Renamer and paste the URL into the Base URL field.
Step 24:
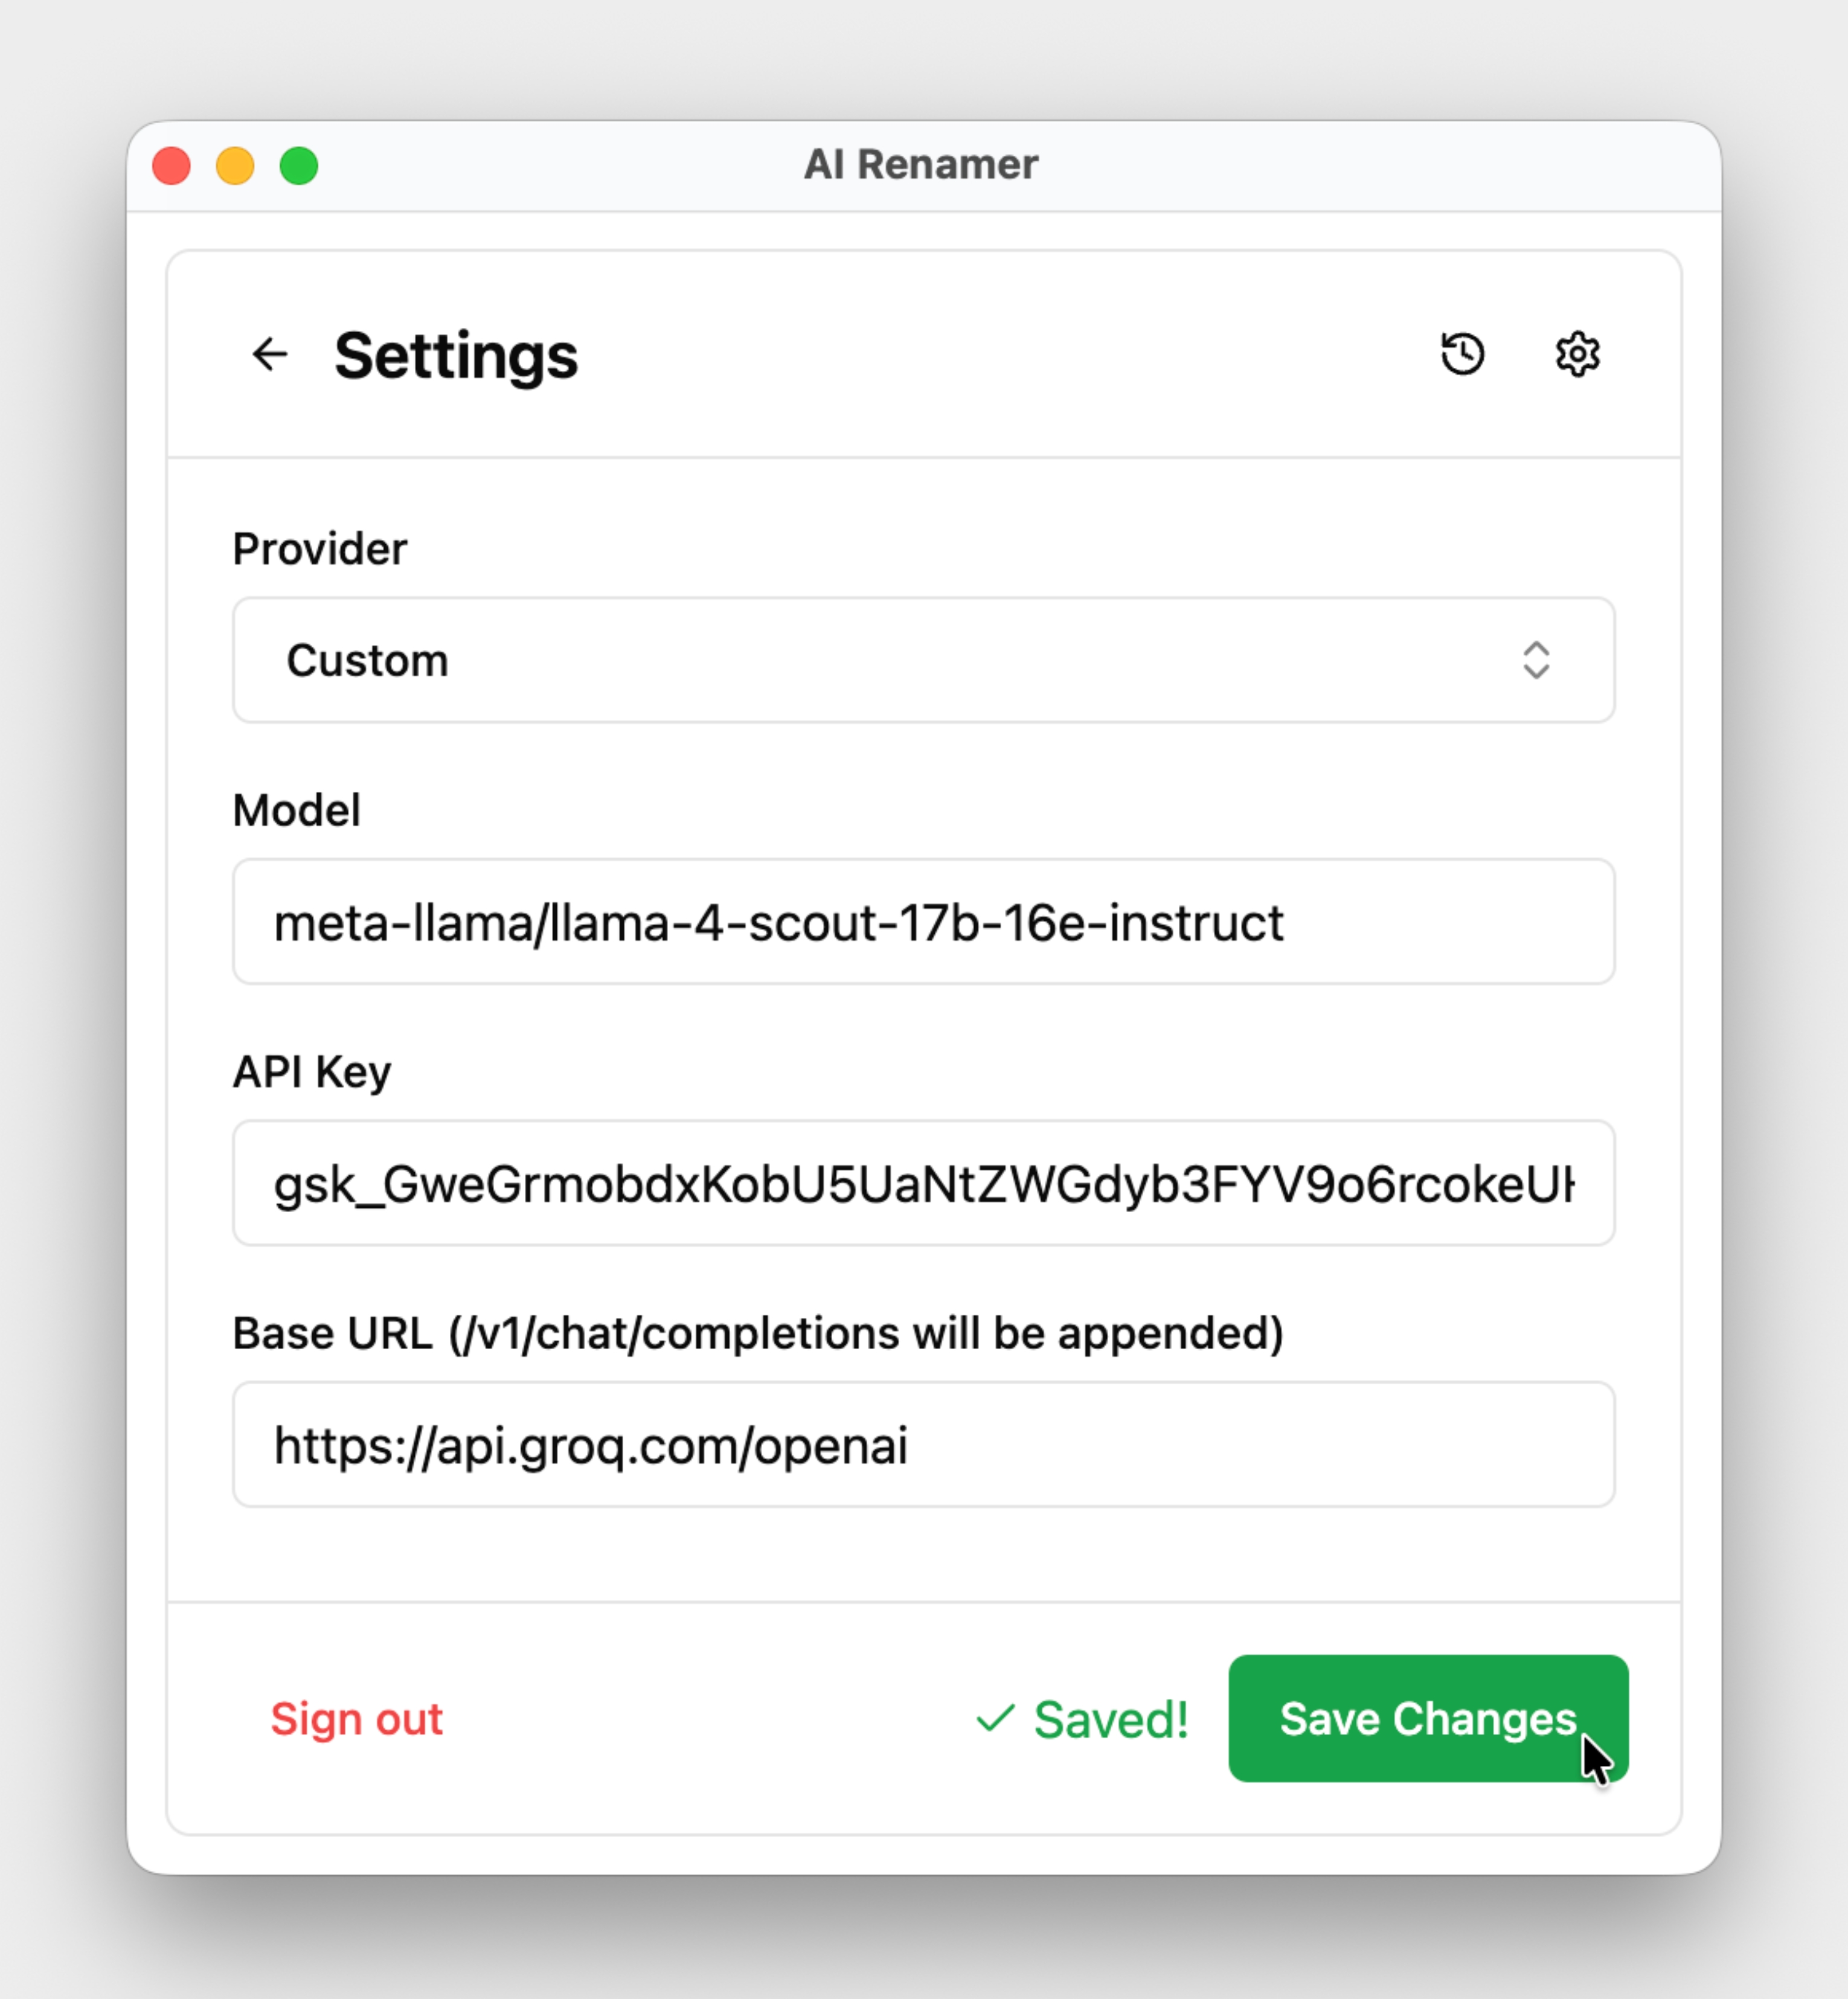 Click Save Changes.
Step 25:
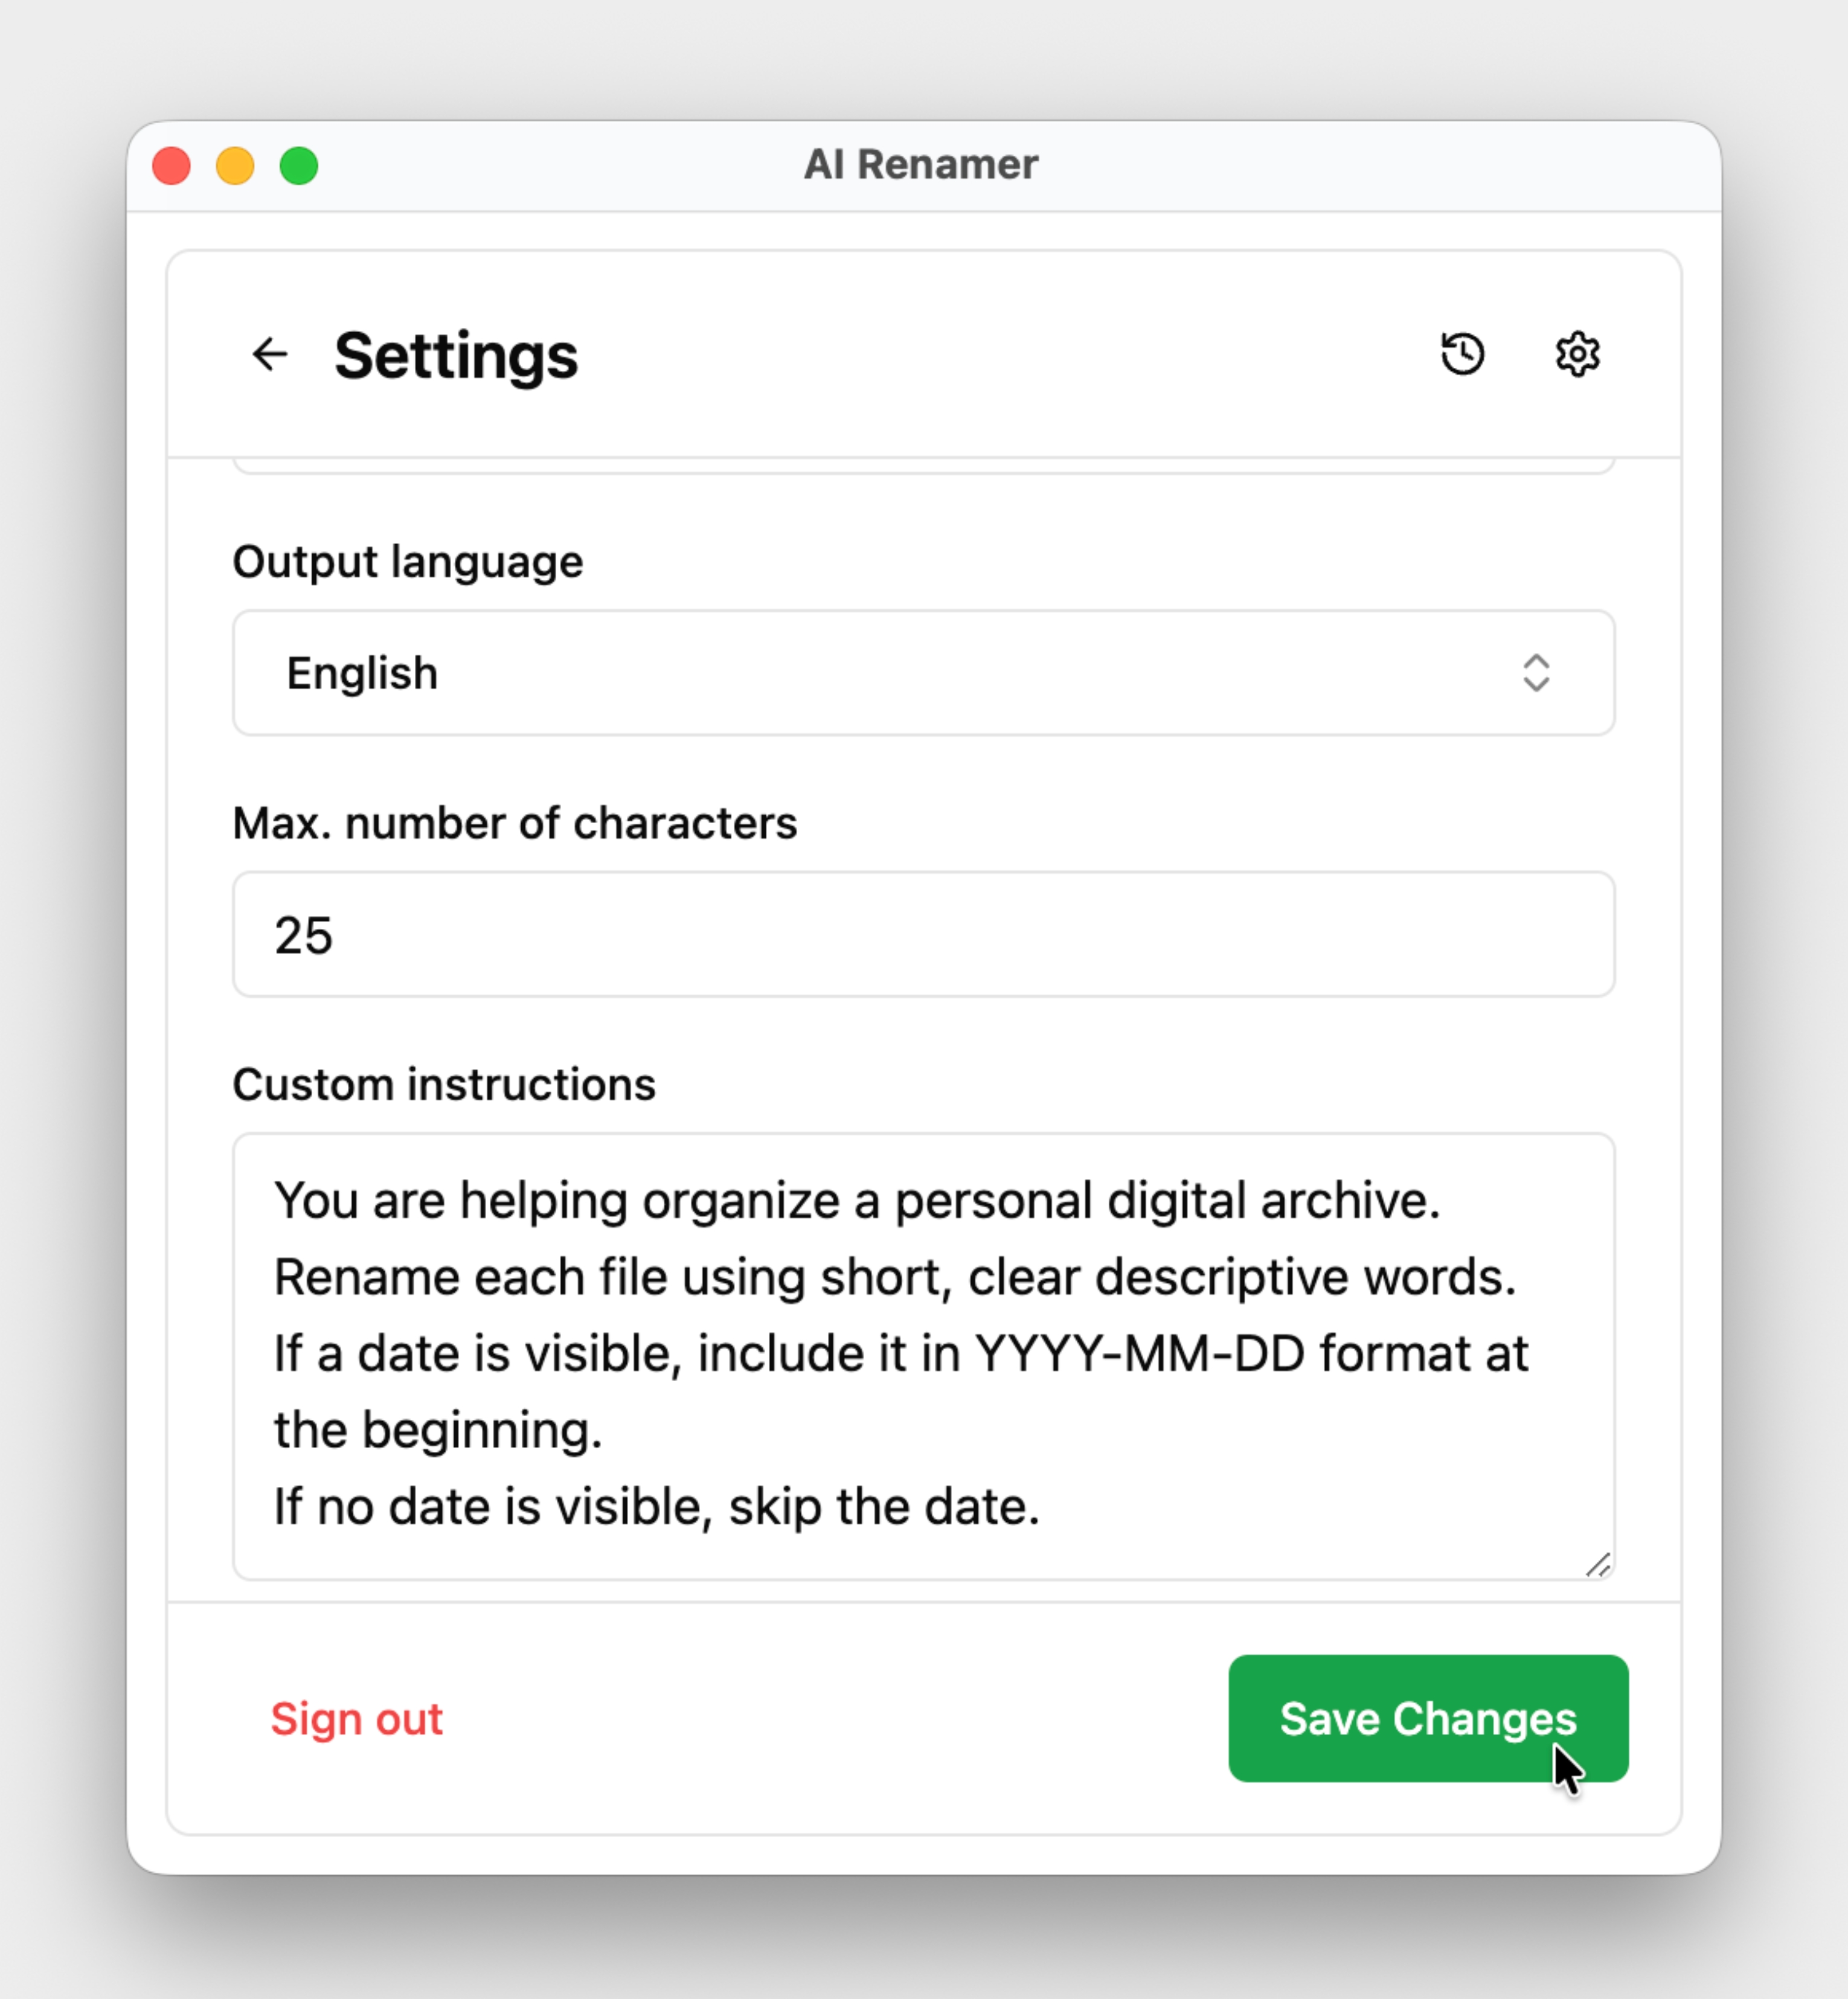 In Settings, you will also find Custom Instructions.
Custom Instructions allow you to control how files are renamed, such as including dates, document titles, or the main subject of an image.
Example prompt:
`You are helping organize a personal digital archive.
Rename each file using short, clear descriptive words.
If a date is visible, include it in YYYY-MM-DD format at the beginning.
If no date is visible, skip the date. `
Don’t forget to click Save Changes after adding your custom instructions.
For more workflow ideas:
👉 10 Professional Use Cases for AI File Renaming Tool
Step 26:
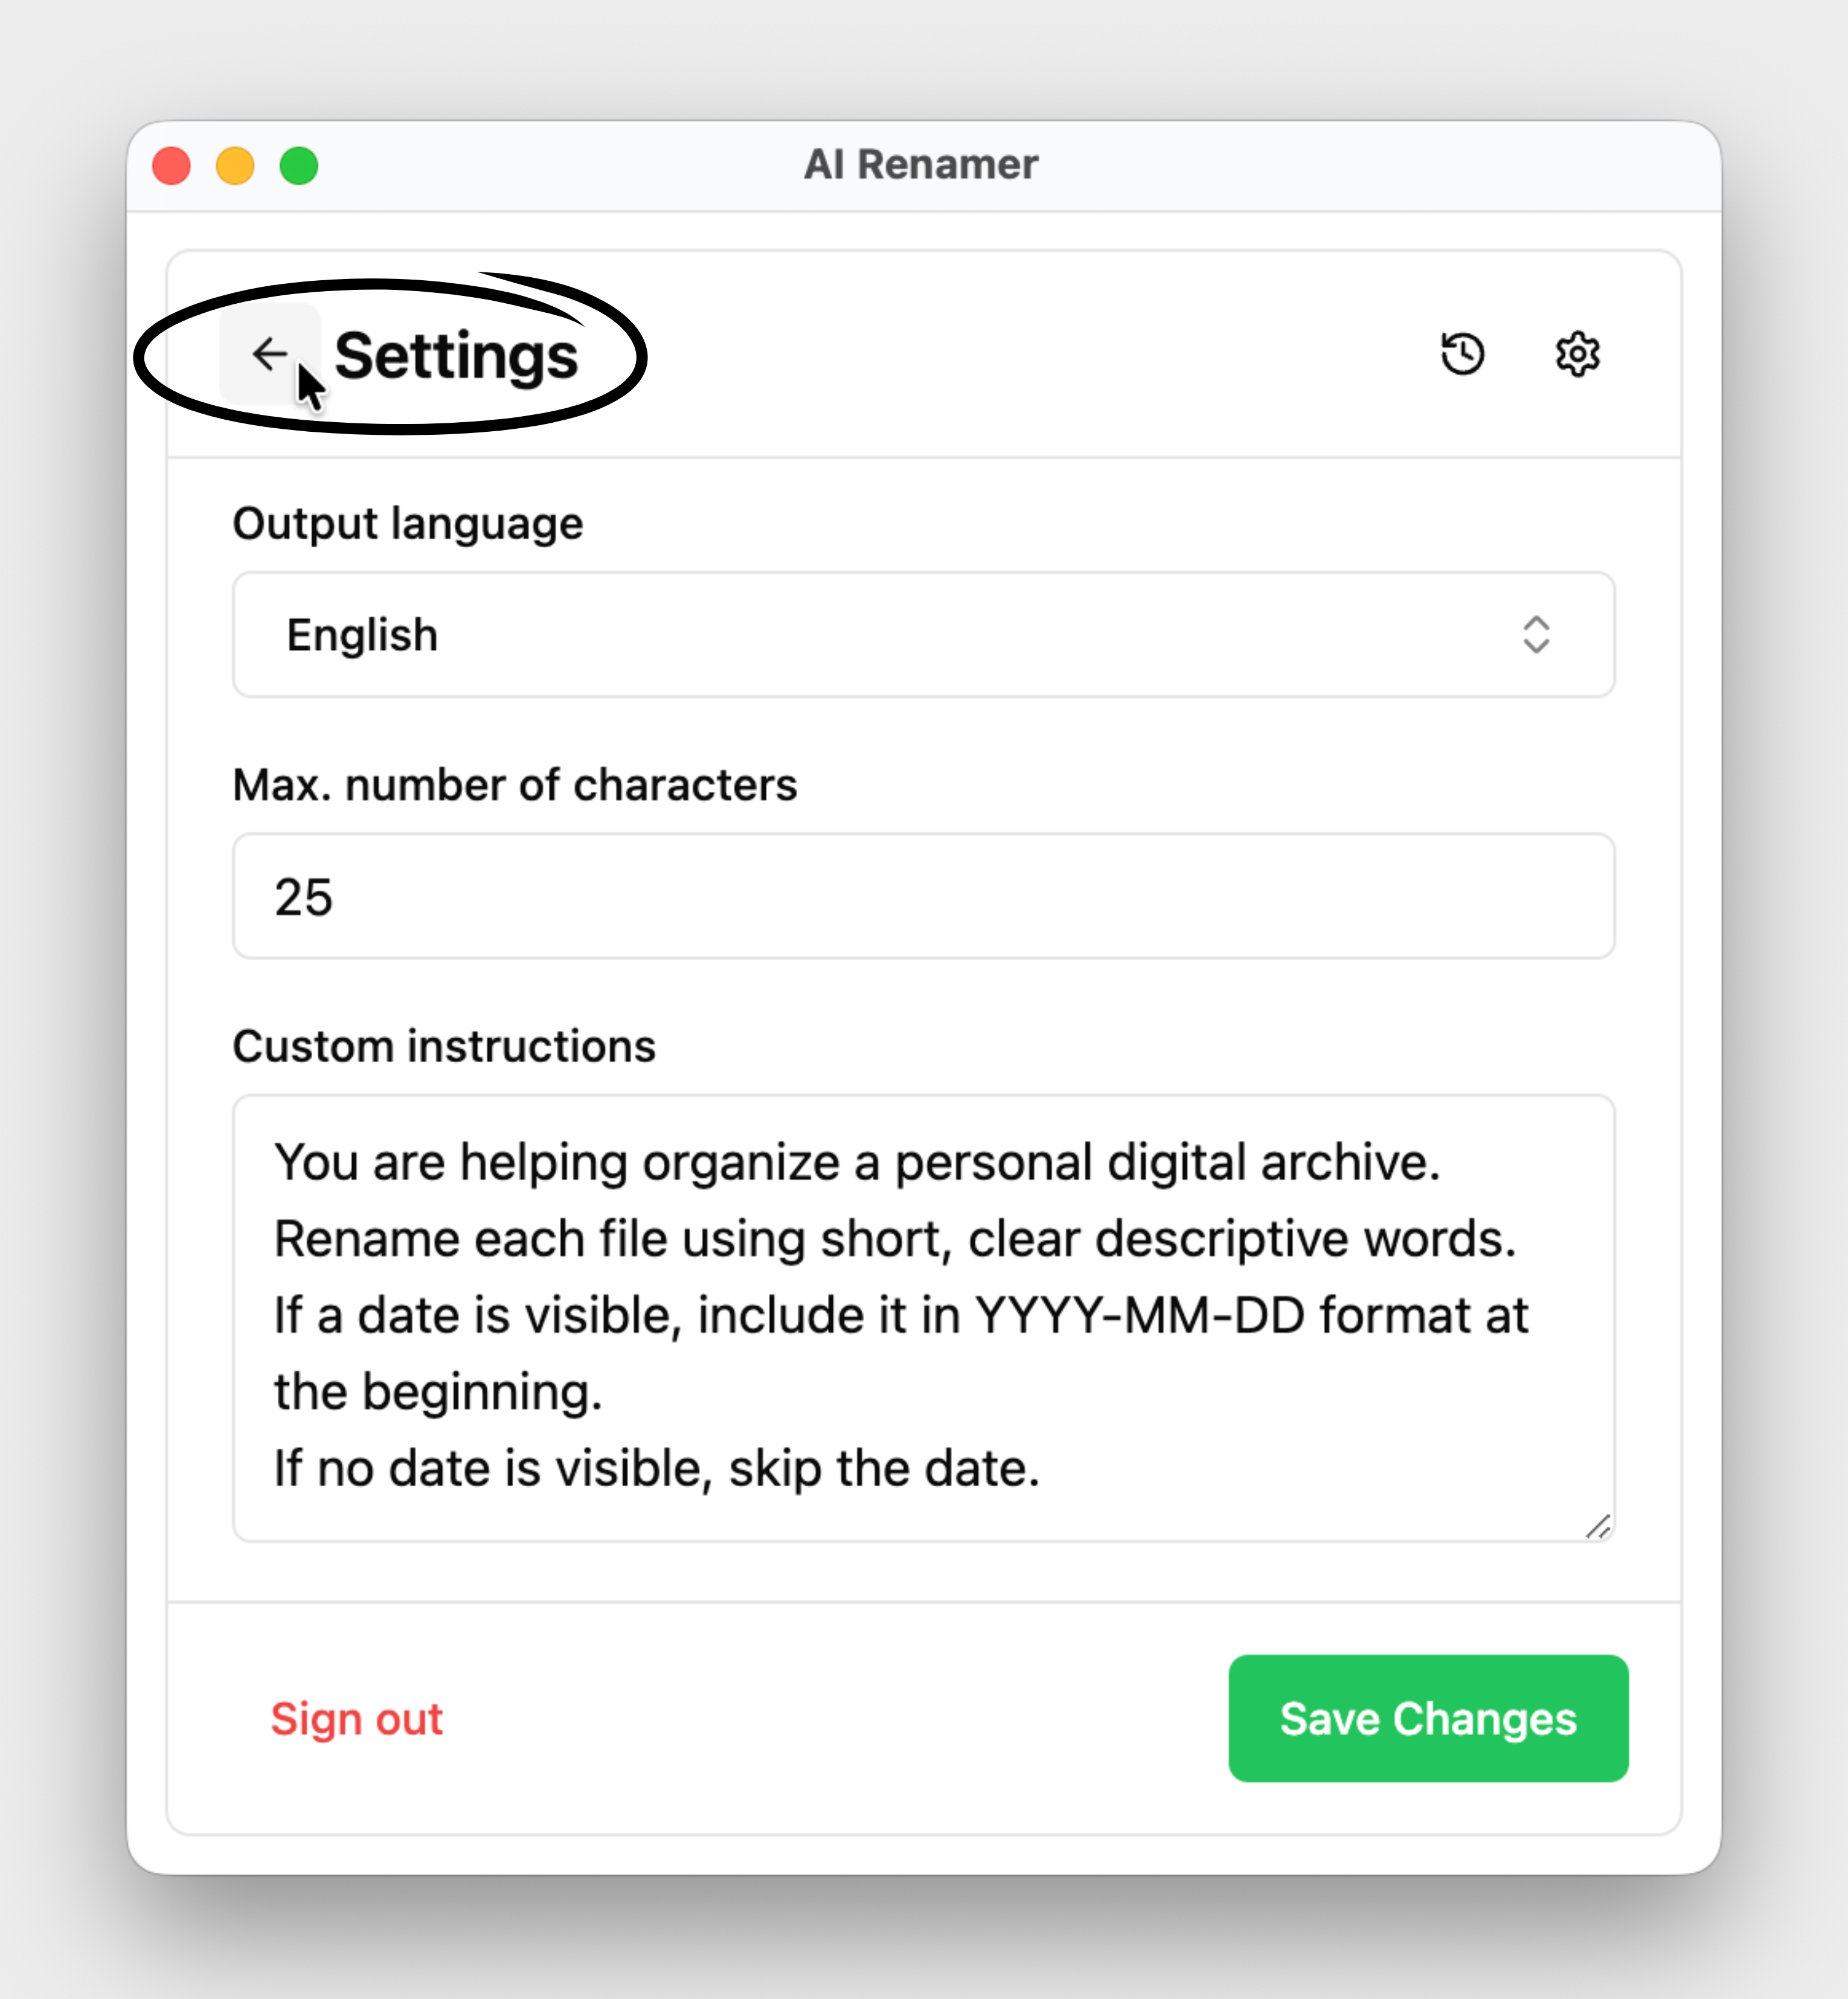 After saving your changes, click the arrow to exit Settings and move on to the file upload section.
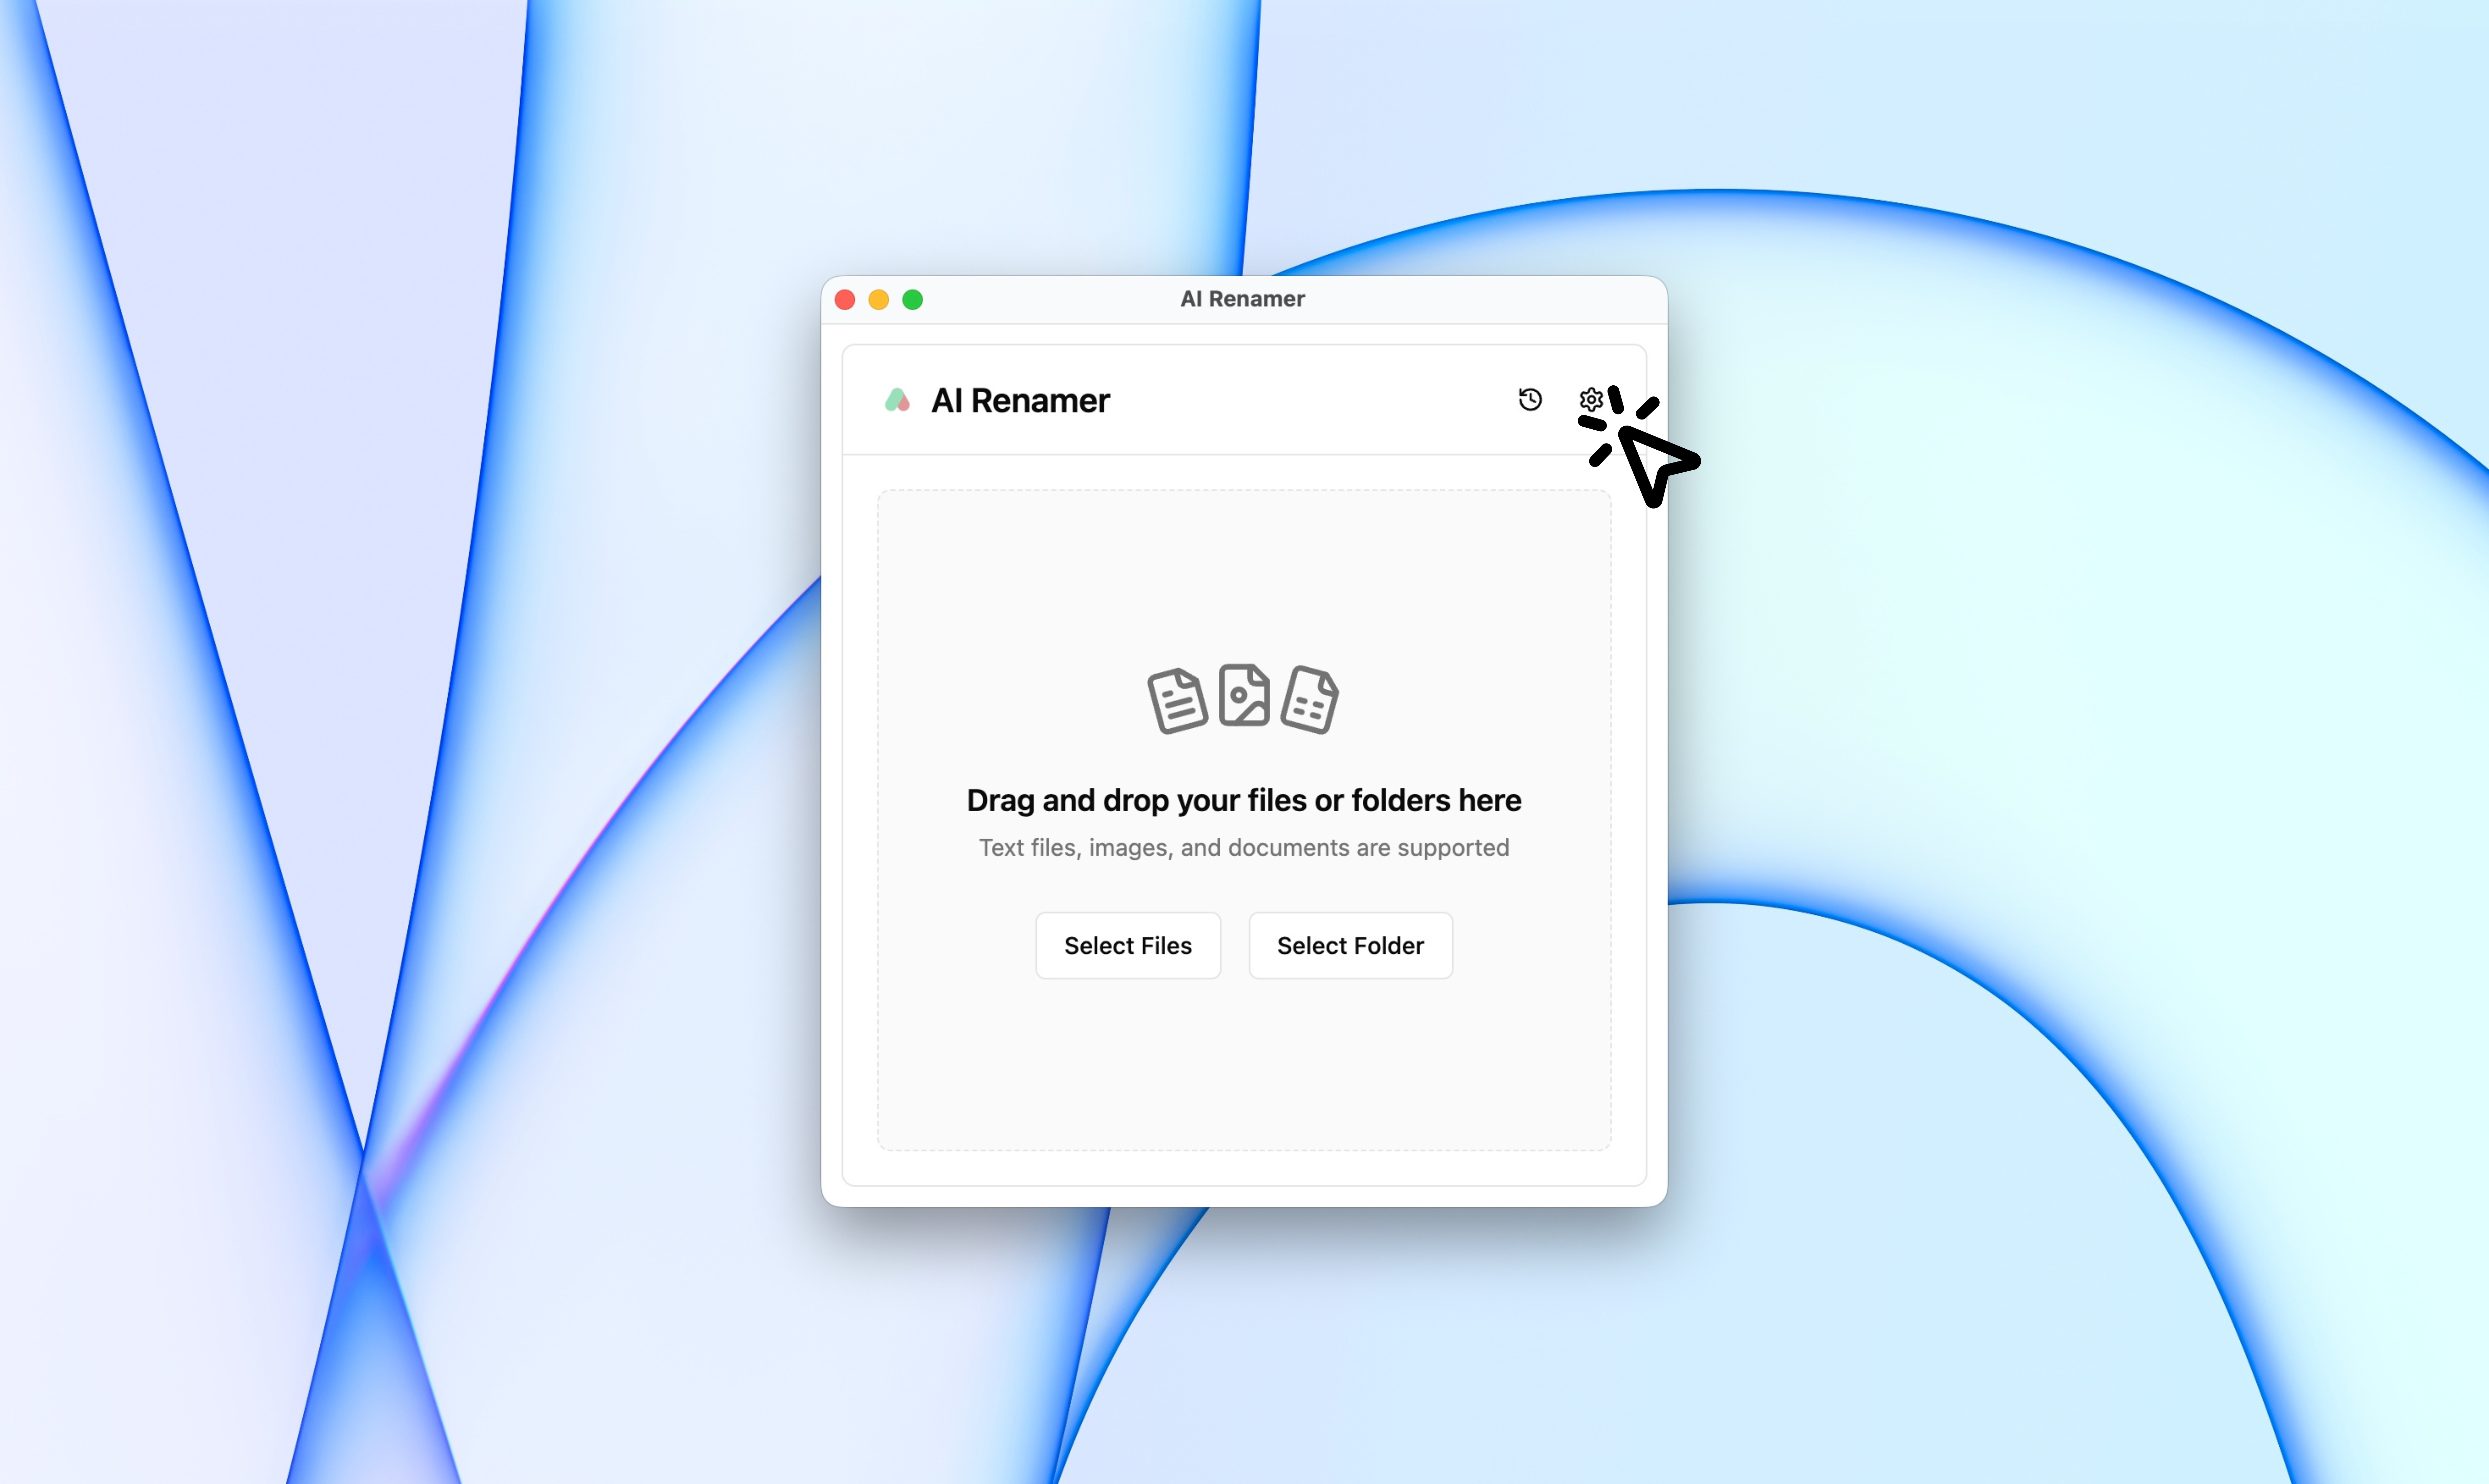
Step 27:
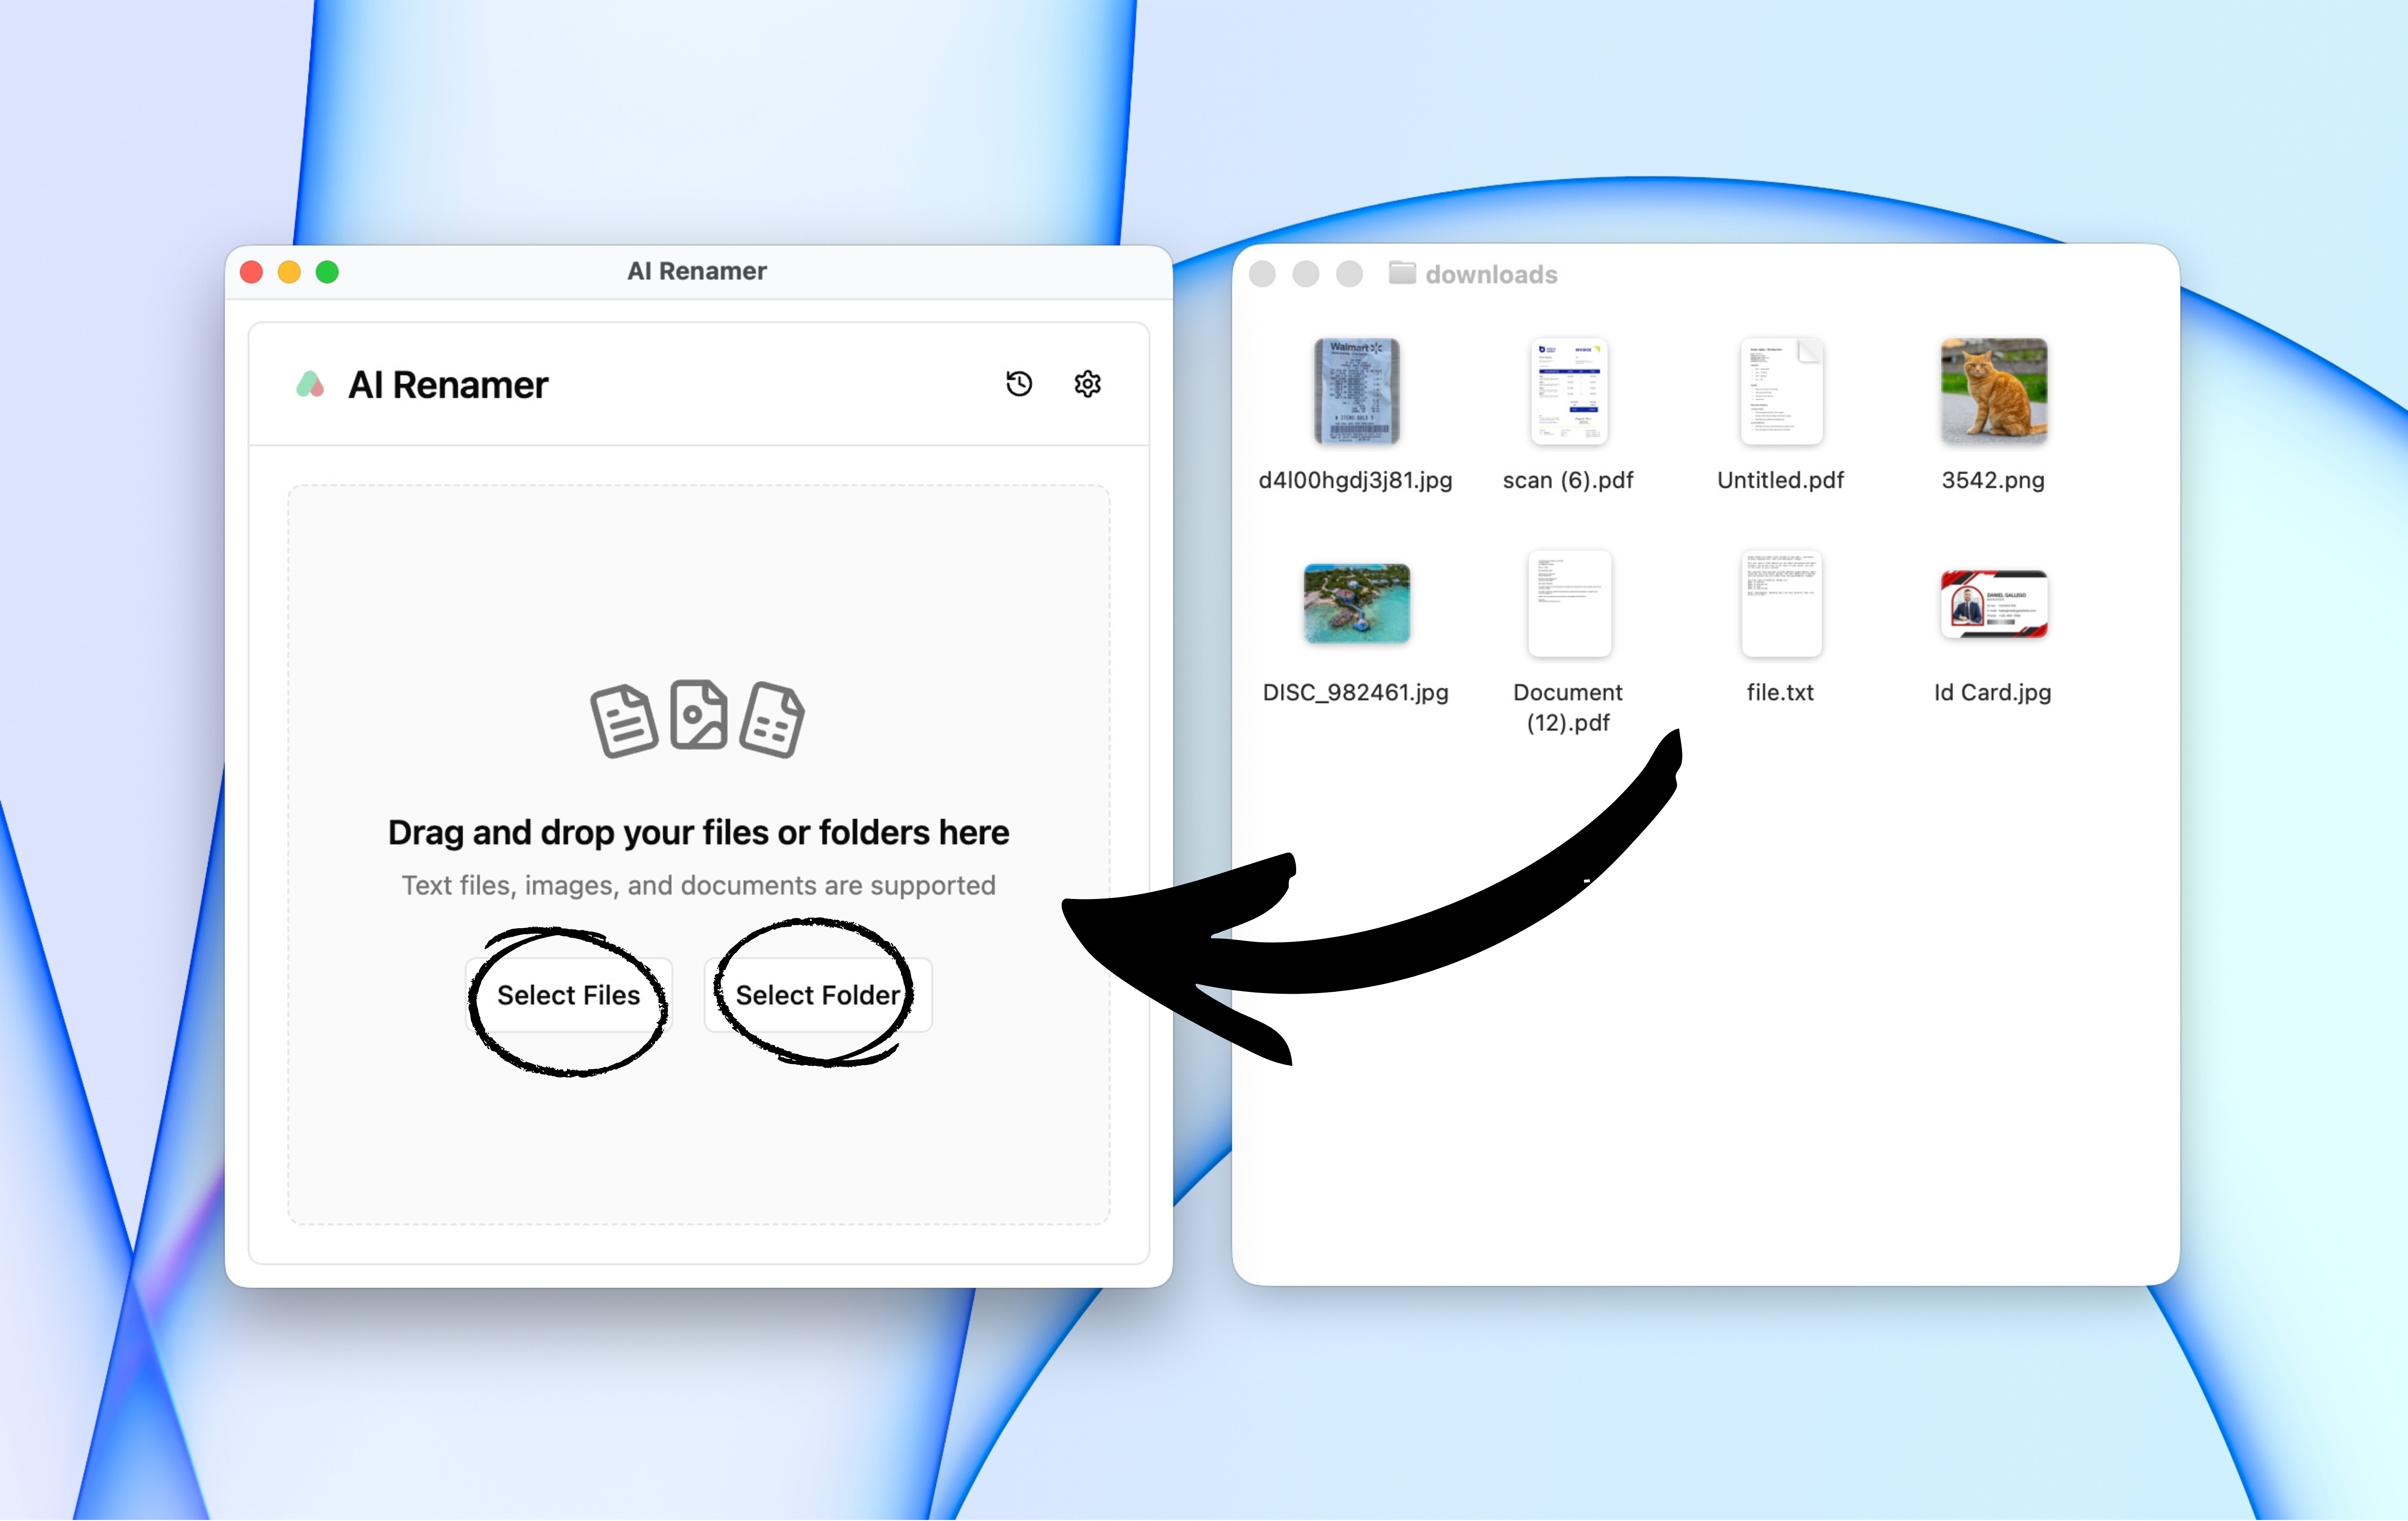 Drag and drop PDFs, images, or documents into AI Renamer. Also you can click Select Files and Select Folder.
Step 28:
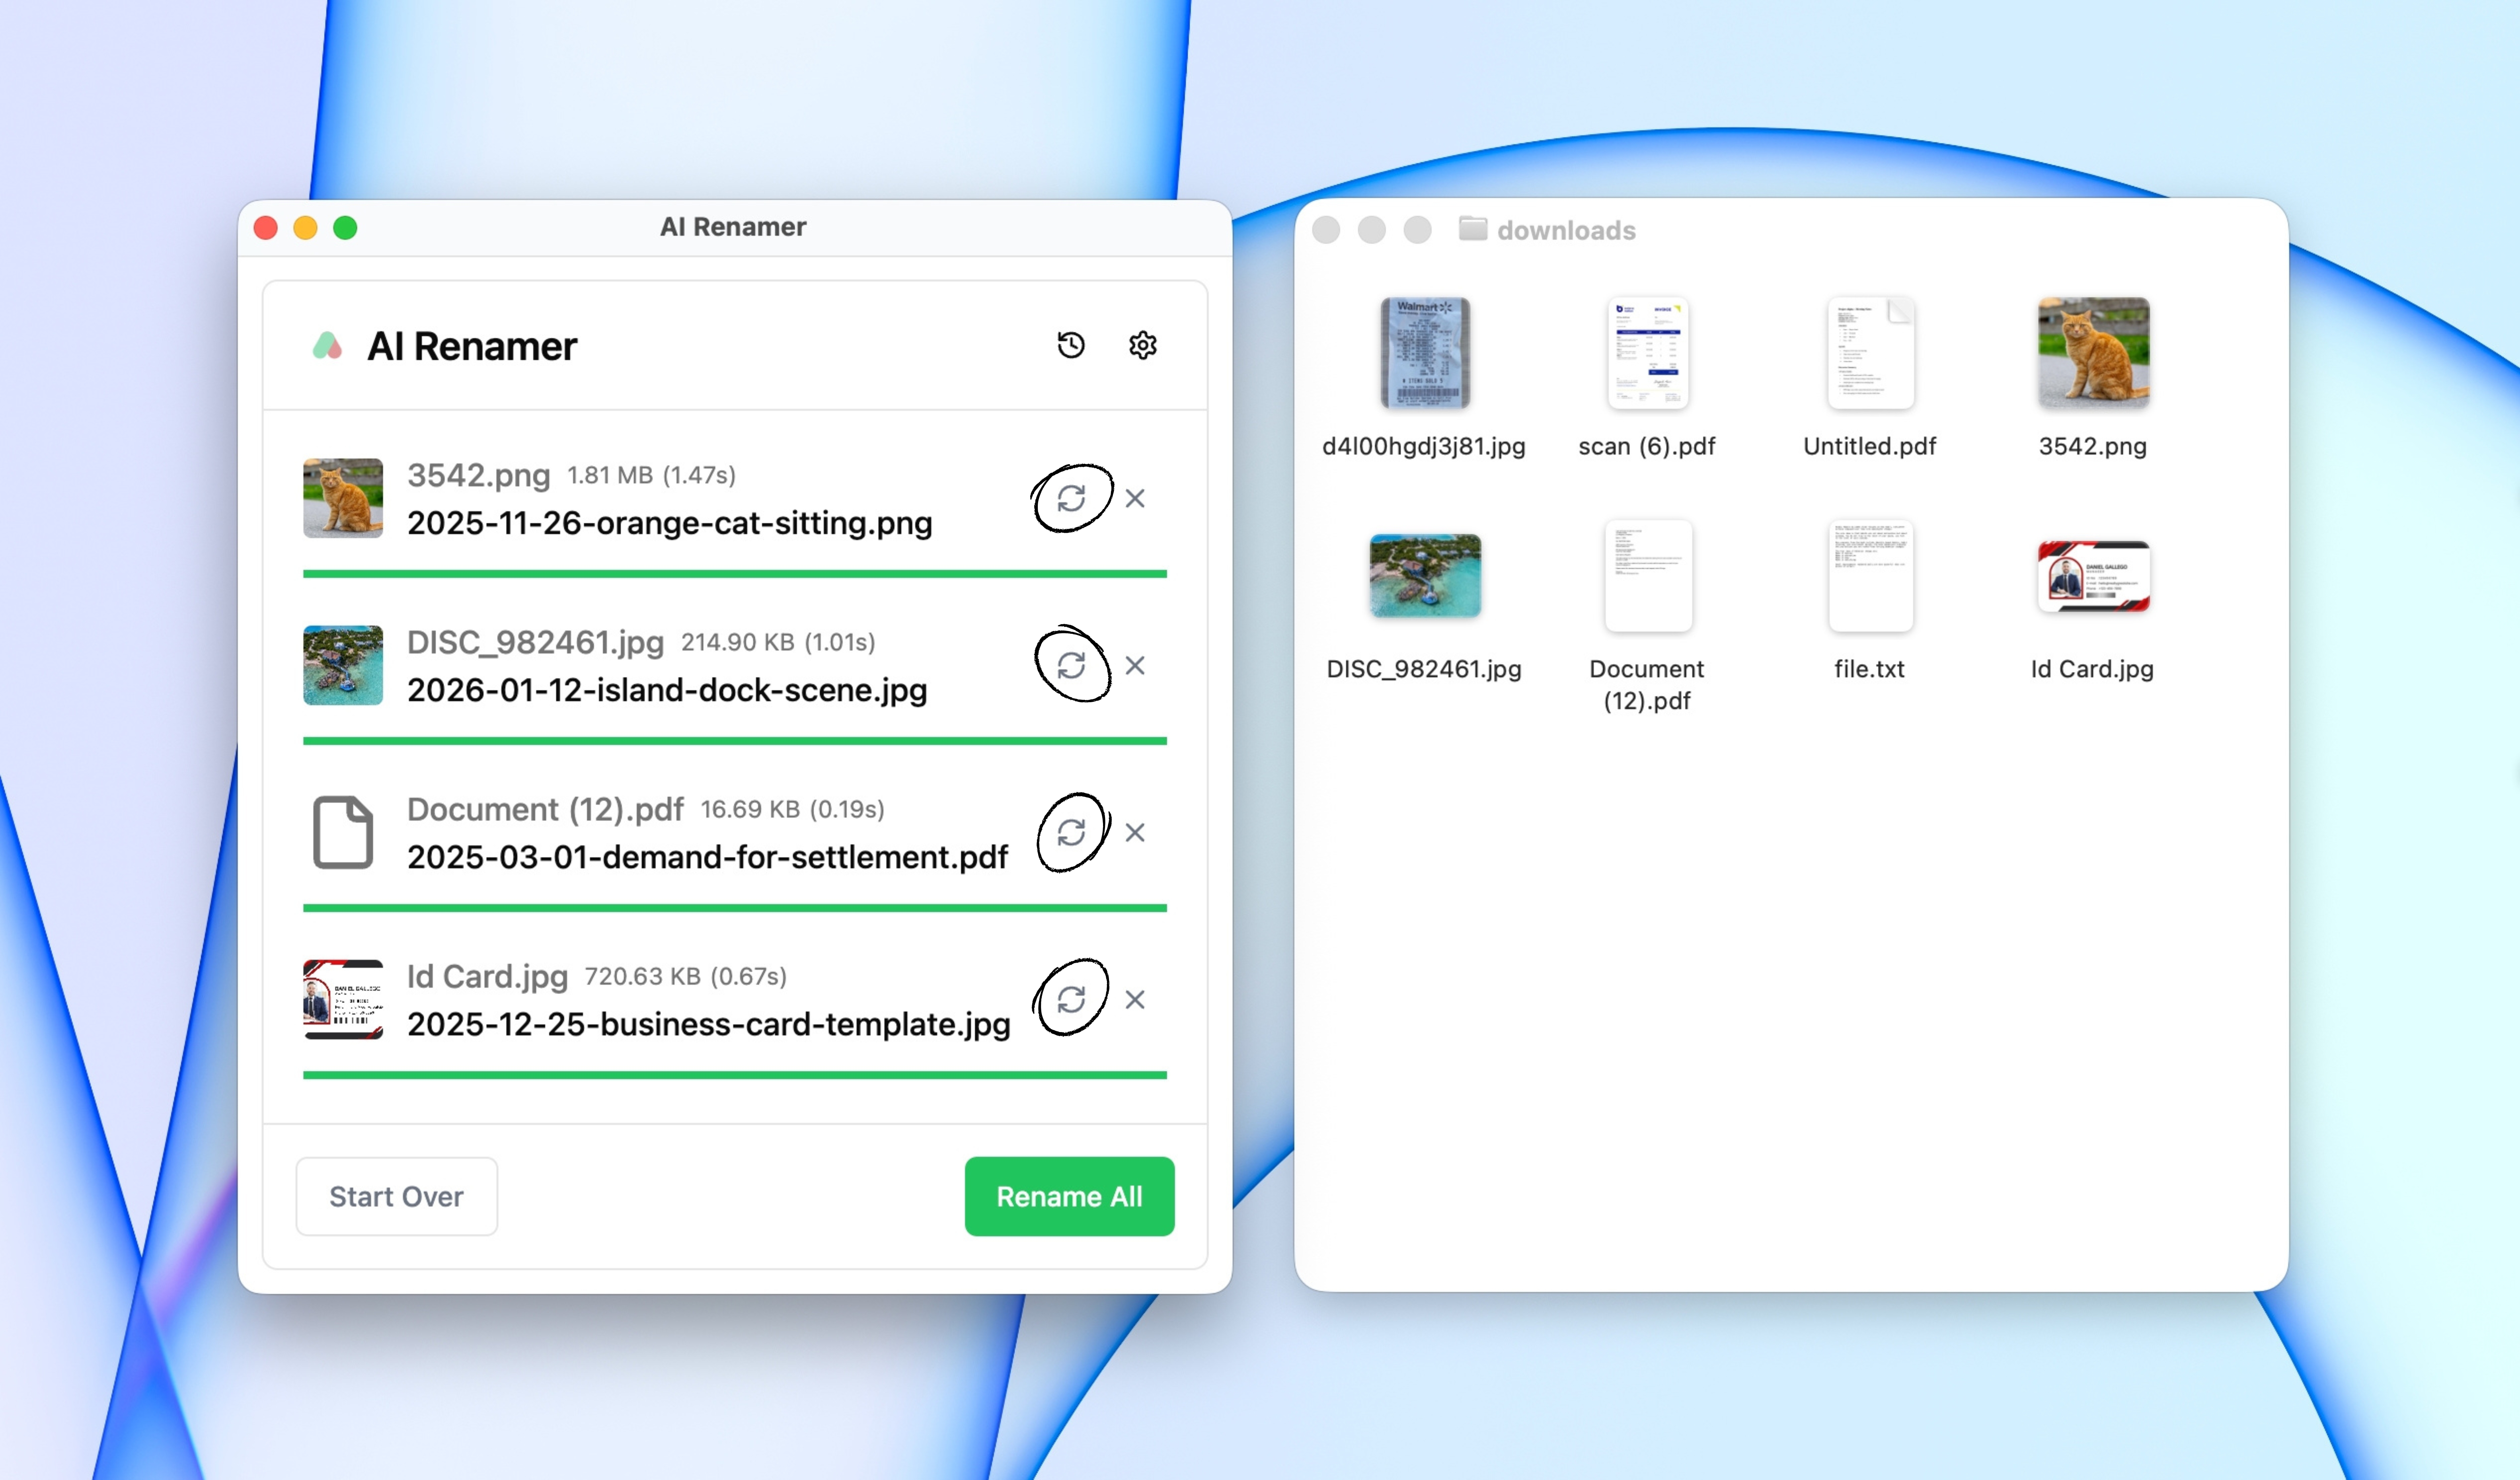 AI Renamer shows a preview of the new file names before renaming. Review the results carefully.
If you are not satisfied, click Regenerate to get new suggestions. For better results, use a stronger AI model and clear Custom Instructions.
Step 29:
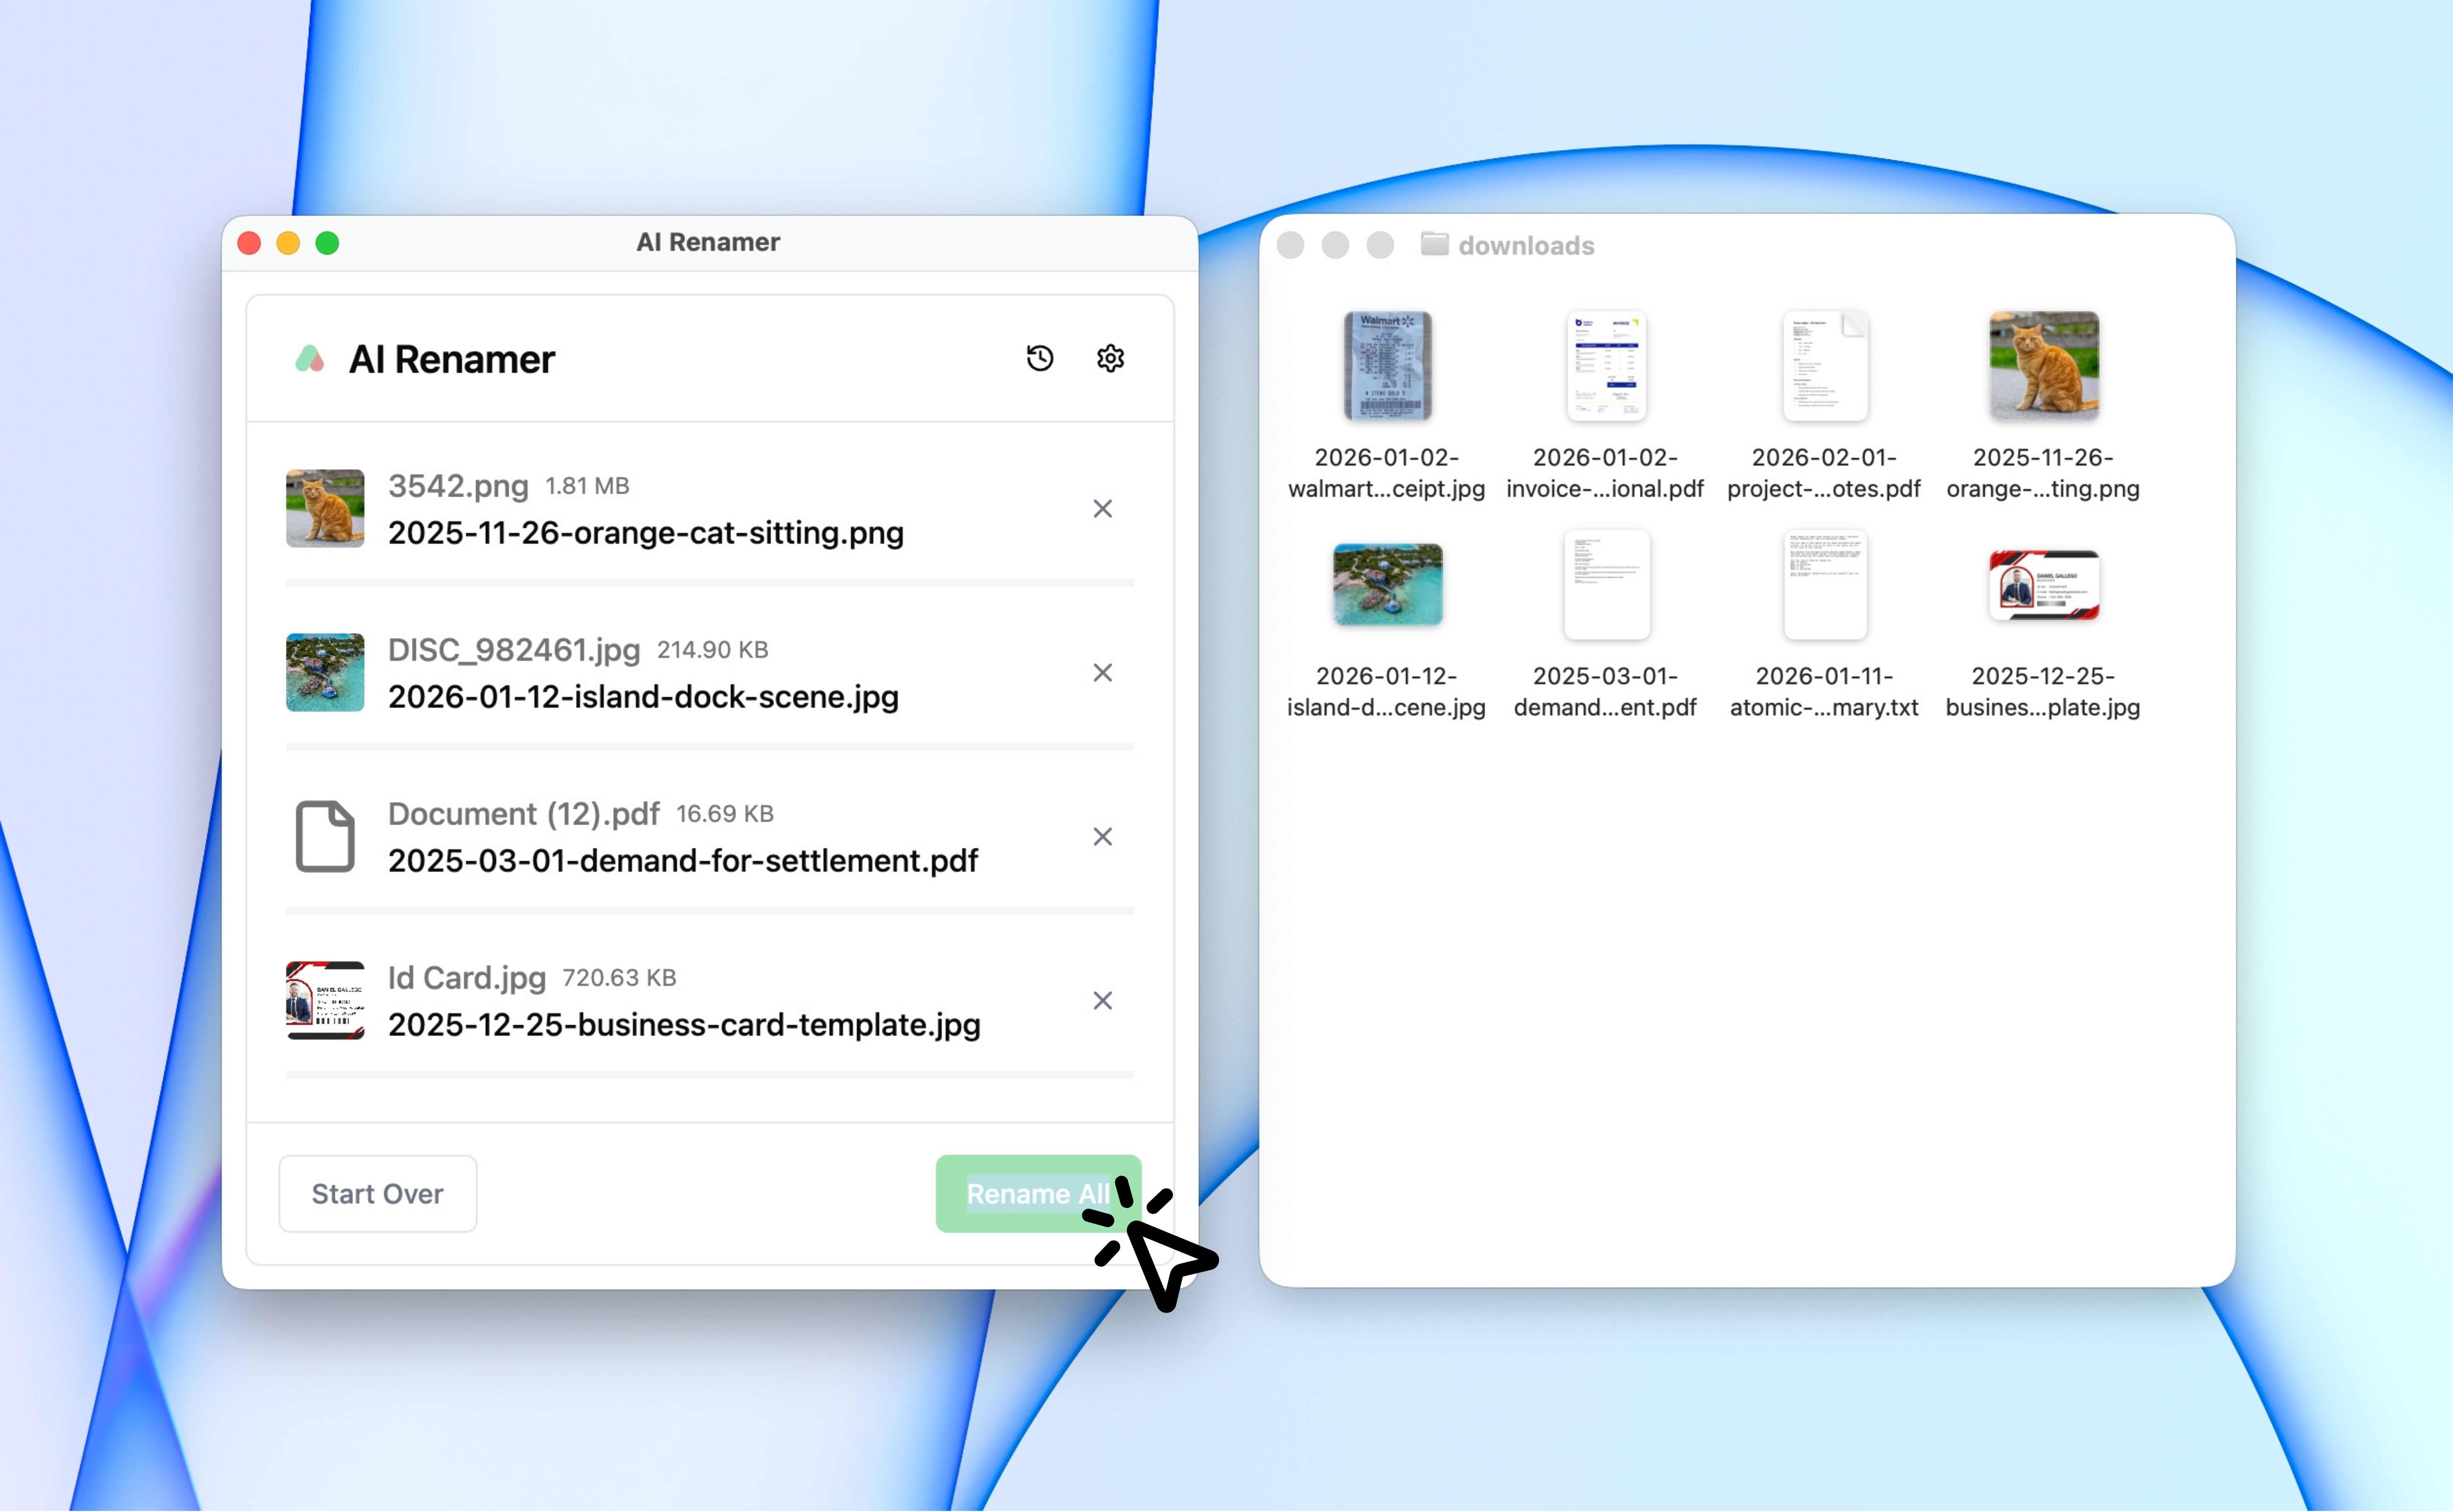 Click Rename All to apply the new file names.
You’re Done 🎉
You are now using AI Renamer with Groq, without needing a powerful computer.
If you want more free model options, take a look at our guide on using OpenRouter free models with AI Renamer.
Common Problems & Fixes
Model returns gibberish?
→ Use a higher-quality model.
Slow responses?
→ Try a smaller model.
API error?
→ Double-check your API key. You may also have hit a request or time limit. Wait a moment or switch models.
When Should You Use Local Mode Instead?
AI Renamer Local Mode is ideal if you want full control over your AI provider.
With Local Mode, you can connect:
- Local models using Ollama or LM Studio
- API providers like OpenRouter, OpenAI, Google AI Studio, and Groq
Local Mode is a good fit if:
- You want unlimited renaming with a one-time payment
- You prefer using your own API keys
- You work with sensitive files and want maximum control
Local Mode features:
- One-time payment
- Unlimited renaming
- Offline support with local models
- Online support with API providers
Final Thoughts
Using Groq with AI Renamer is one of the easiest ways to rename files with AI if your computer is not powerful.
No local AI models setup.
No heavy hardware requirements.
Just fast, clean, and structured file names.