How to Install AI Renamer on Windows (Step-by-Step with Screenshots)

Renaming files manually can be boring and time consuming. AI Renamer is an AI-powered file renaming tool for Windows and macOS that works with both cloud and local AI models, helping you save time and stay organized. If you’re not familiar with it yet, check out our intro blog: What is AI Renamer?
Using macOS? Here’s the AI Renamer guide for you.
On Windows, installing AI Renamer is quick and straightforward. In this guide, we’ll walk through every step with screenshots so you can get AI Renamer running on your PC without any hassle.
Download AI Renamer for Windows
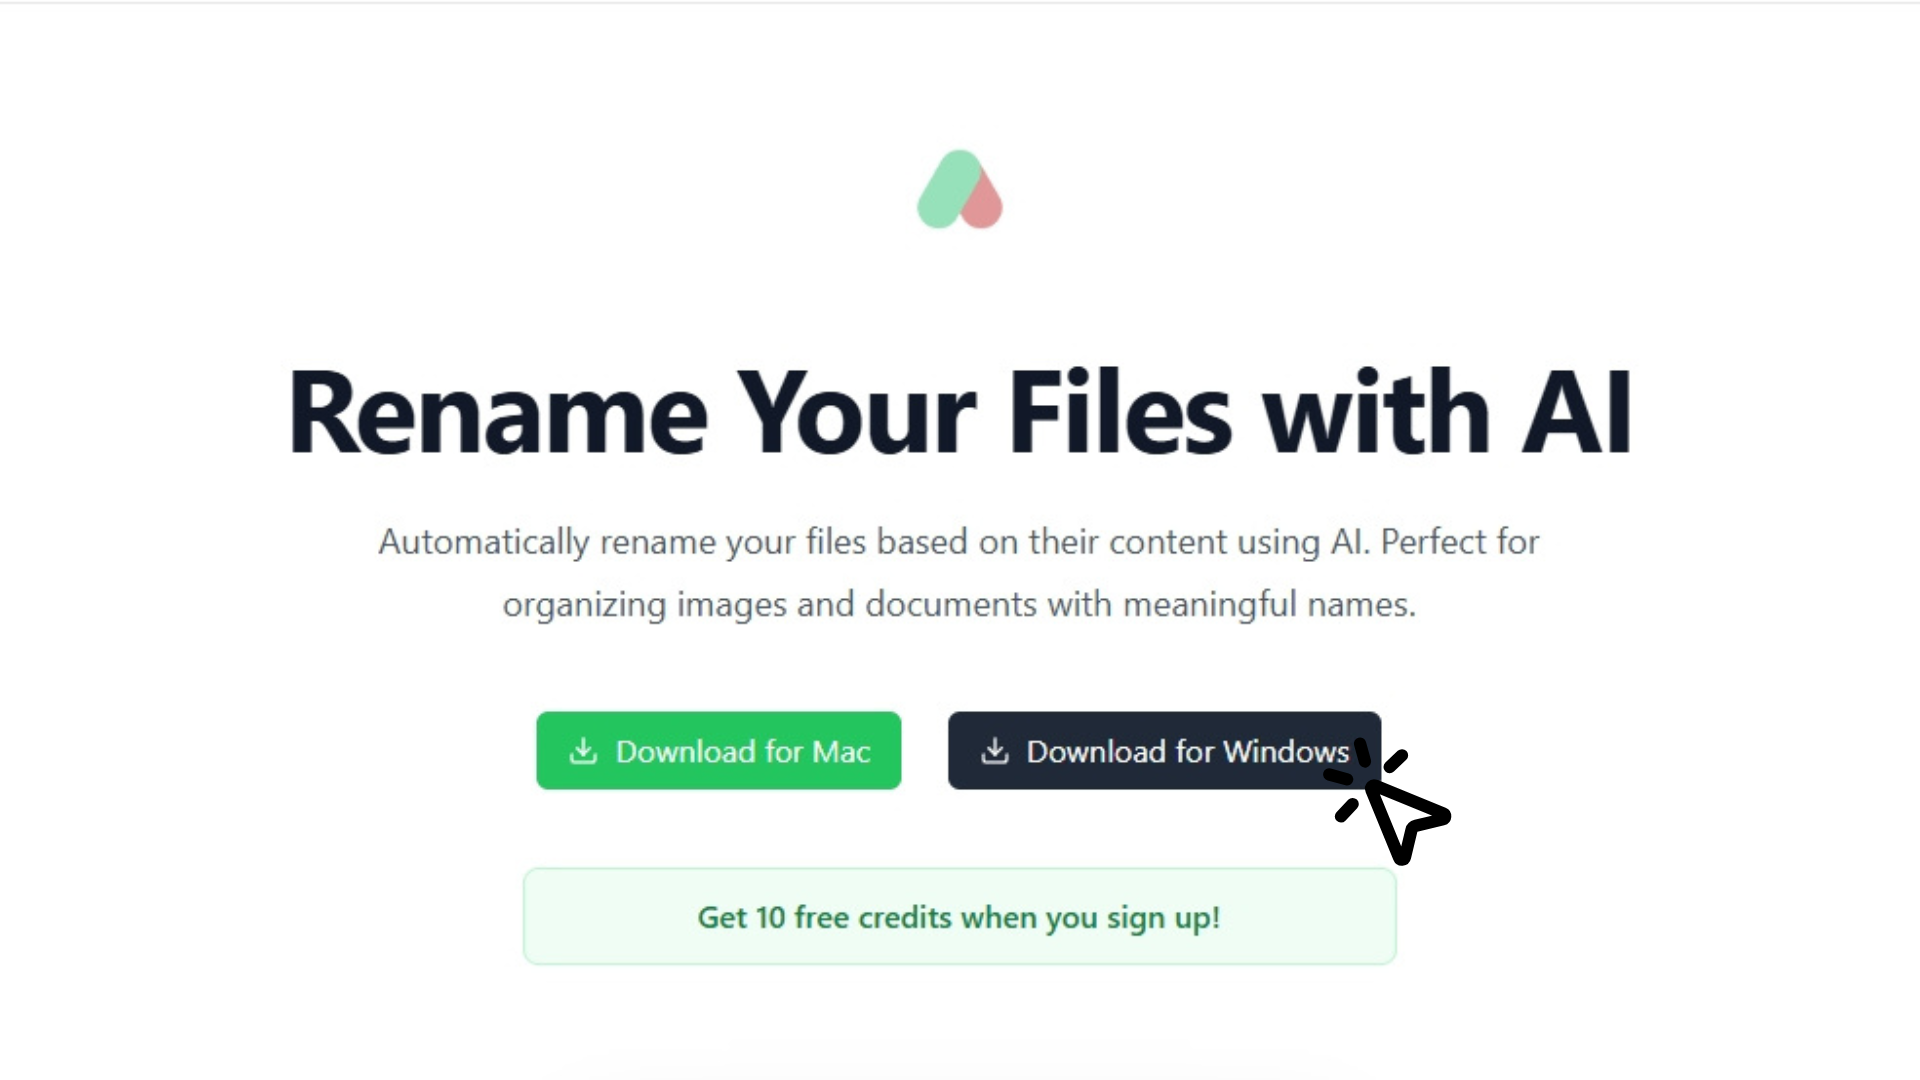
Go to the official website airenamer.app and click "Download for Windows”.
Open the Downloaded File
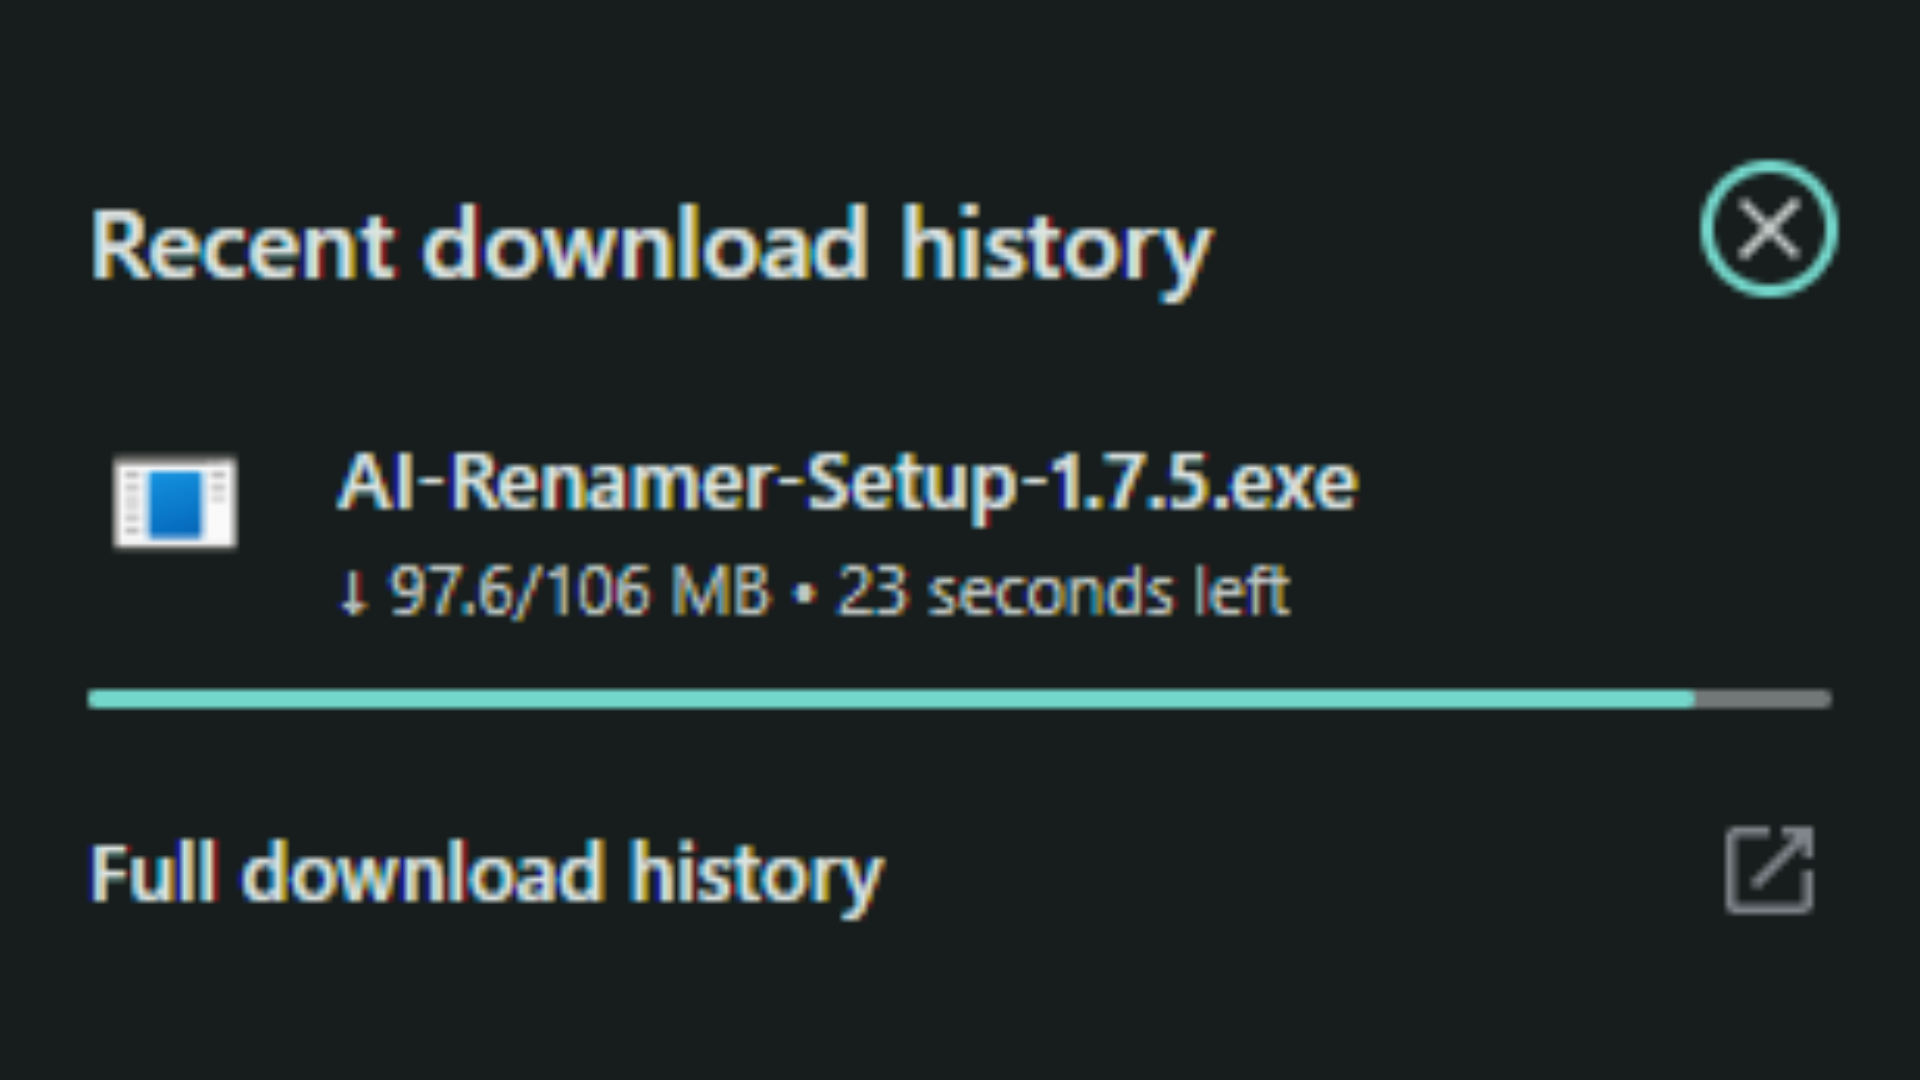
Your browser will show the download progress.
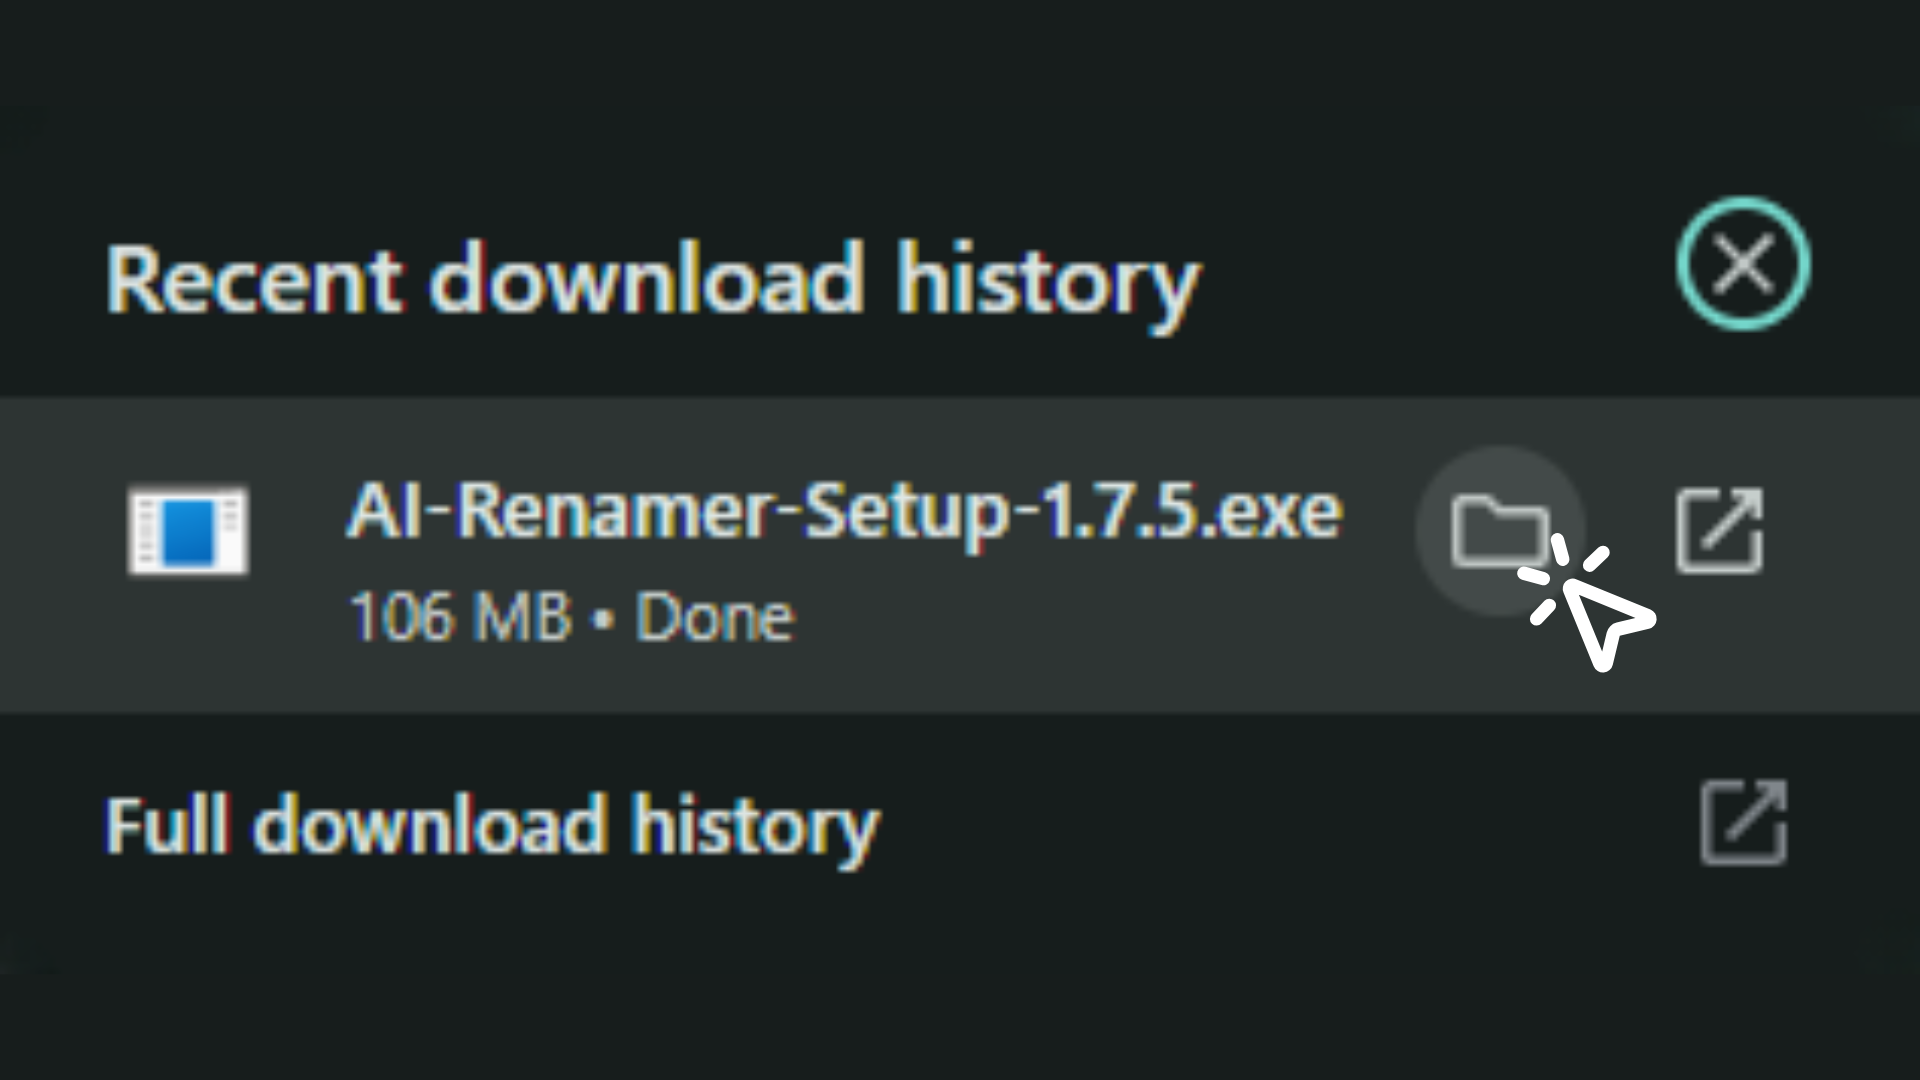
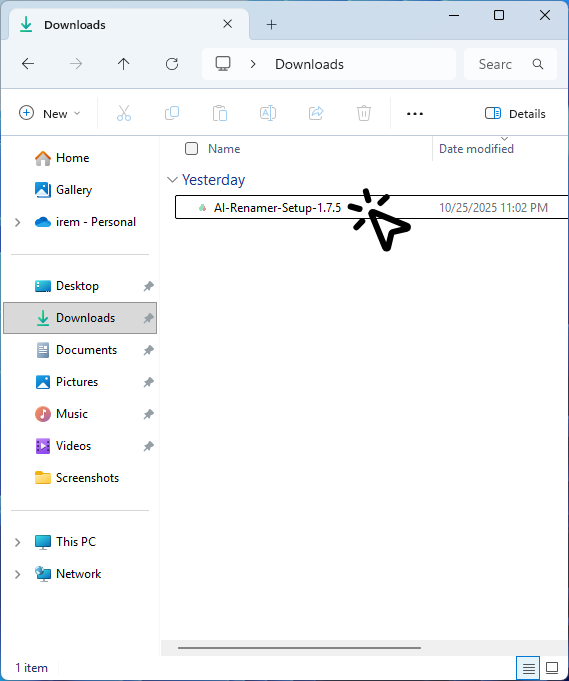
 Once the installer is downloaded, click your “Downloads” folder and locate the file named “AI-Renamer-Setup-1.7.5”.
Launch AI Renamer
Double-click the "AI-Renamer-Setup-1.7.5" file to start the installation.
Install AI Renamer
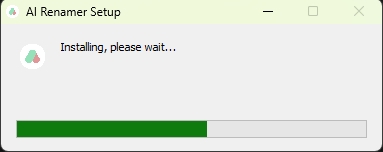
On first launch, Windows may show a warning since it’s downloaded from the internet. Click “Run anyways” to continue.
 Wait for the installation to complete.
Sign in with Google
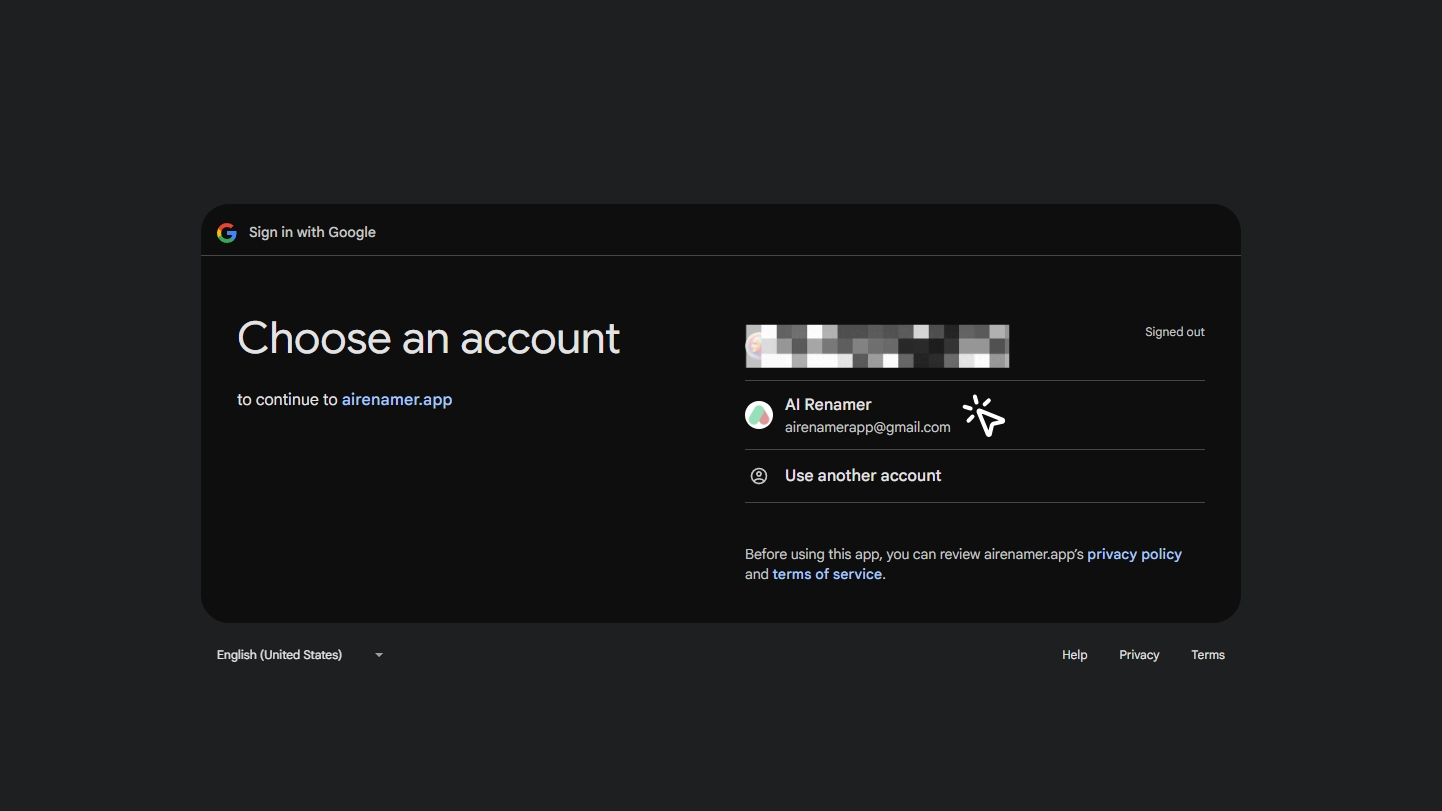
When you first open AI Renamer, you’ll see a Google sign-in screen. Click "Sign in with Google”.
 Simply select your account to continue.
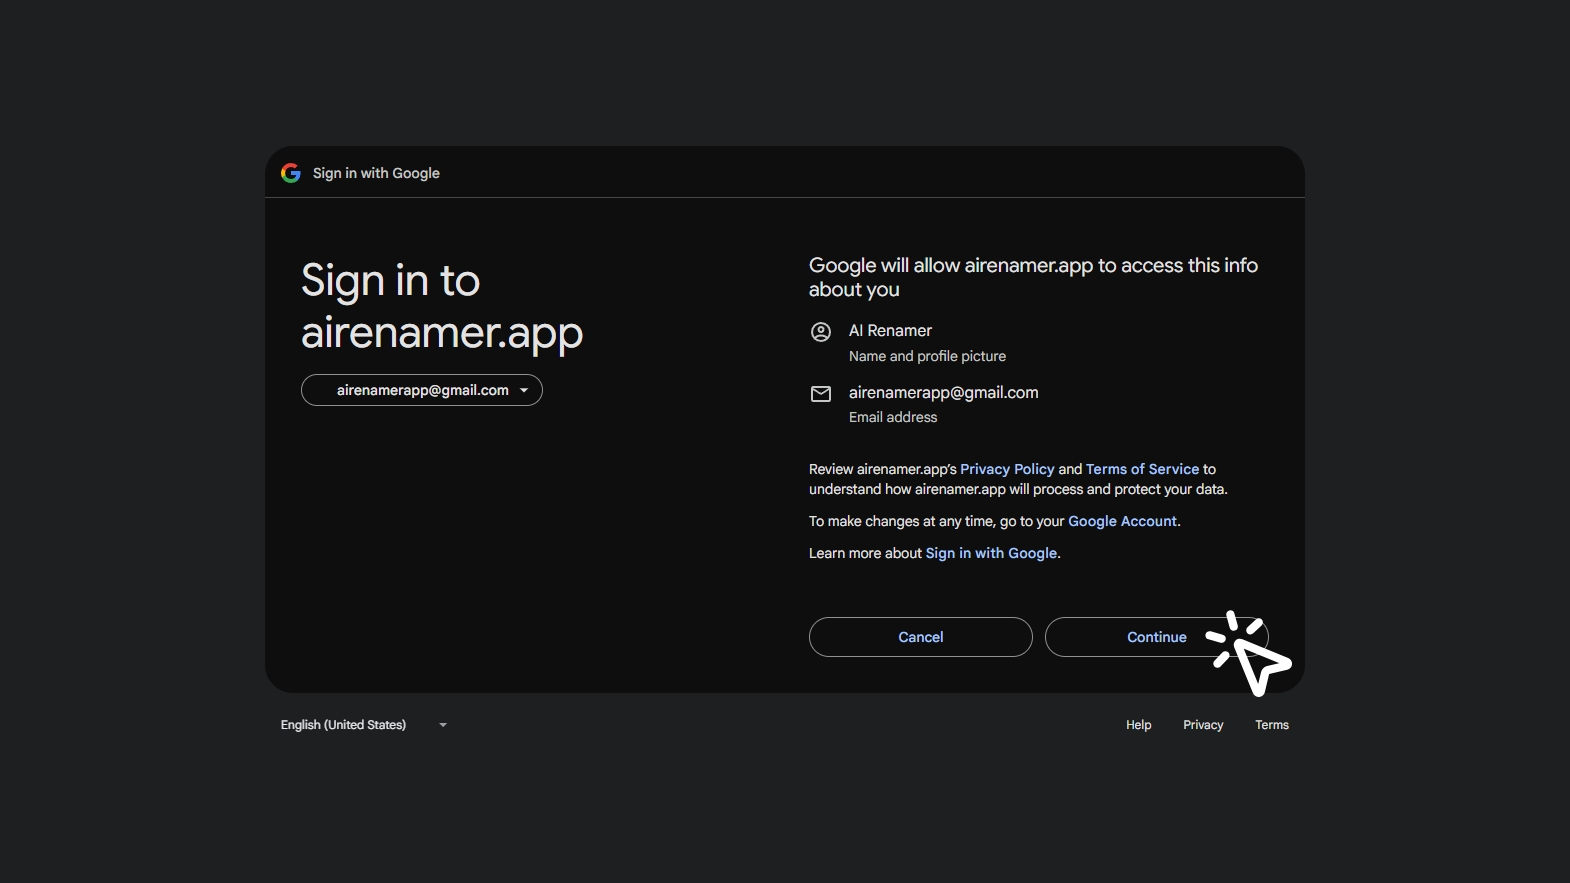
 Click “Continue” to allow AI Renamer to access your name, profile picture, and email address. This is only used for your account login.
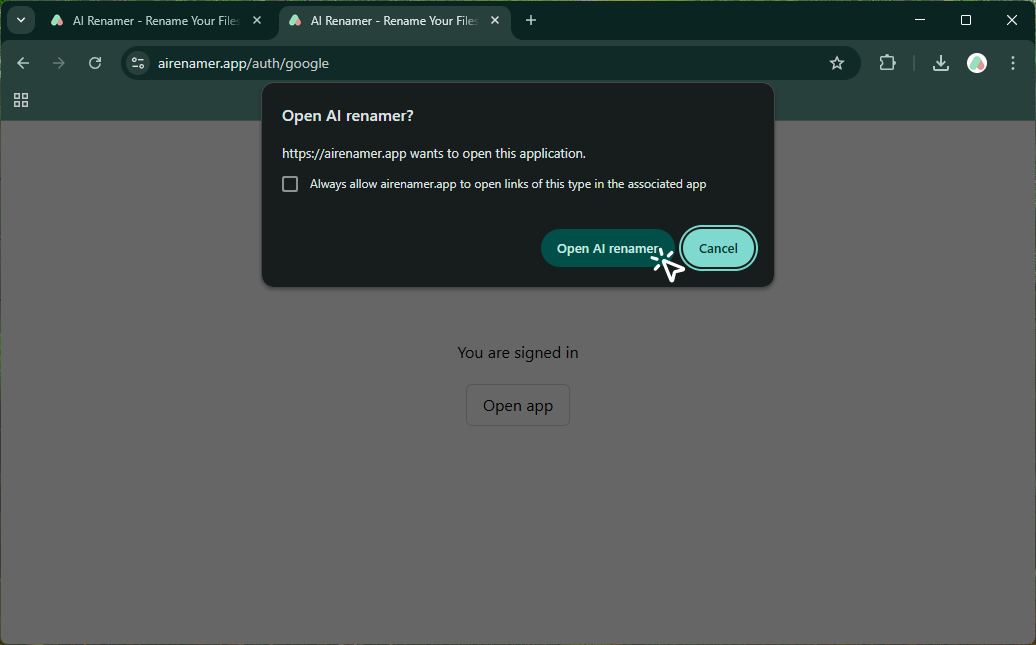
 Once you see “You are signed in”, click “Open AI renamer” to return to the desktop app.
Welcome to AI Renamer
After signing in, you’ll receive 10 free credits to start renaming files. Click "Get Started”.

Add Files to Rename
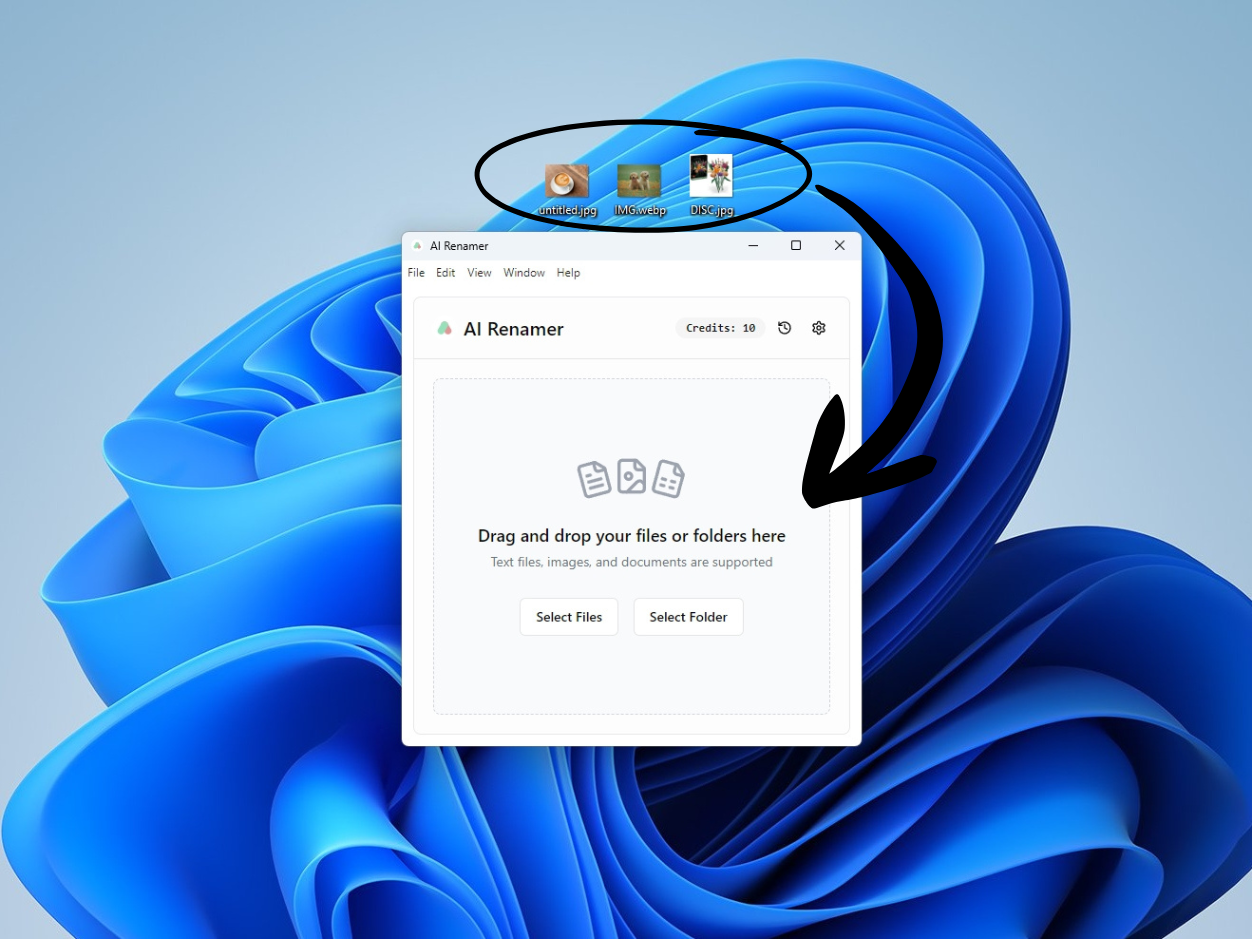
The main interface will appear, and your account comes with 10 free credits to get started.
Once you’re all set, check out these 10 real-world ways people use AI Renamer.
 Drag and drop your files or folders into the AI Renamer, or click “Select Files / Select Folder”.
Preview and Apply File Names
After you add files, AI Renamer will automatically generate descriptive names for them. If you’d like to adjust the results, click the refresh icon to regenerate a new name.
If renaming takes a bit longer, it means your free credits are using the default model. Faster and higher-quality results are available with premium models.
 When you’re happy with the suggested names, click “Rename All” to instantly rename your files.

Conclusion
That’s it 🎉 You’ve successfully installed and used AI Renamer on Windows.
 From now on, instead of manually typing file names, you can let AI Renamer rename everything for you in seconds. Whether you’re a designer, accountant, student, lawyer or photographer, this tool will save you hours every month.
👉 Download AI Renamer for Windows and start renaming your files with AI today.


